Earlier this month, Ms. Baldwin gave a great presentation on Plot.ly, an online system that lets you easily graph and share your data. Here are the resources she spoke about:
As an #edtech geek, I love working with new technologies. So, yesterday was a particularly exciting day as it was MakerBot unboxing day! May I present you with the first item ever 3D printed at Williston, a Star Trek (TNG) Communicator!
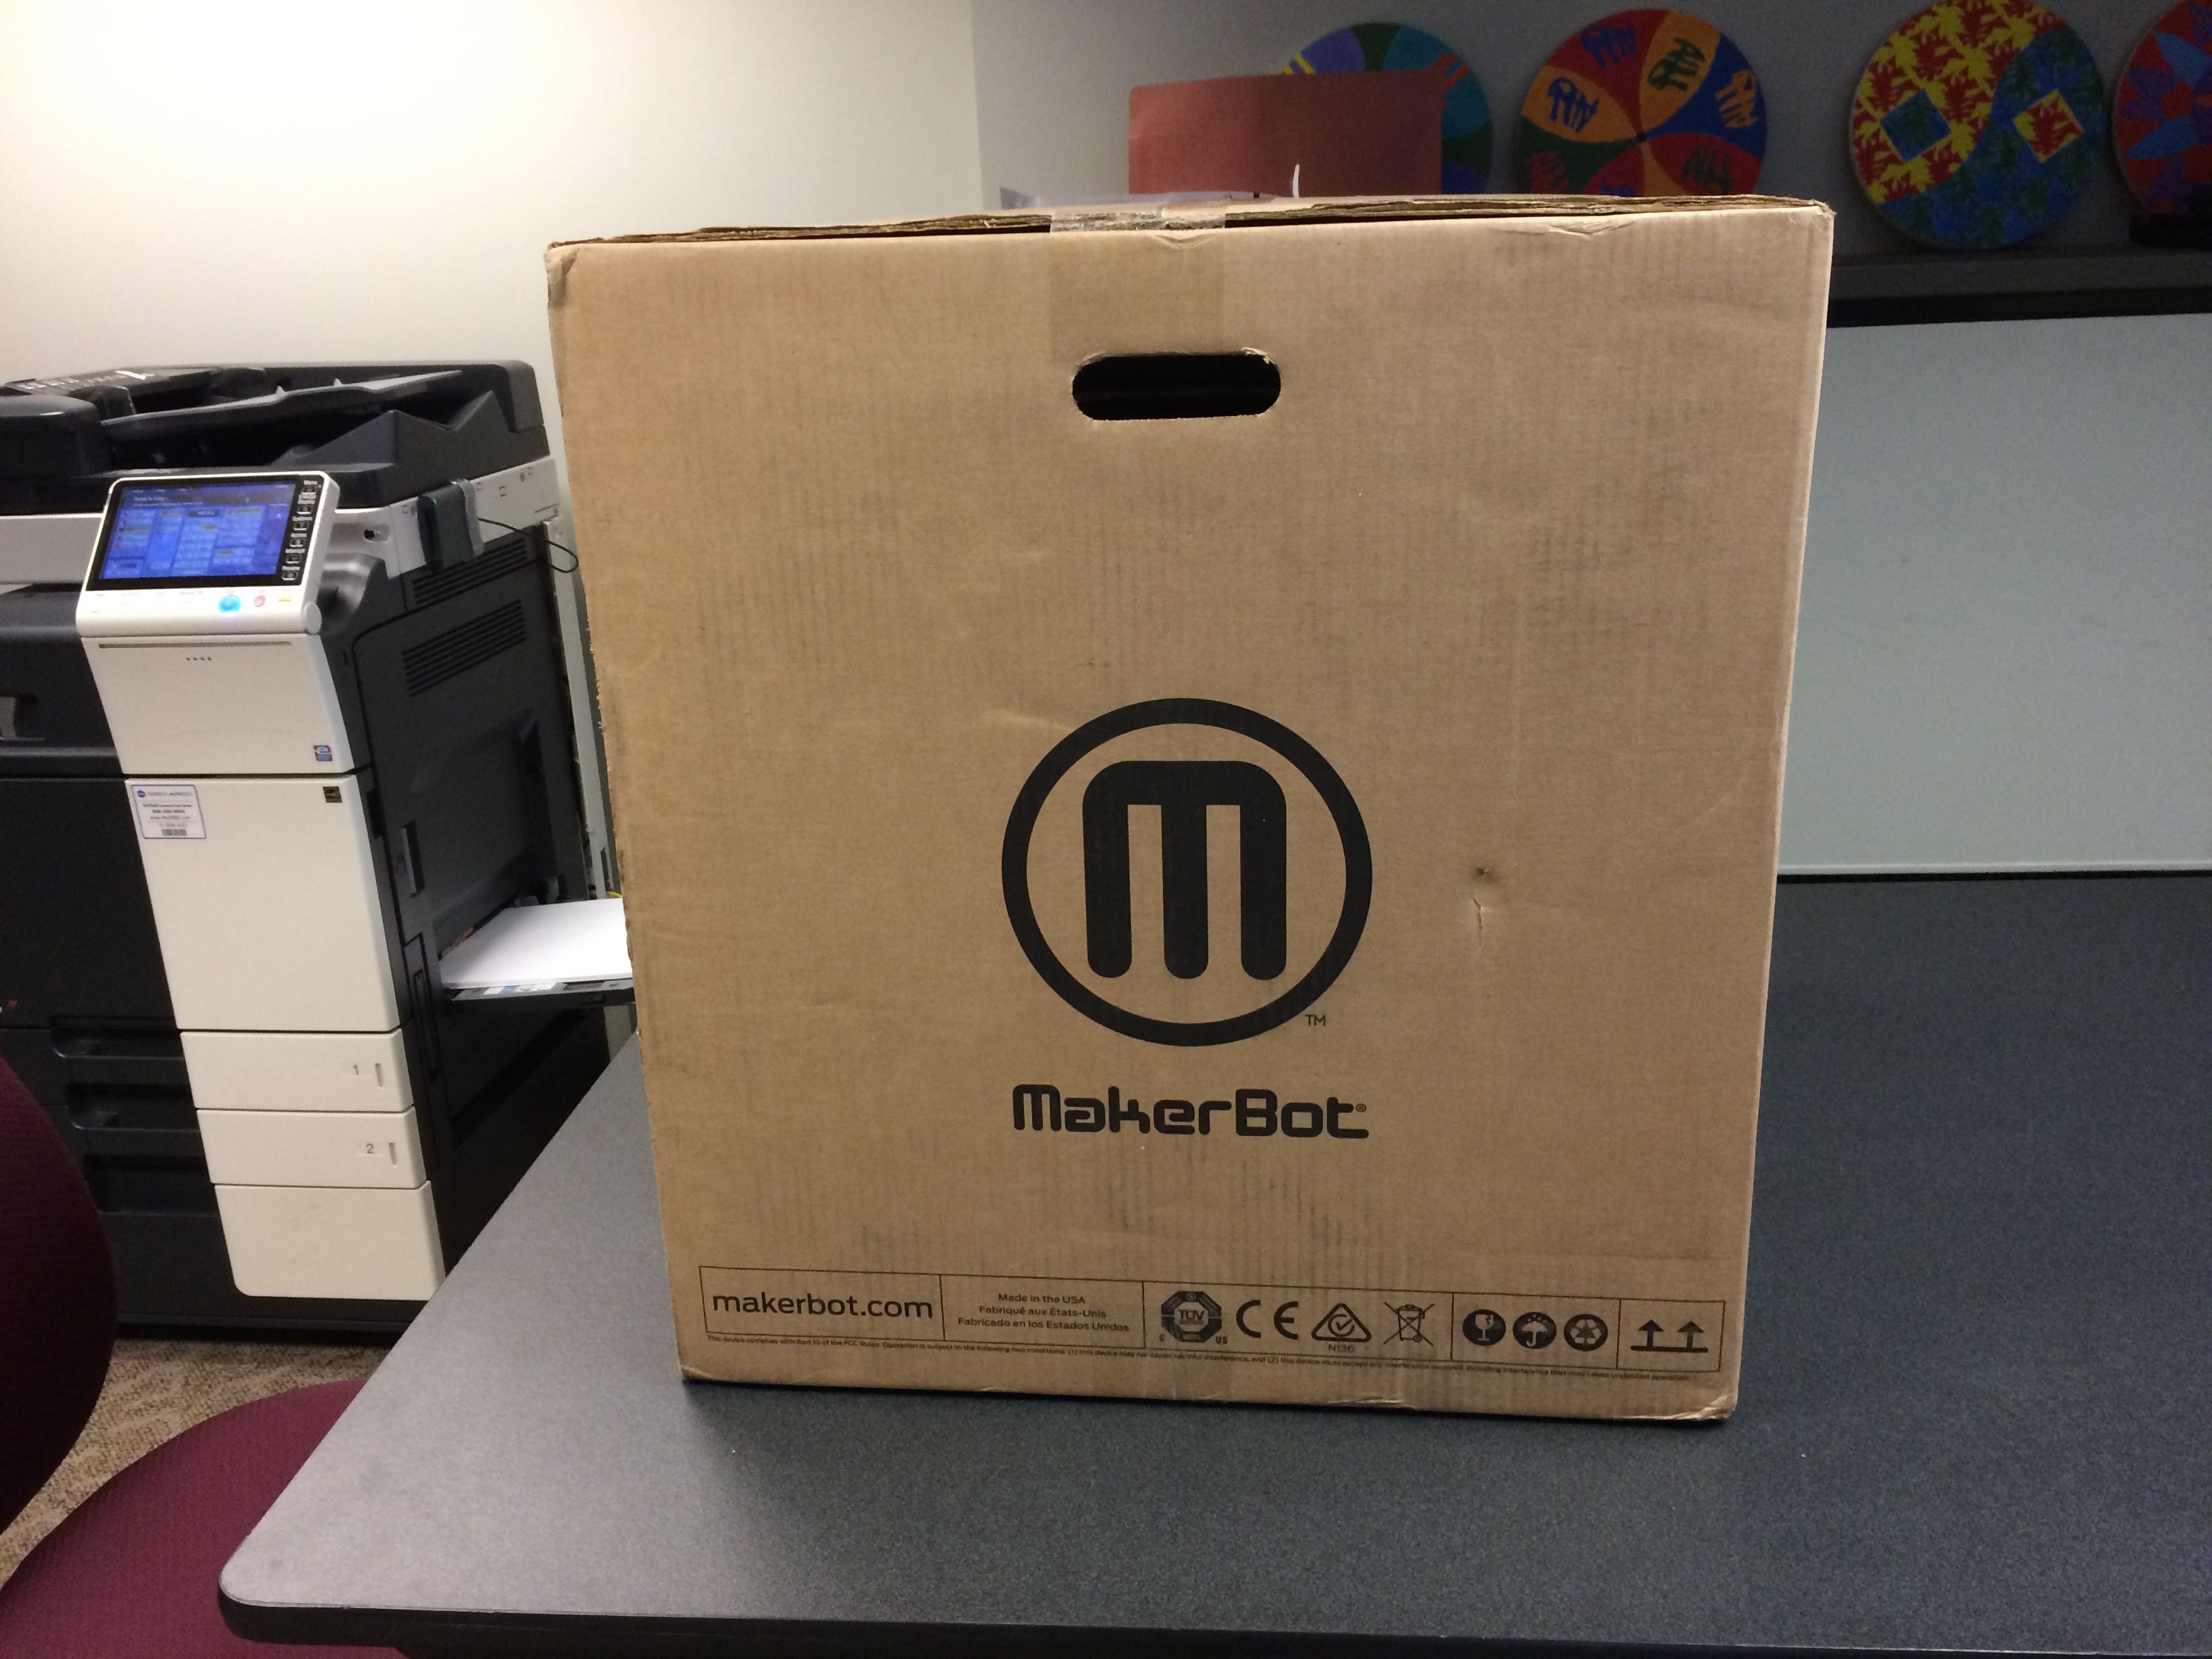
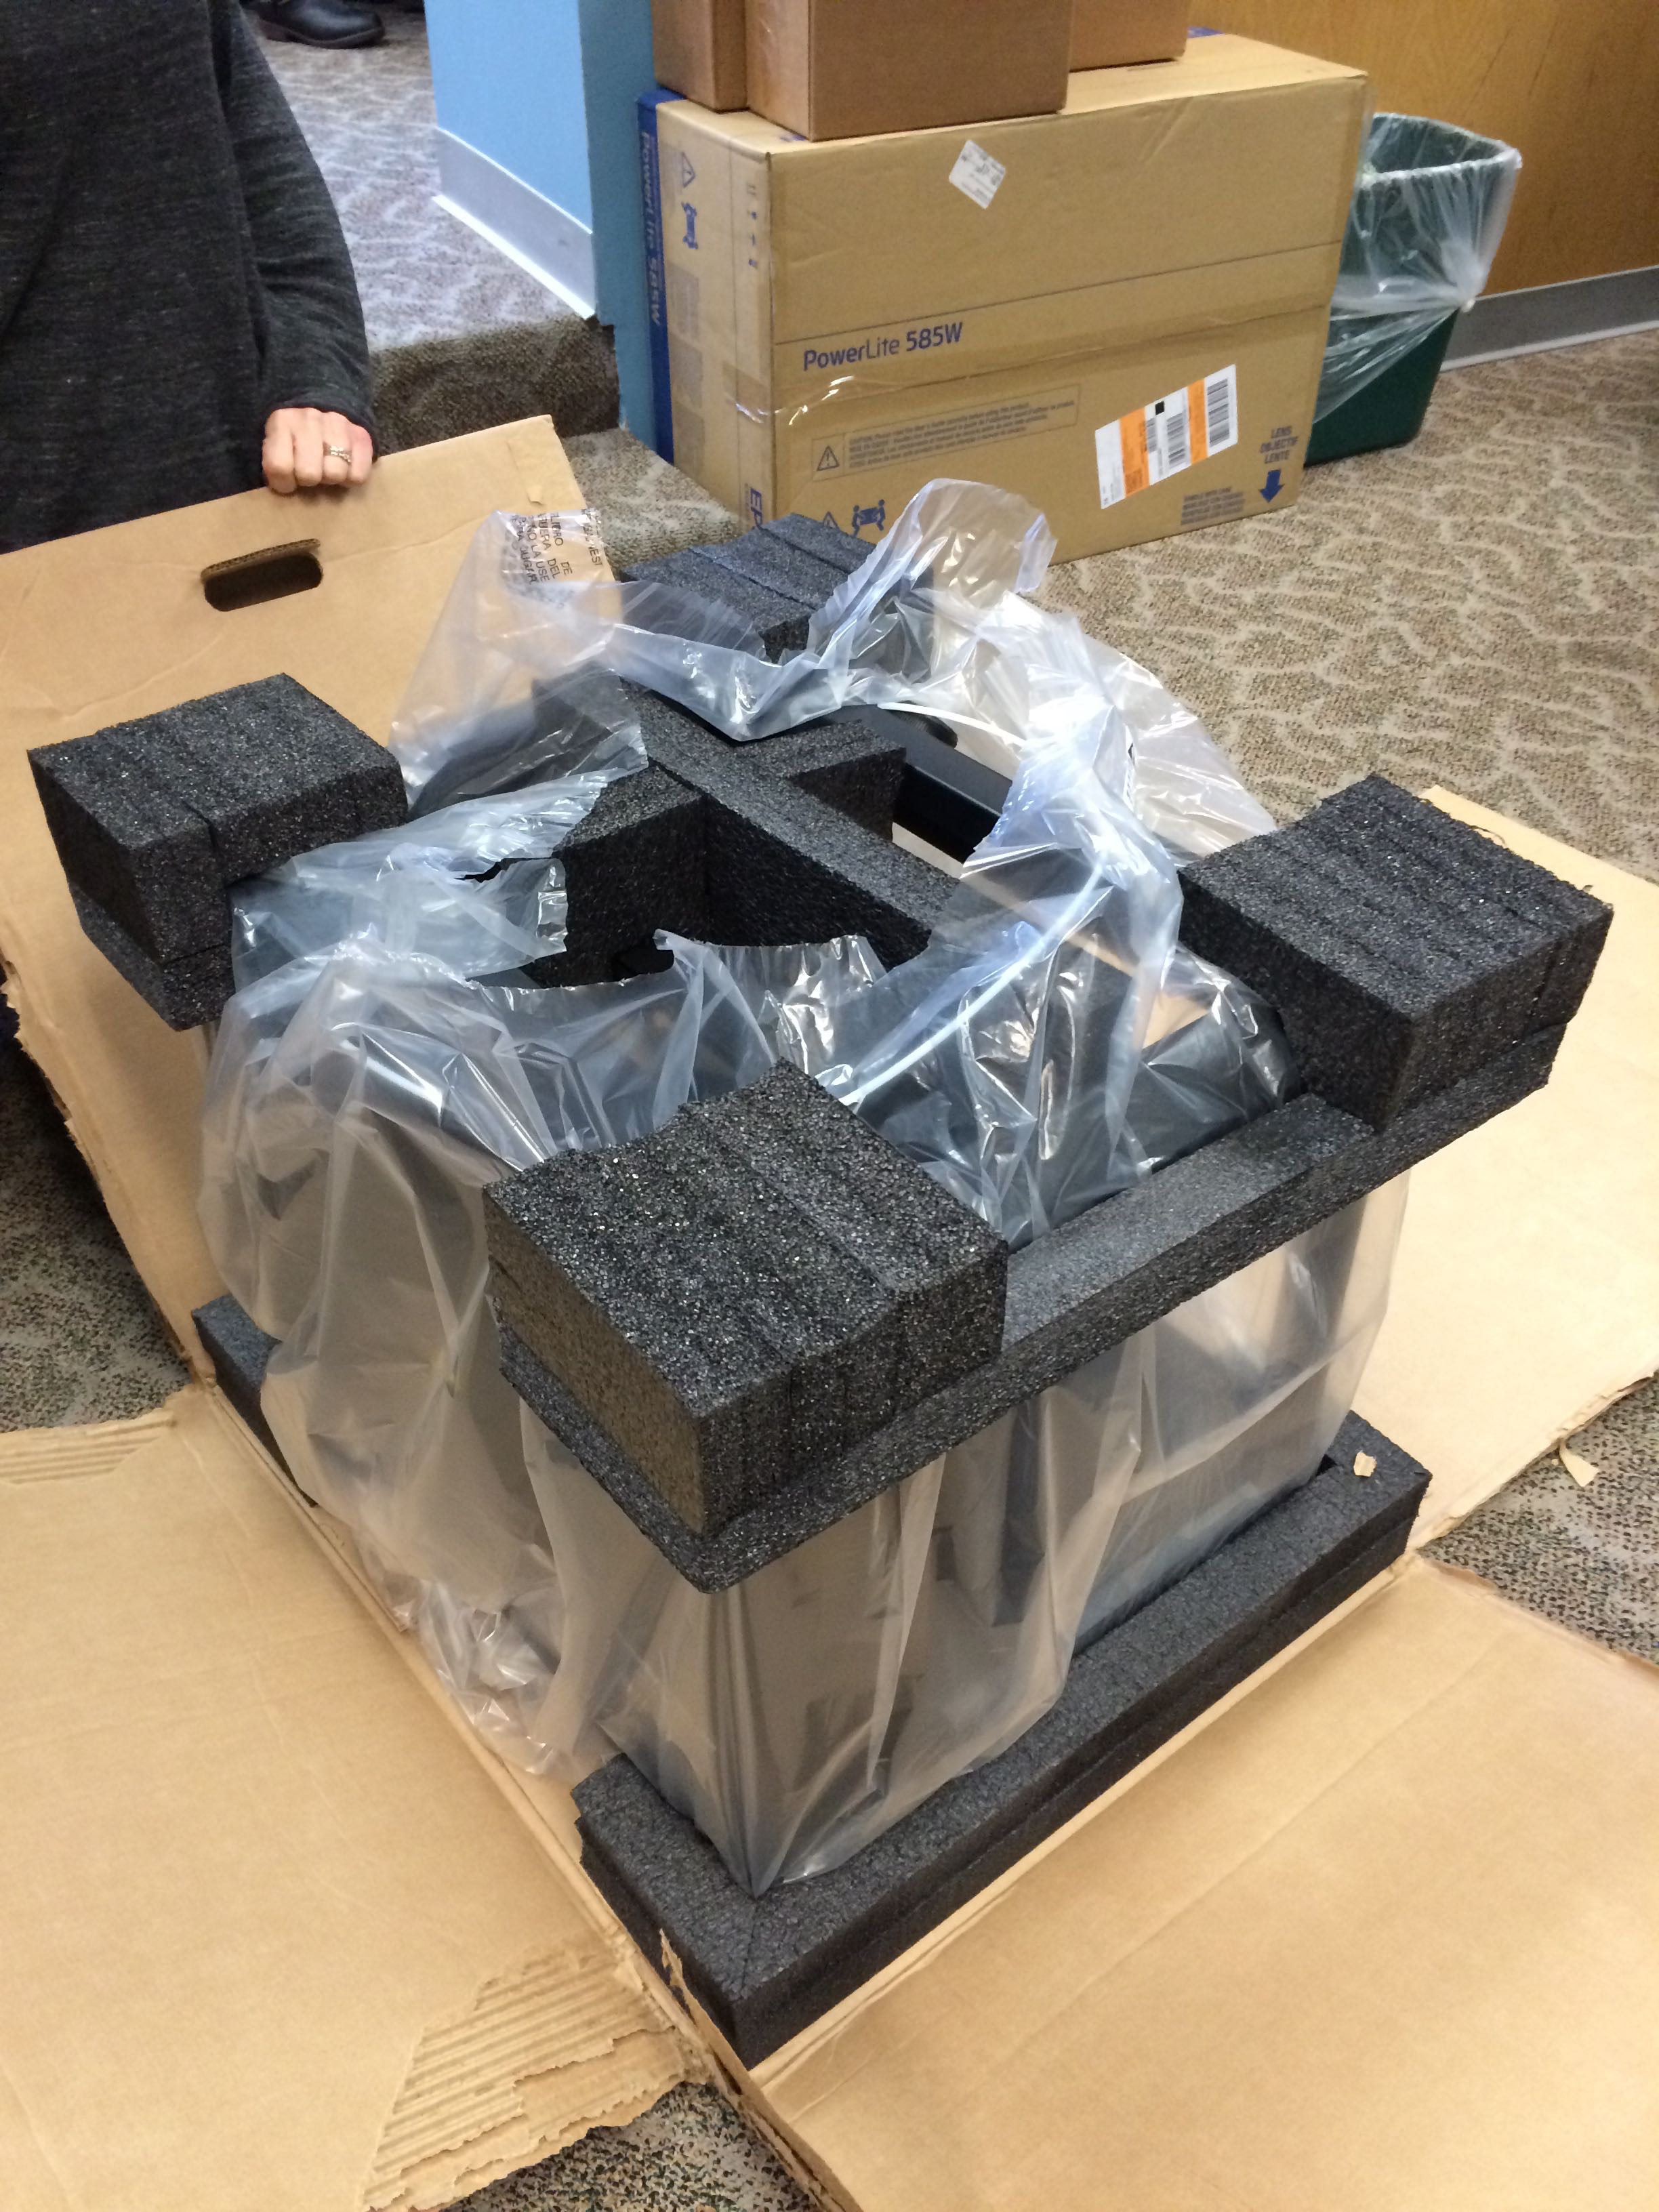
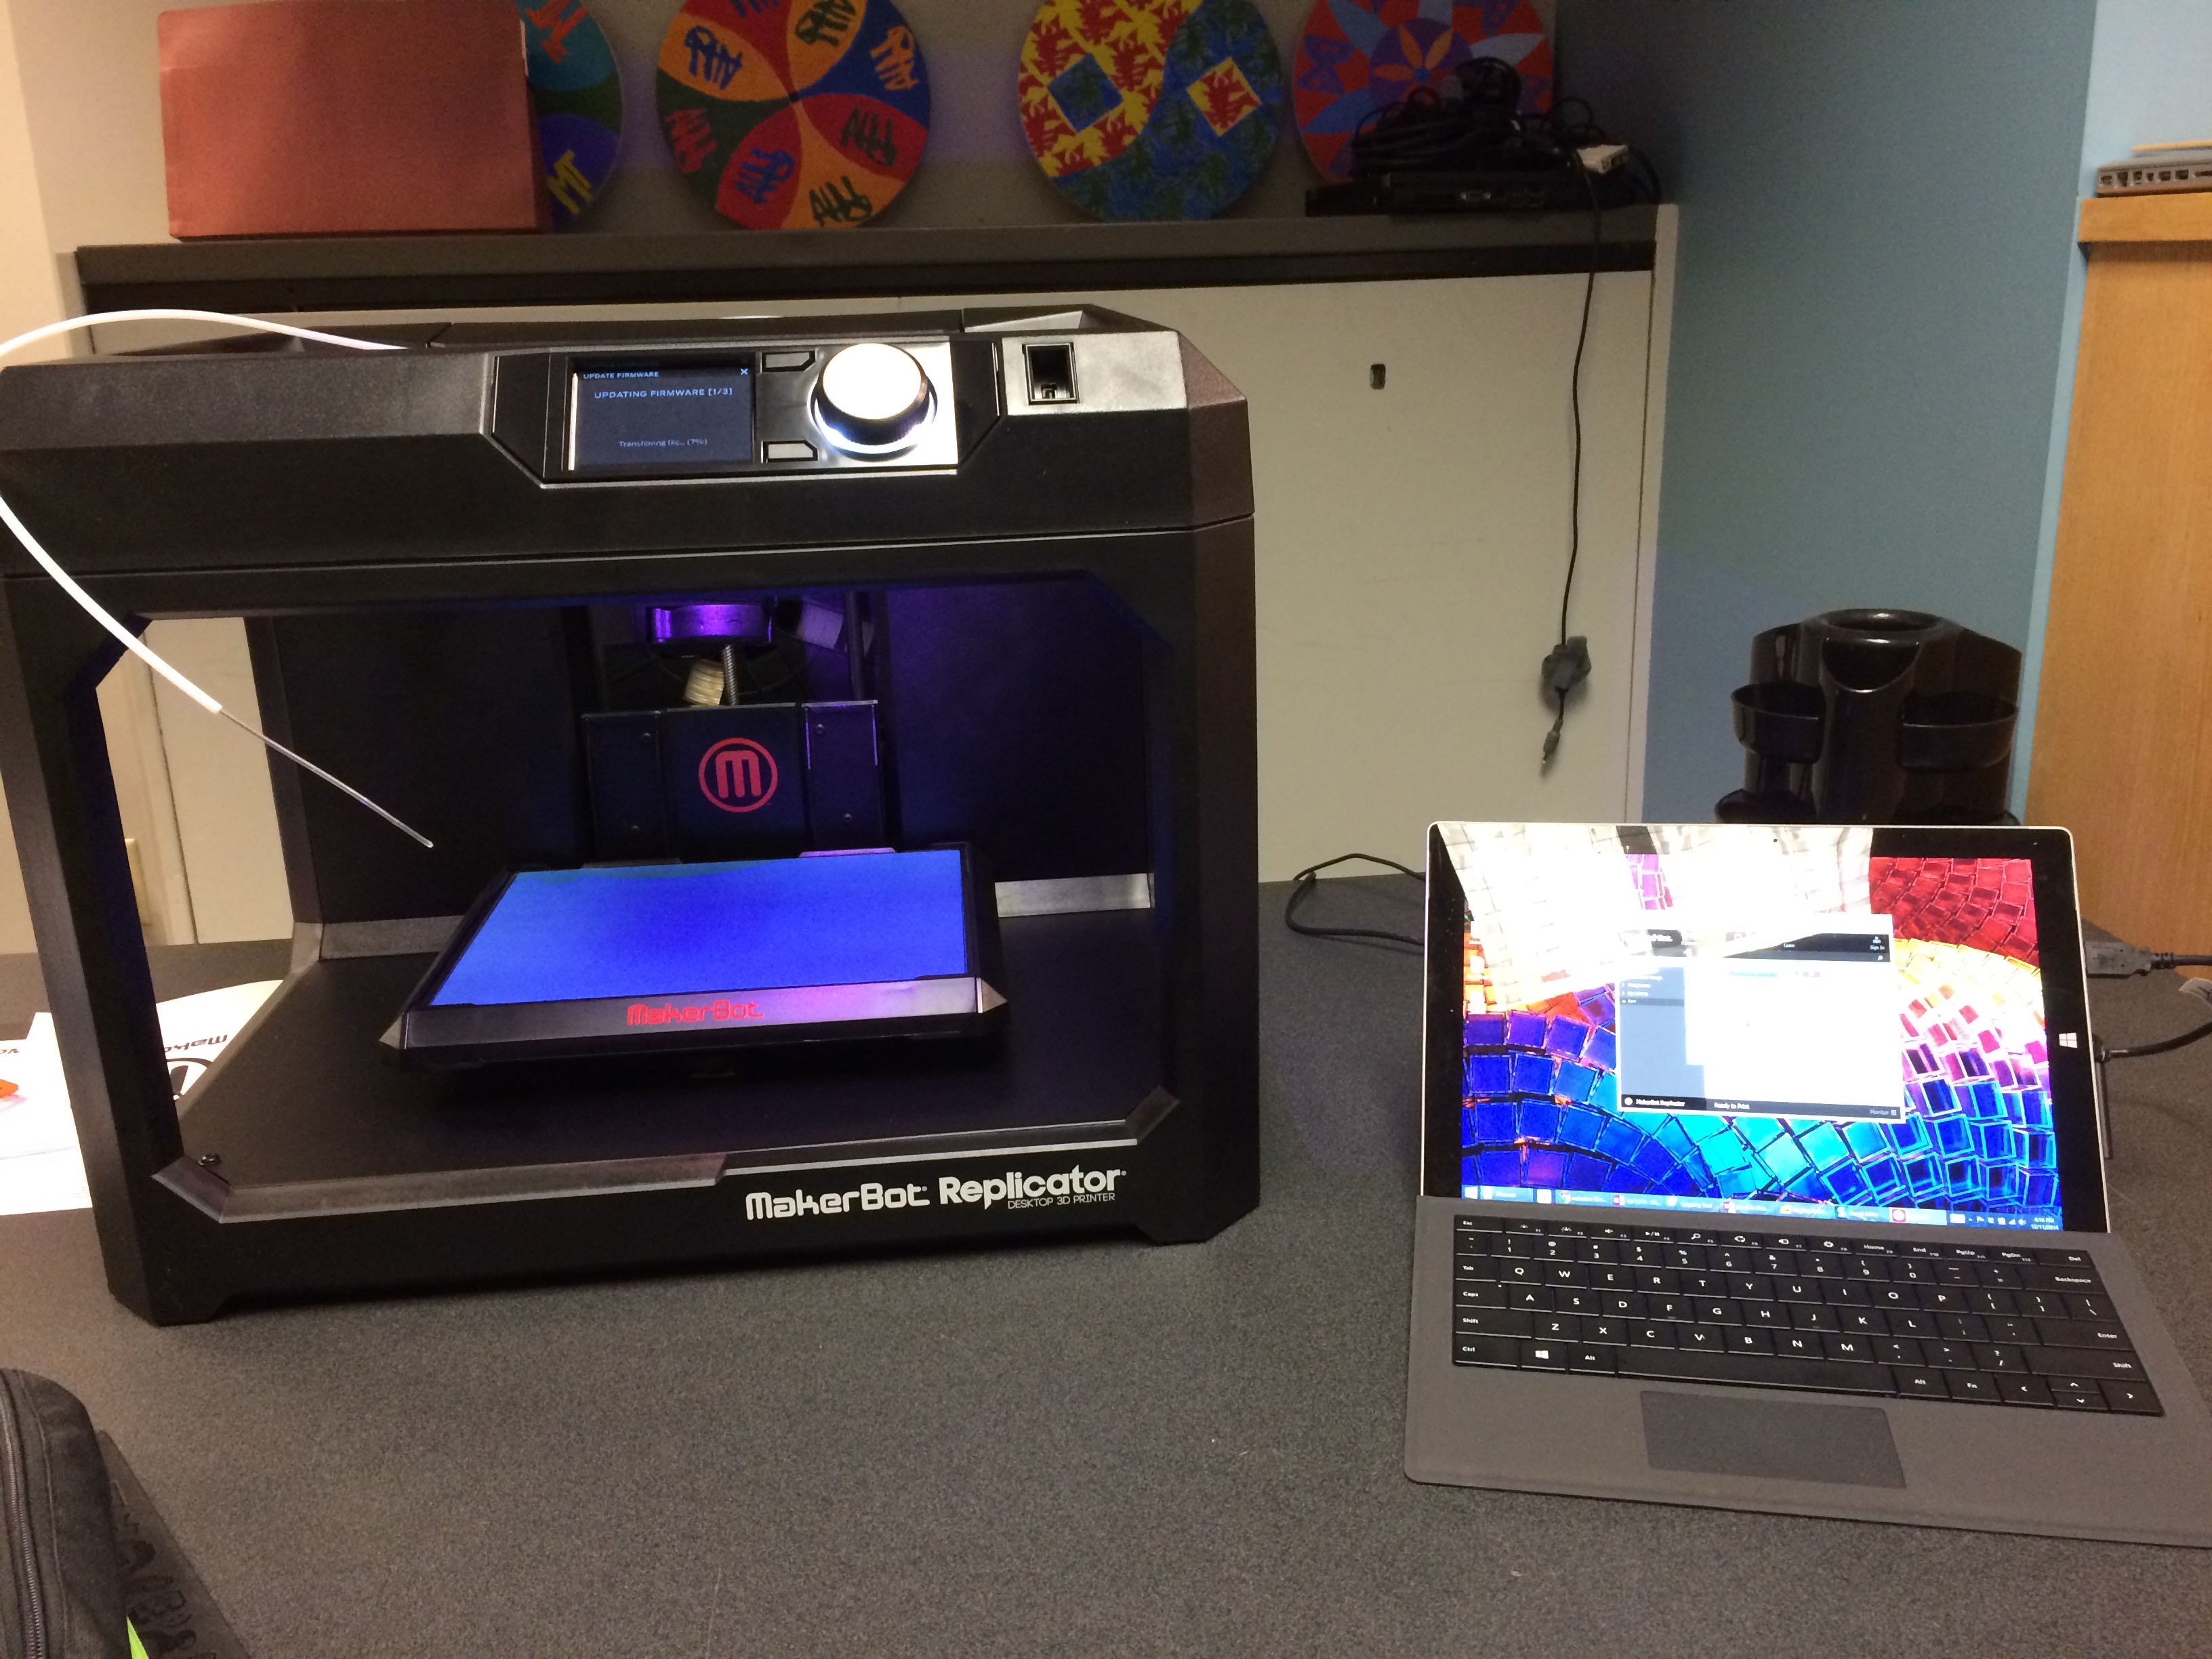
Right after lunch, MattieByrd and I headed over to Tech and pulled one of the two MakerBot Replicator (5th gen) boxes out of the server room. There is a certain heft to the unit, but it’s not overly heavy, which is not surprising since much of the unit is the empty space where models are built.
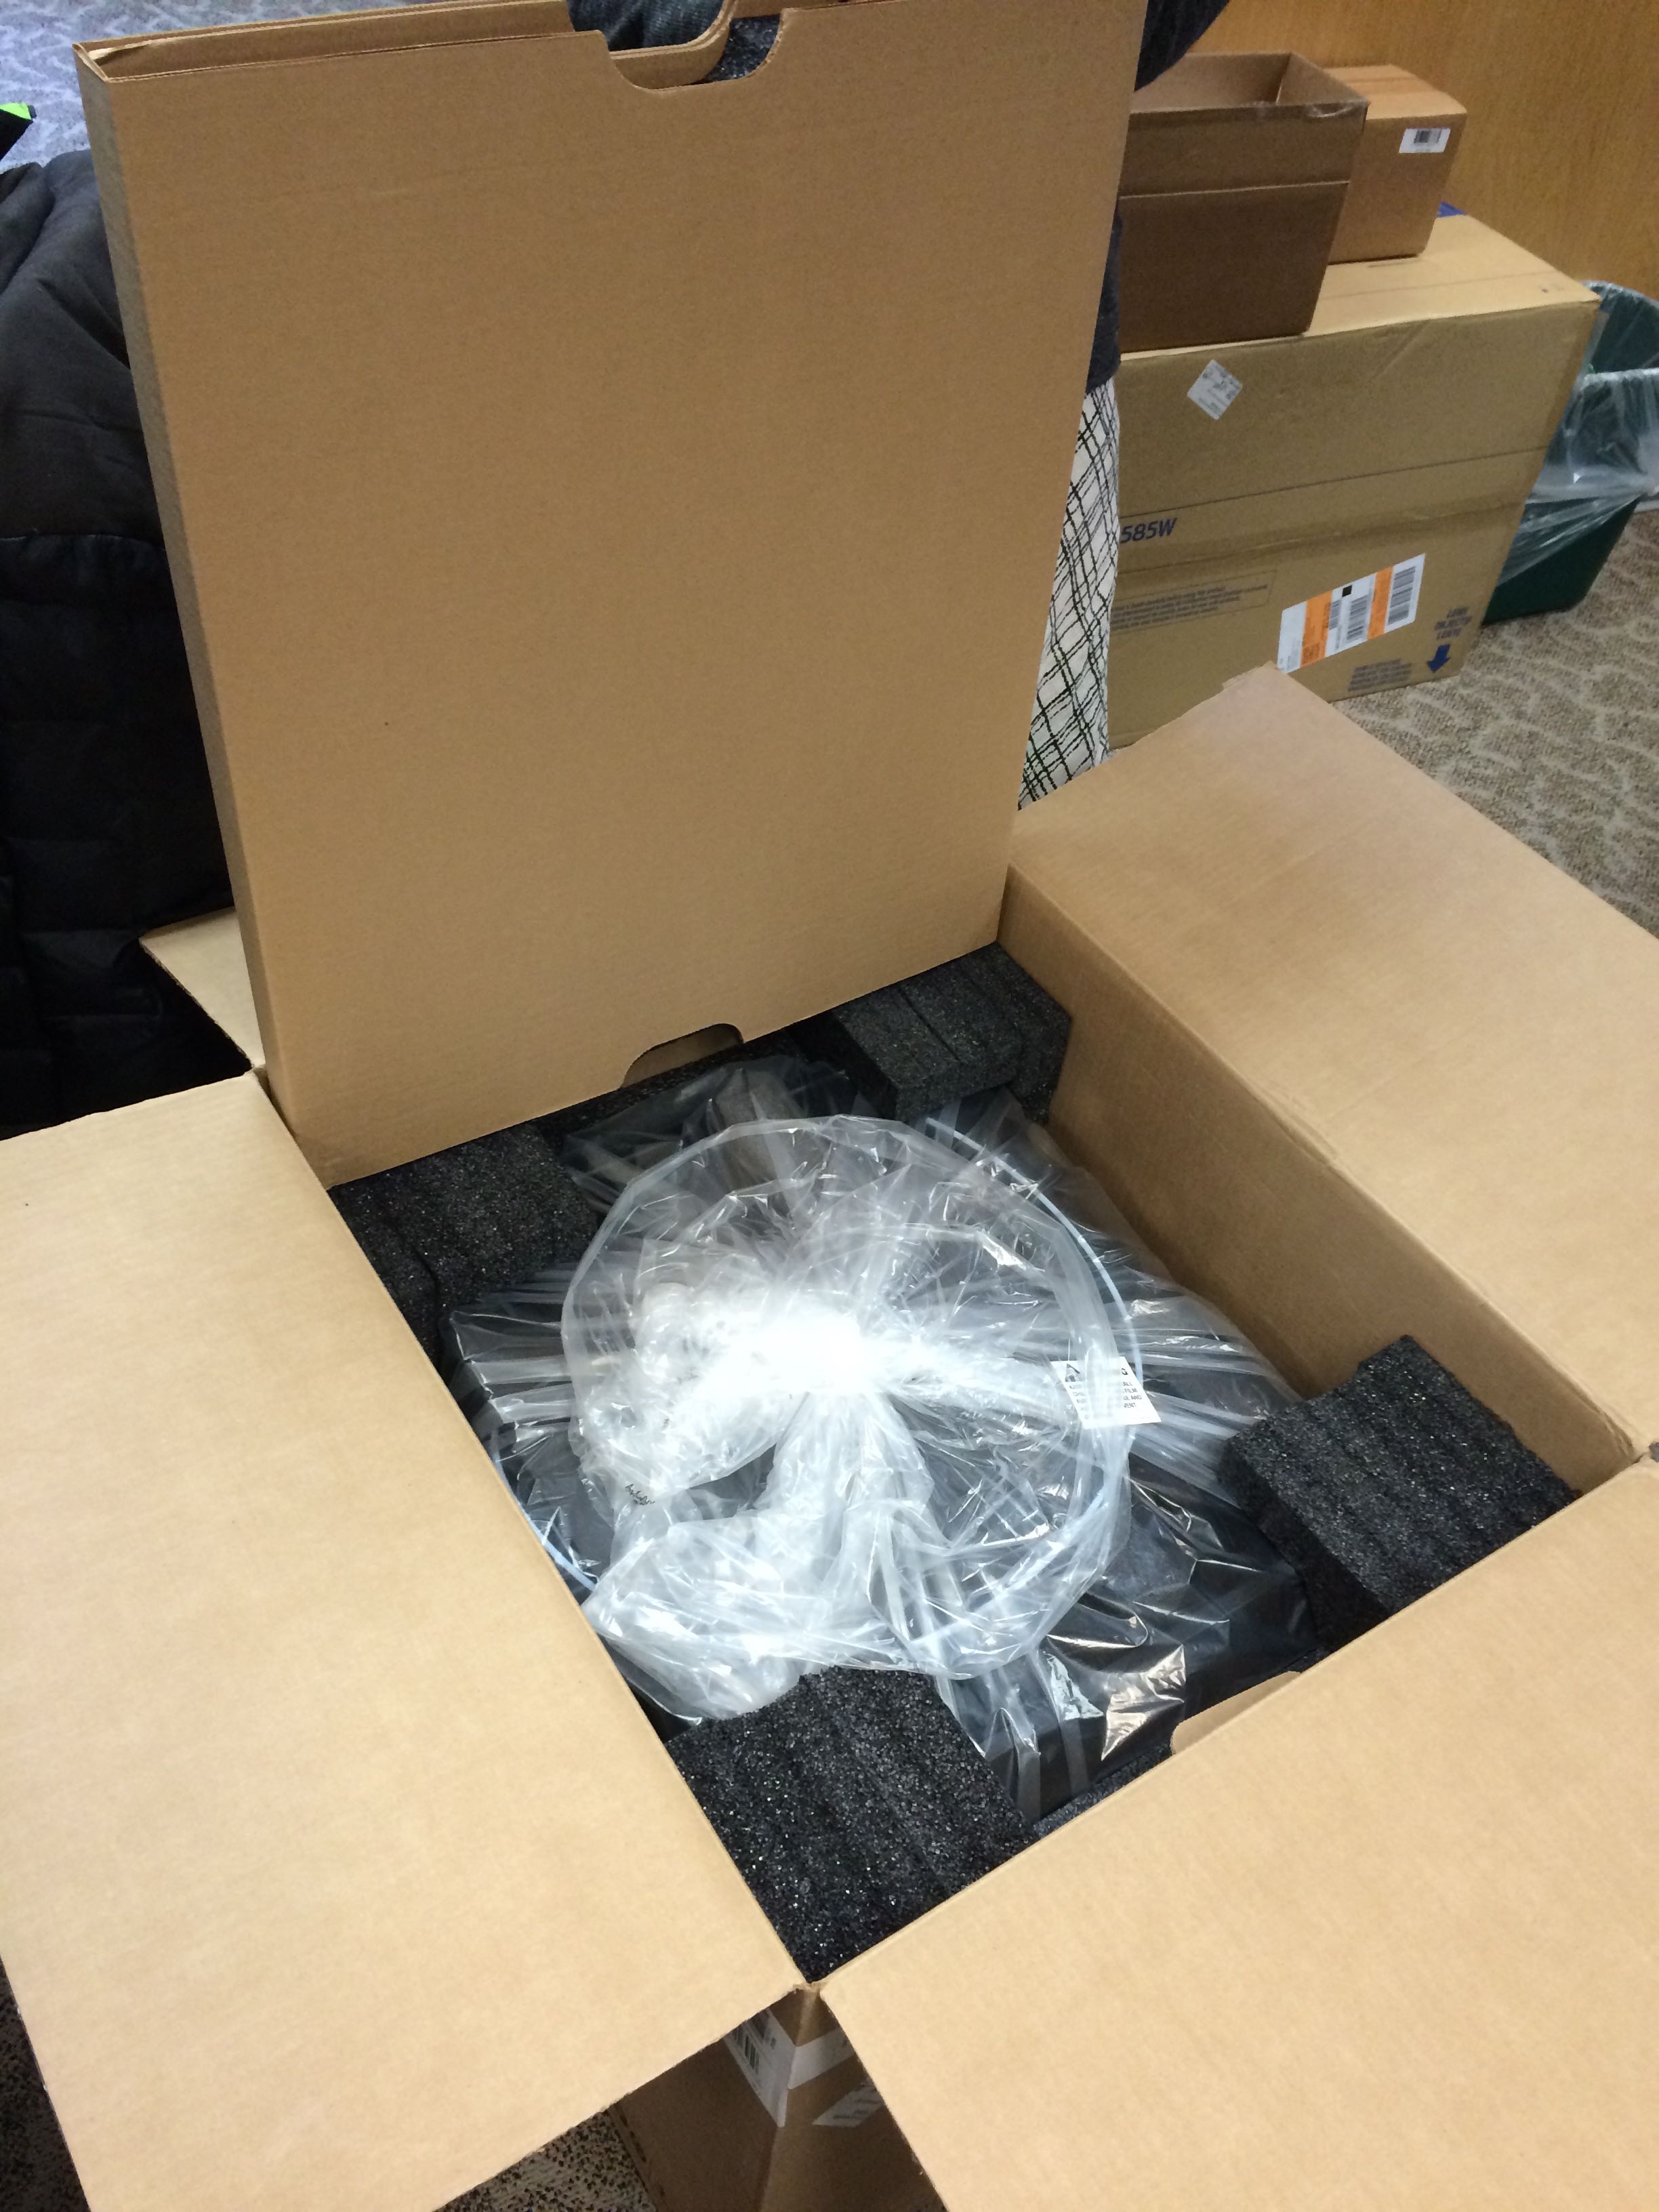
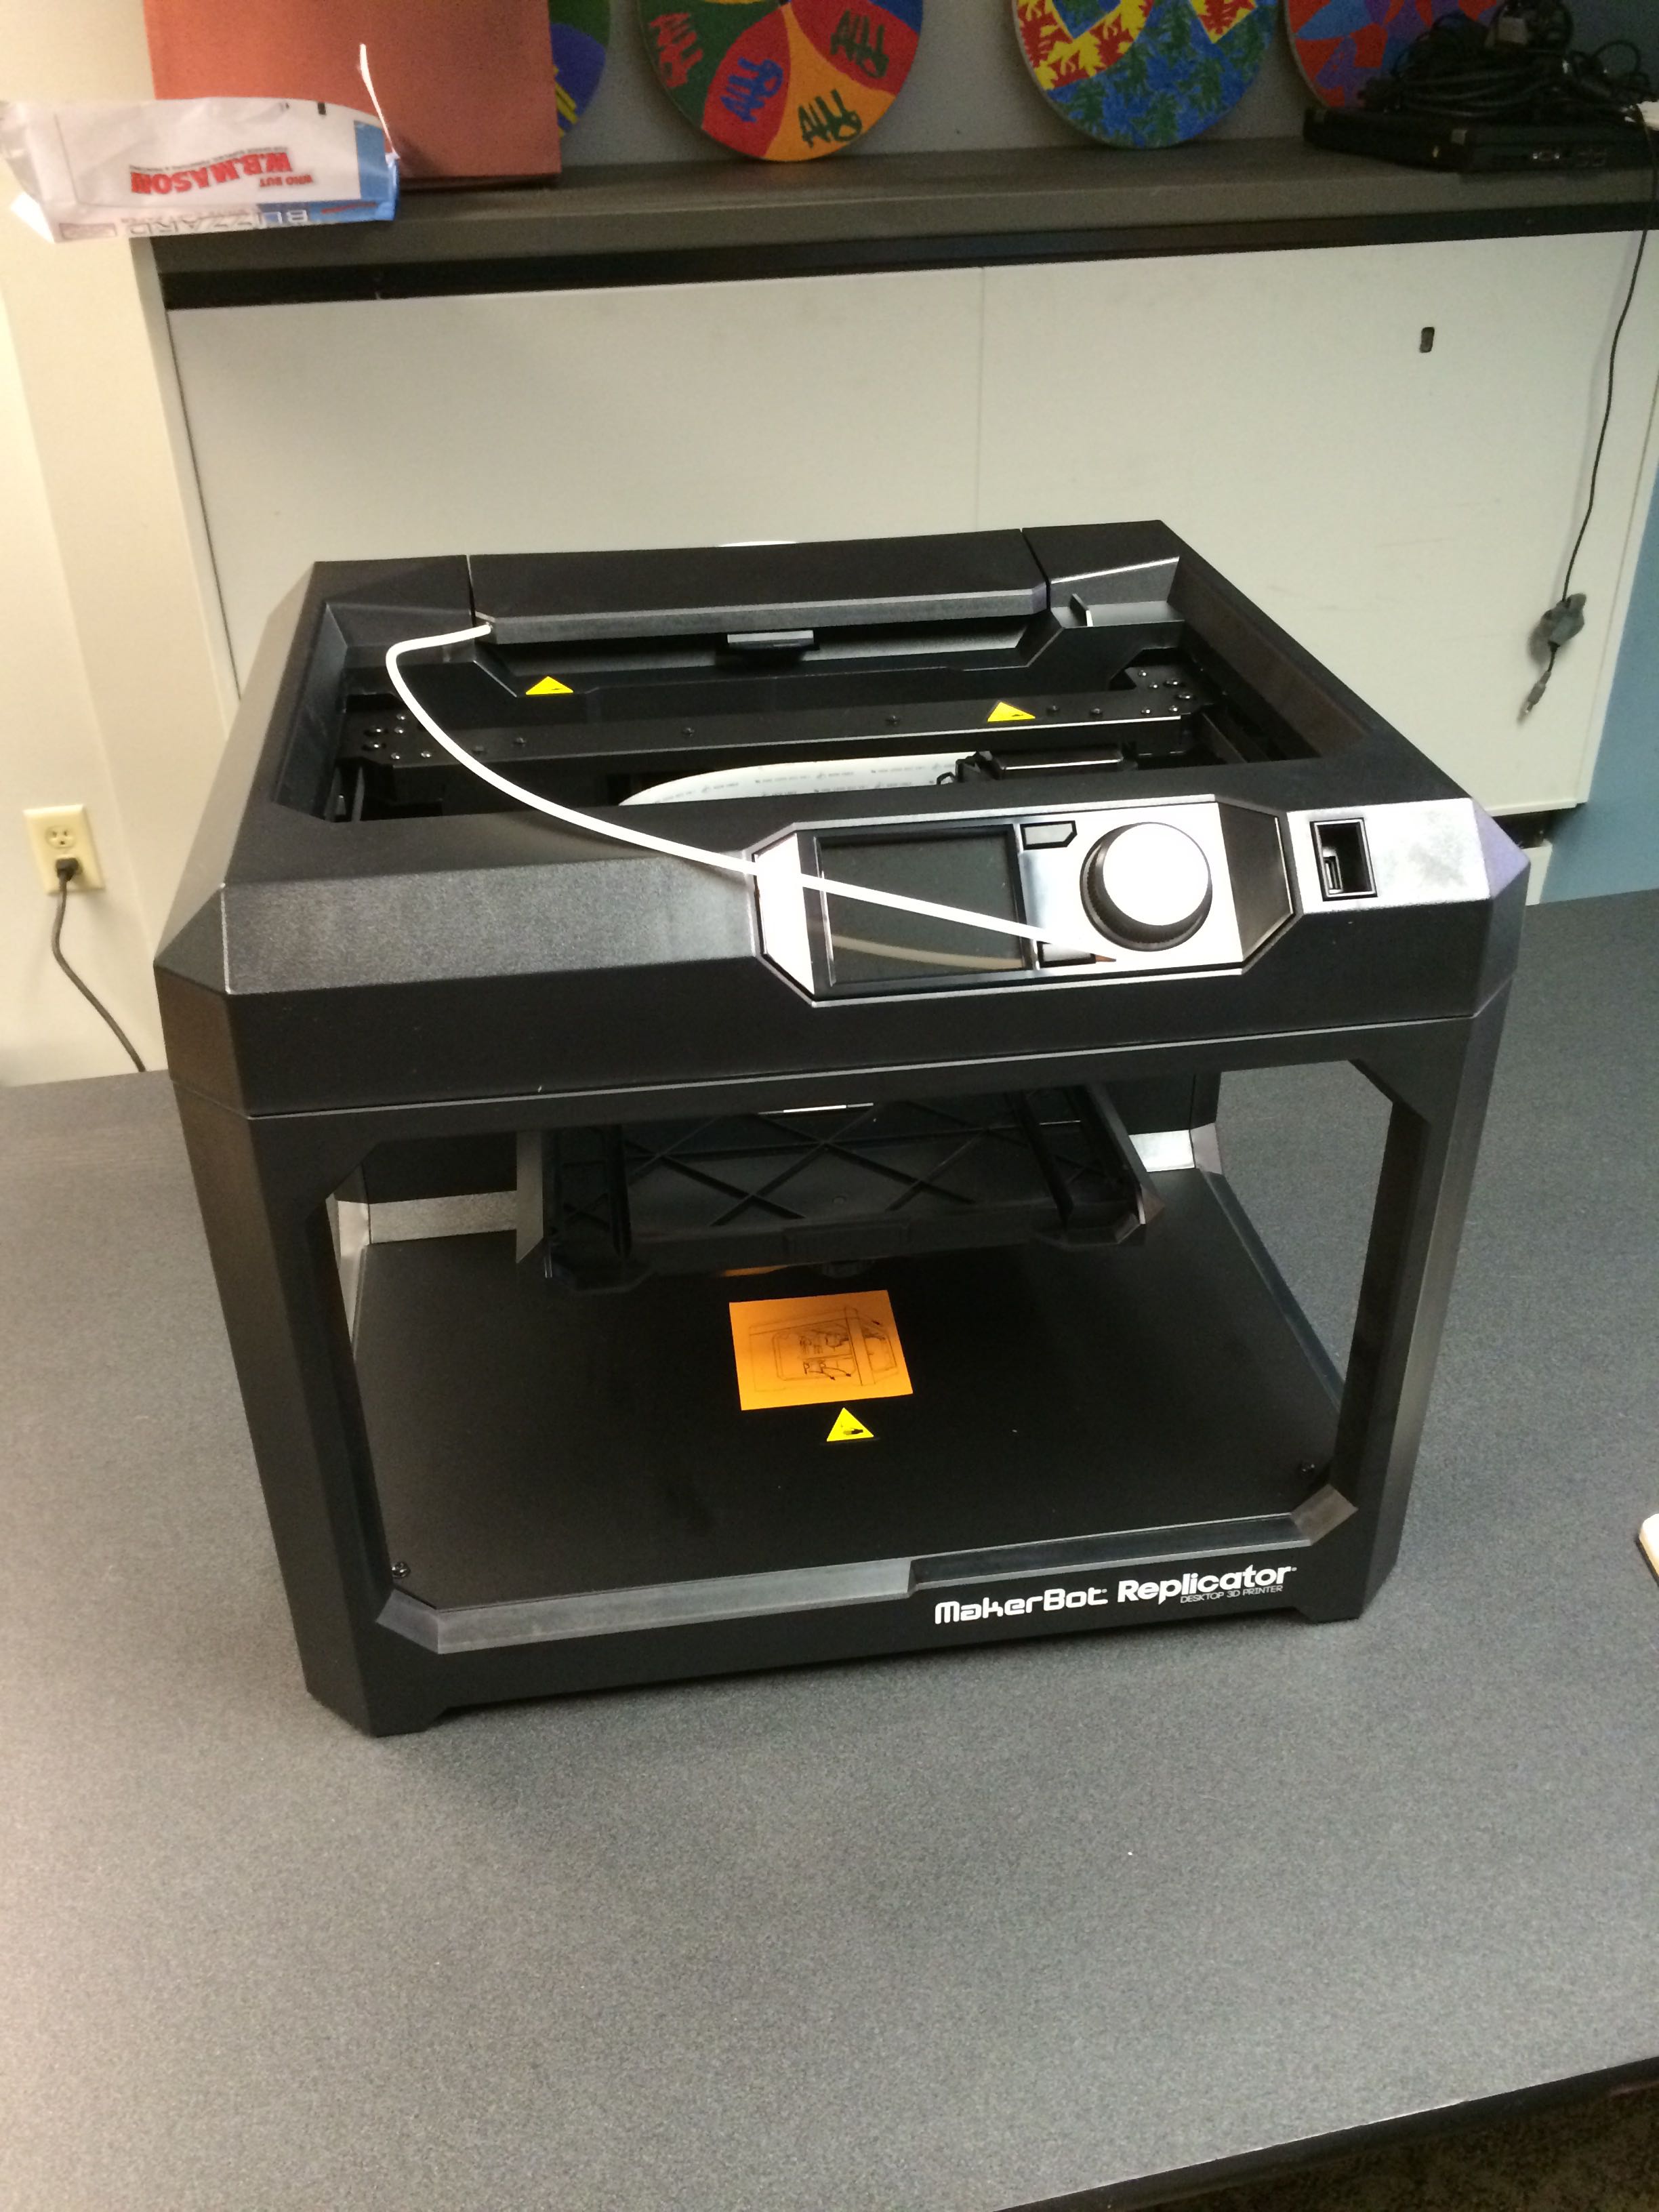
After a bit of unwrapping, we found got to see the main unit in all its glory!
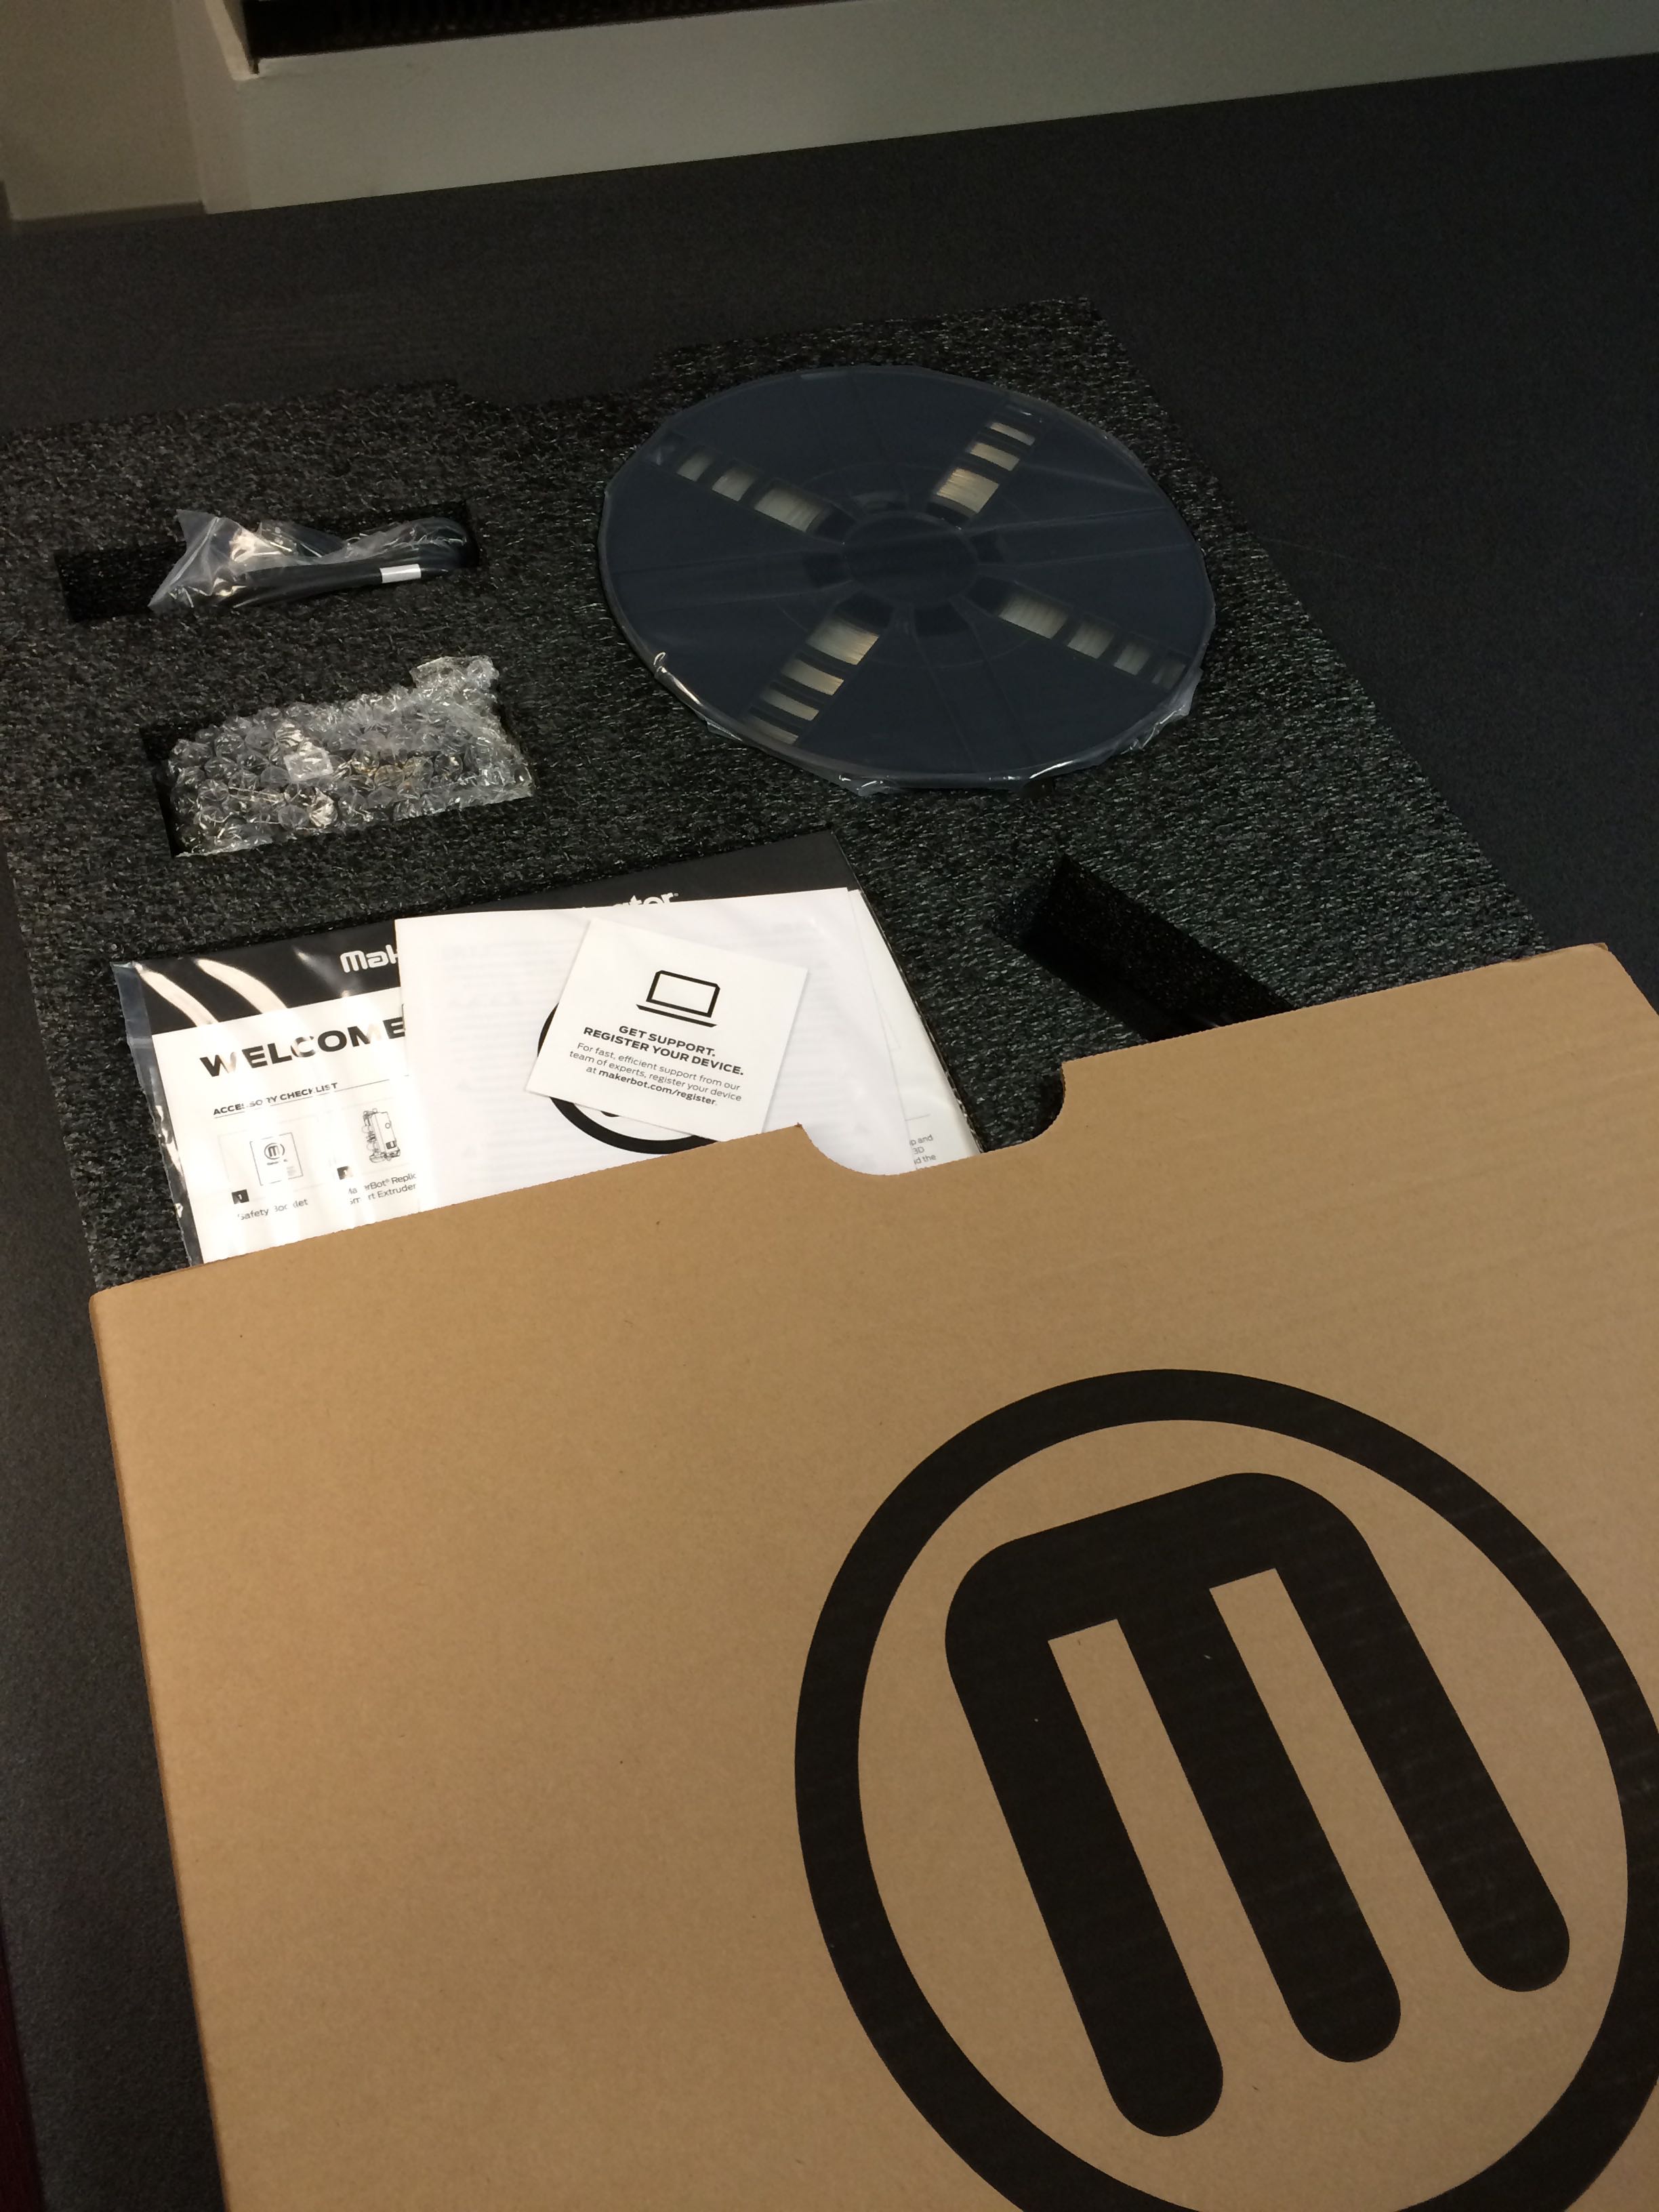
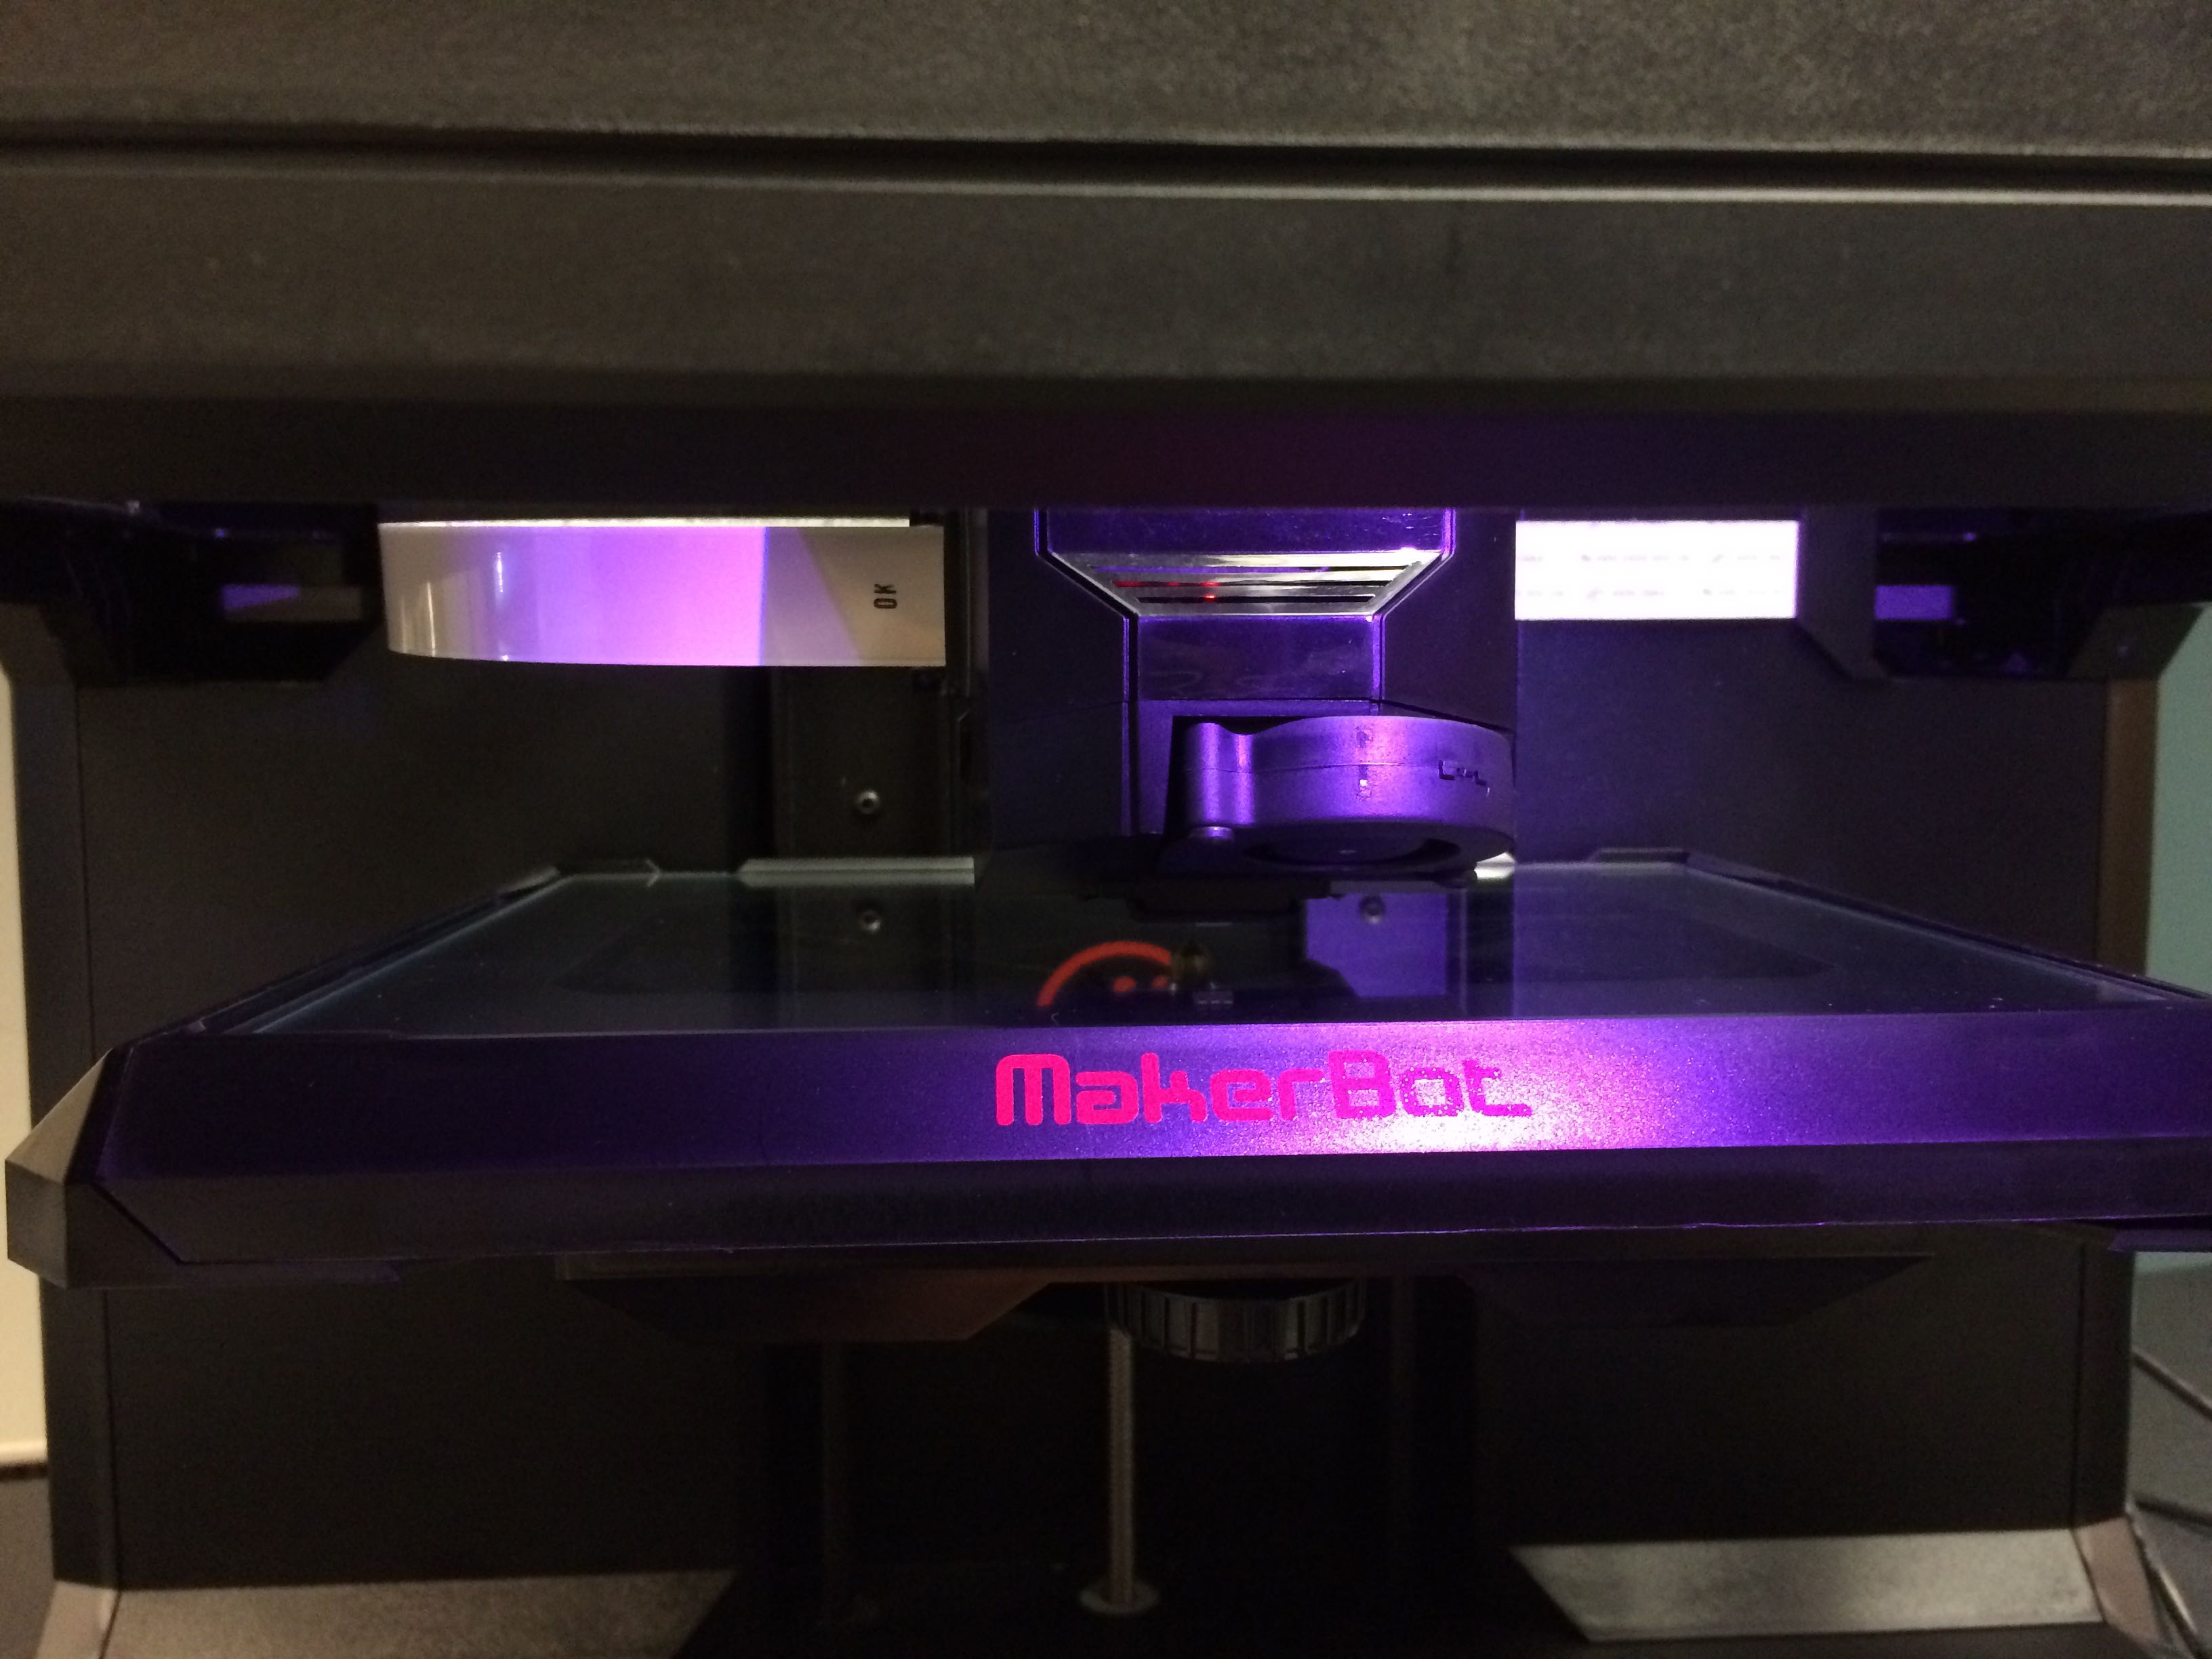
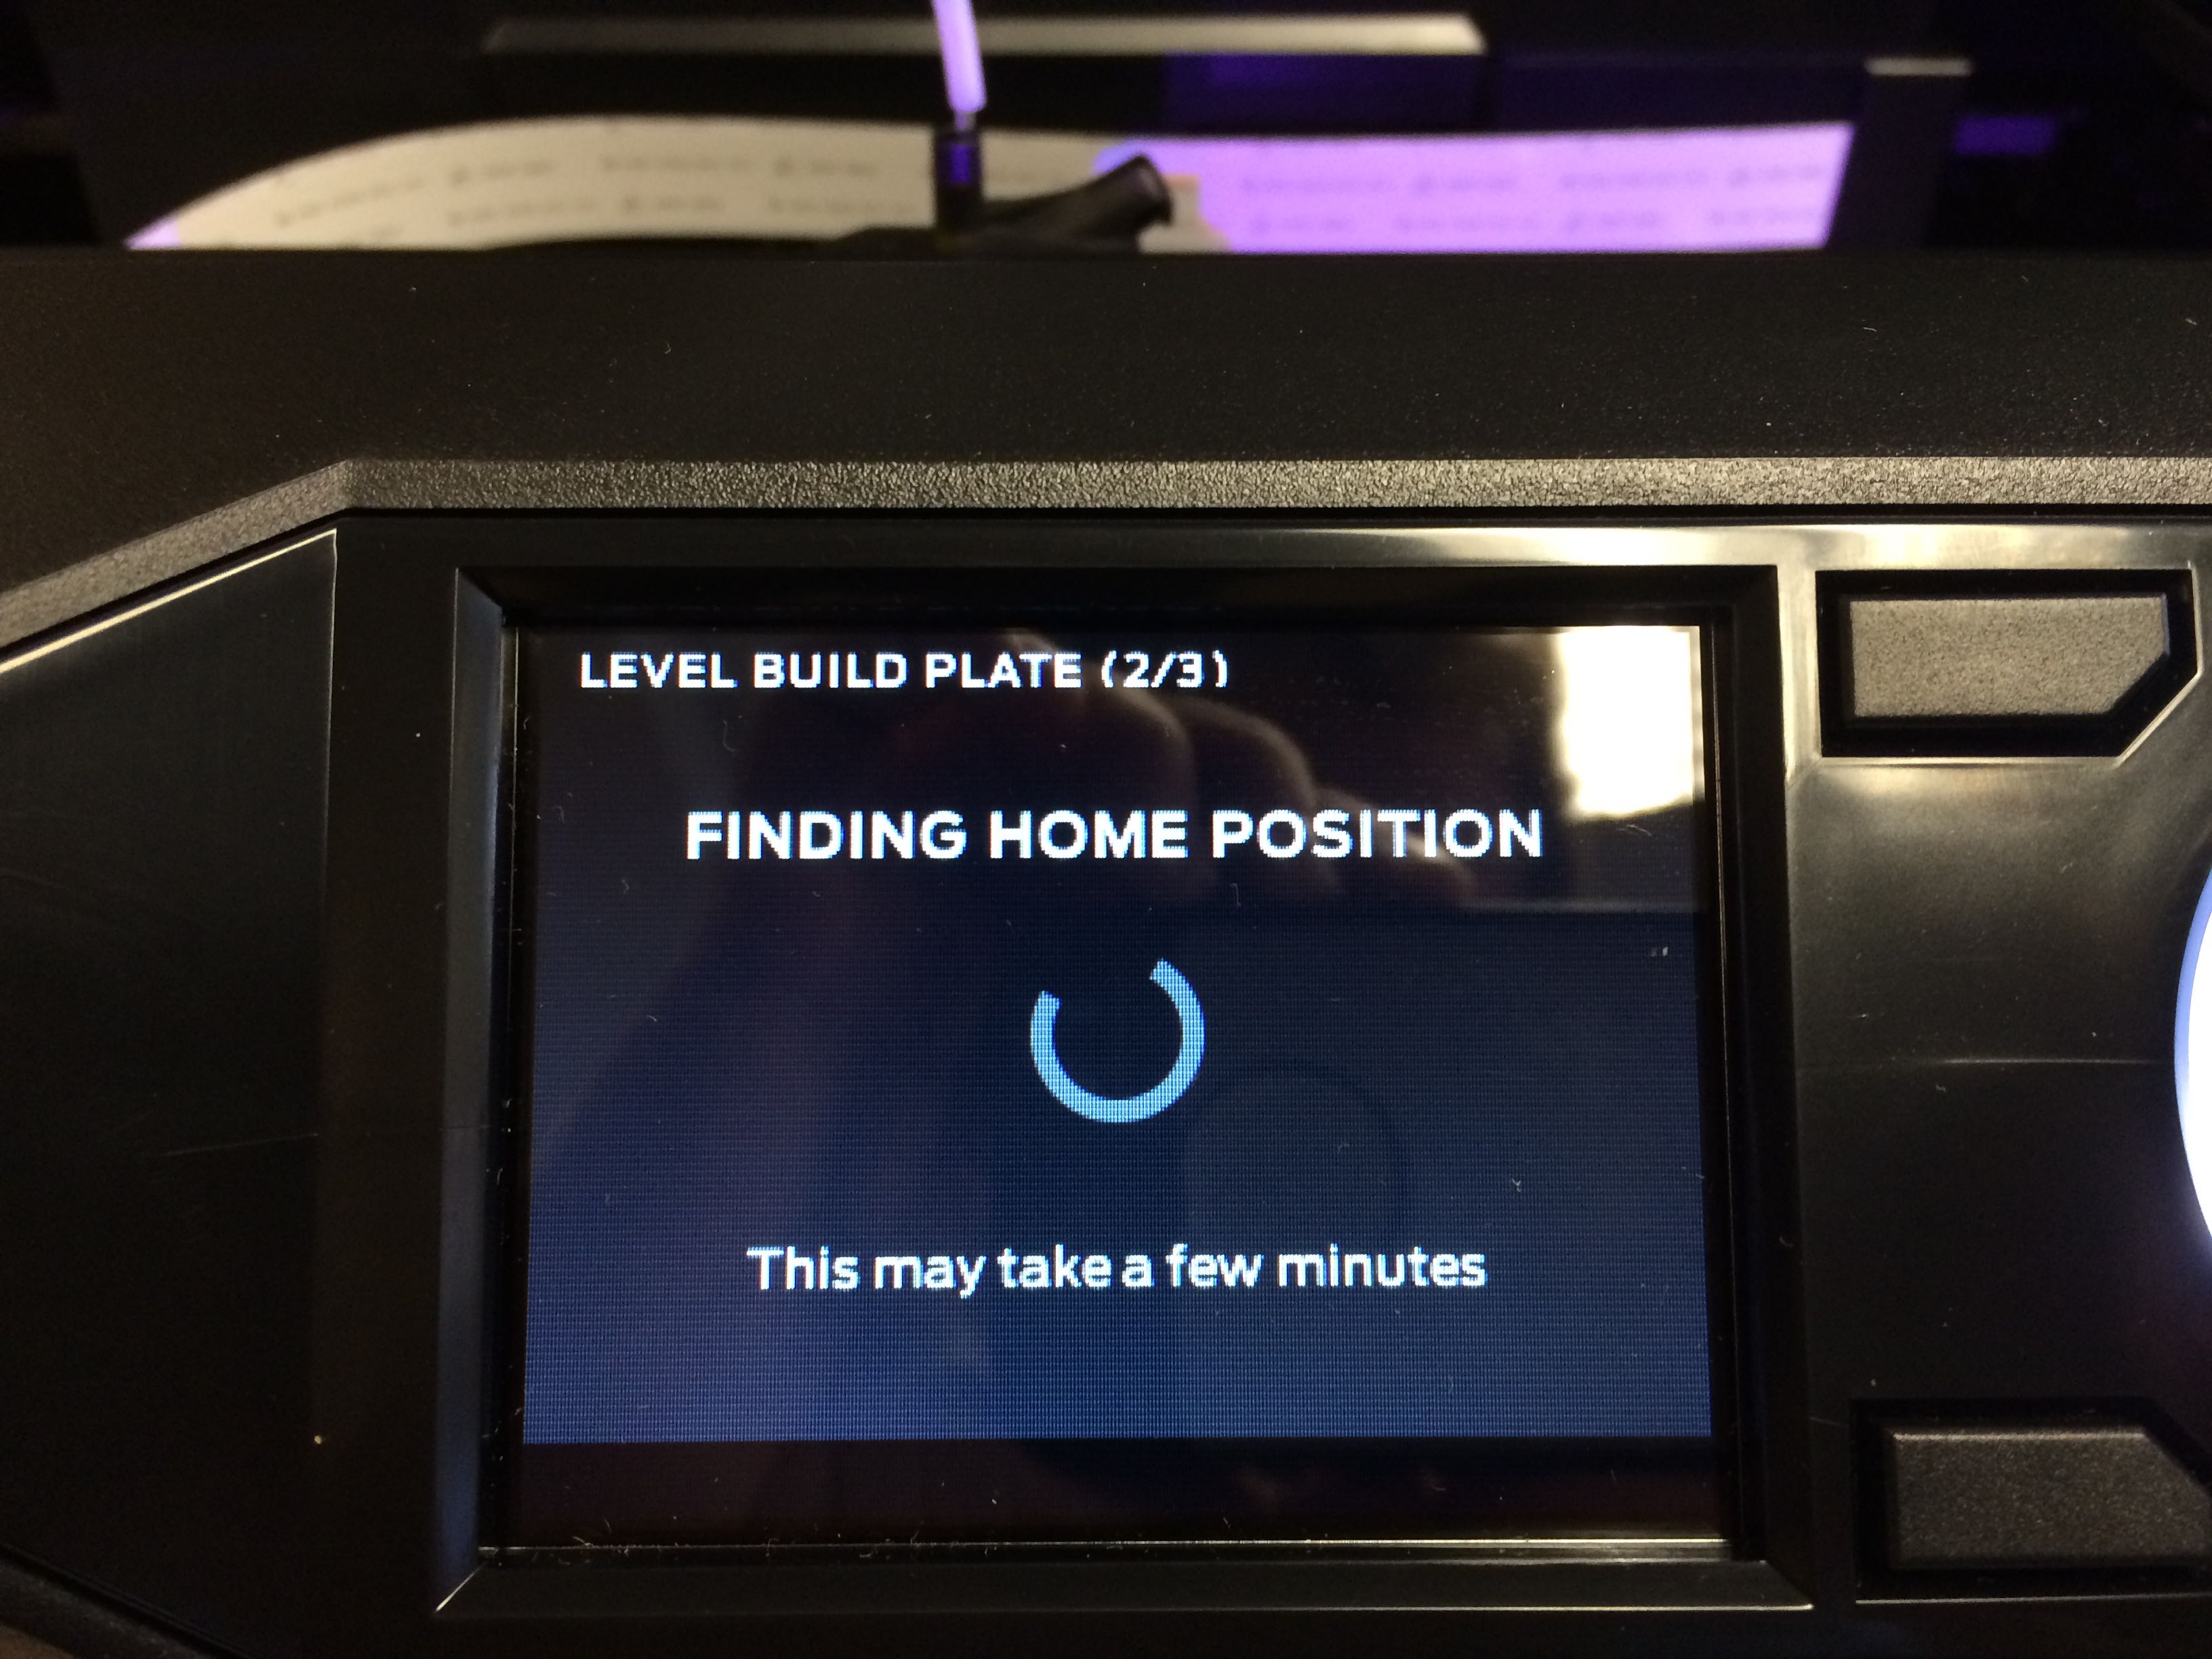
Next up, MattieByrd and I went about installing the plastic filament (what the models are made out of), the extruder (the printed head that applies the melted plastic), and the build plate (the surface where the models are built). We also ran the unit through the auto-leveling protocol which was super cool to see in action.
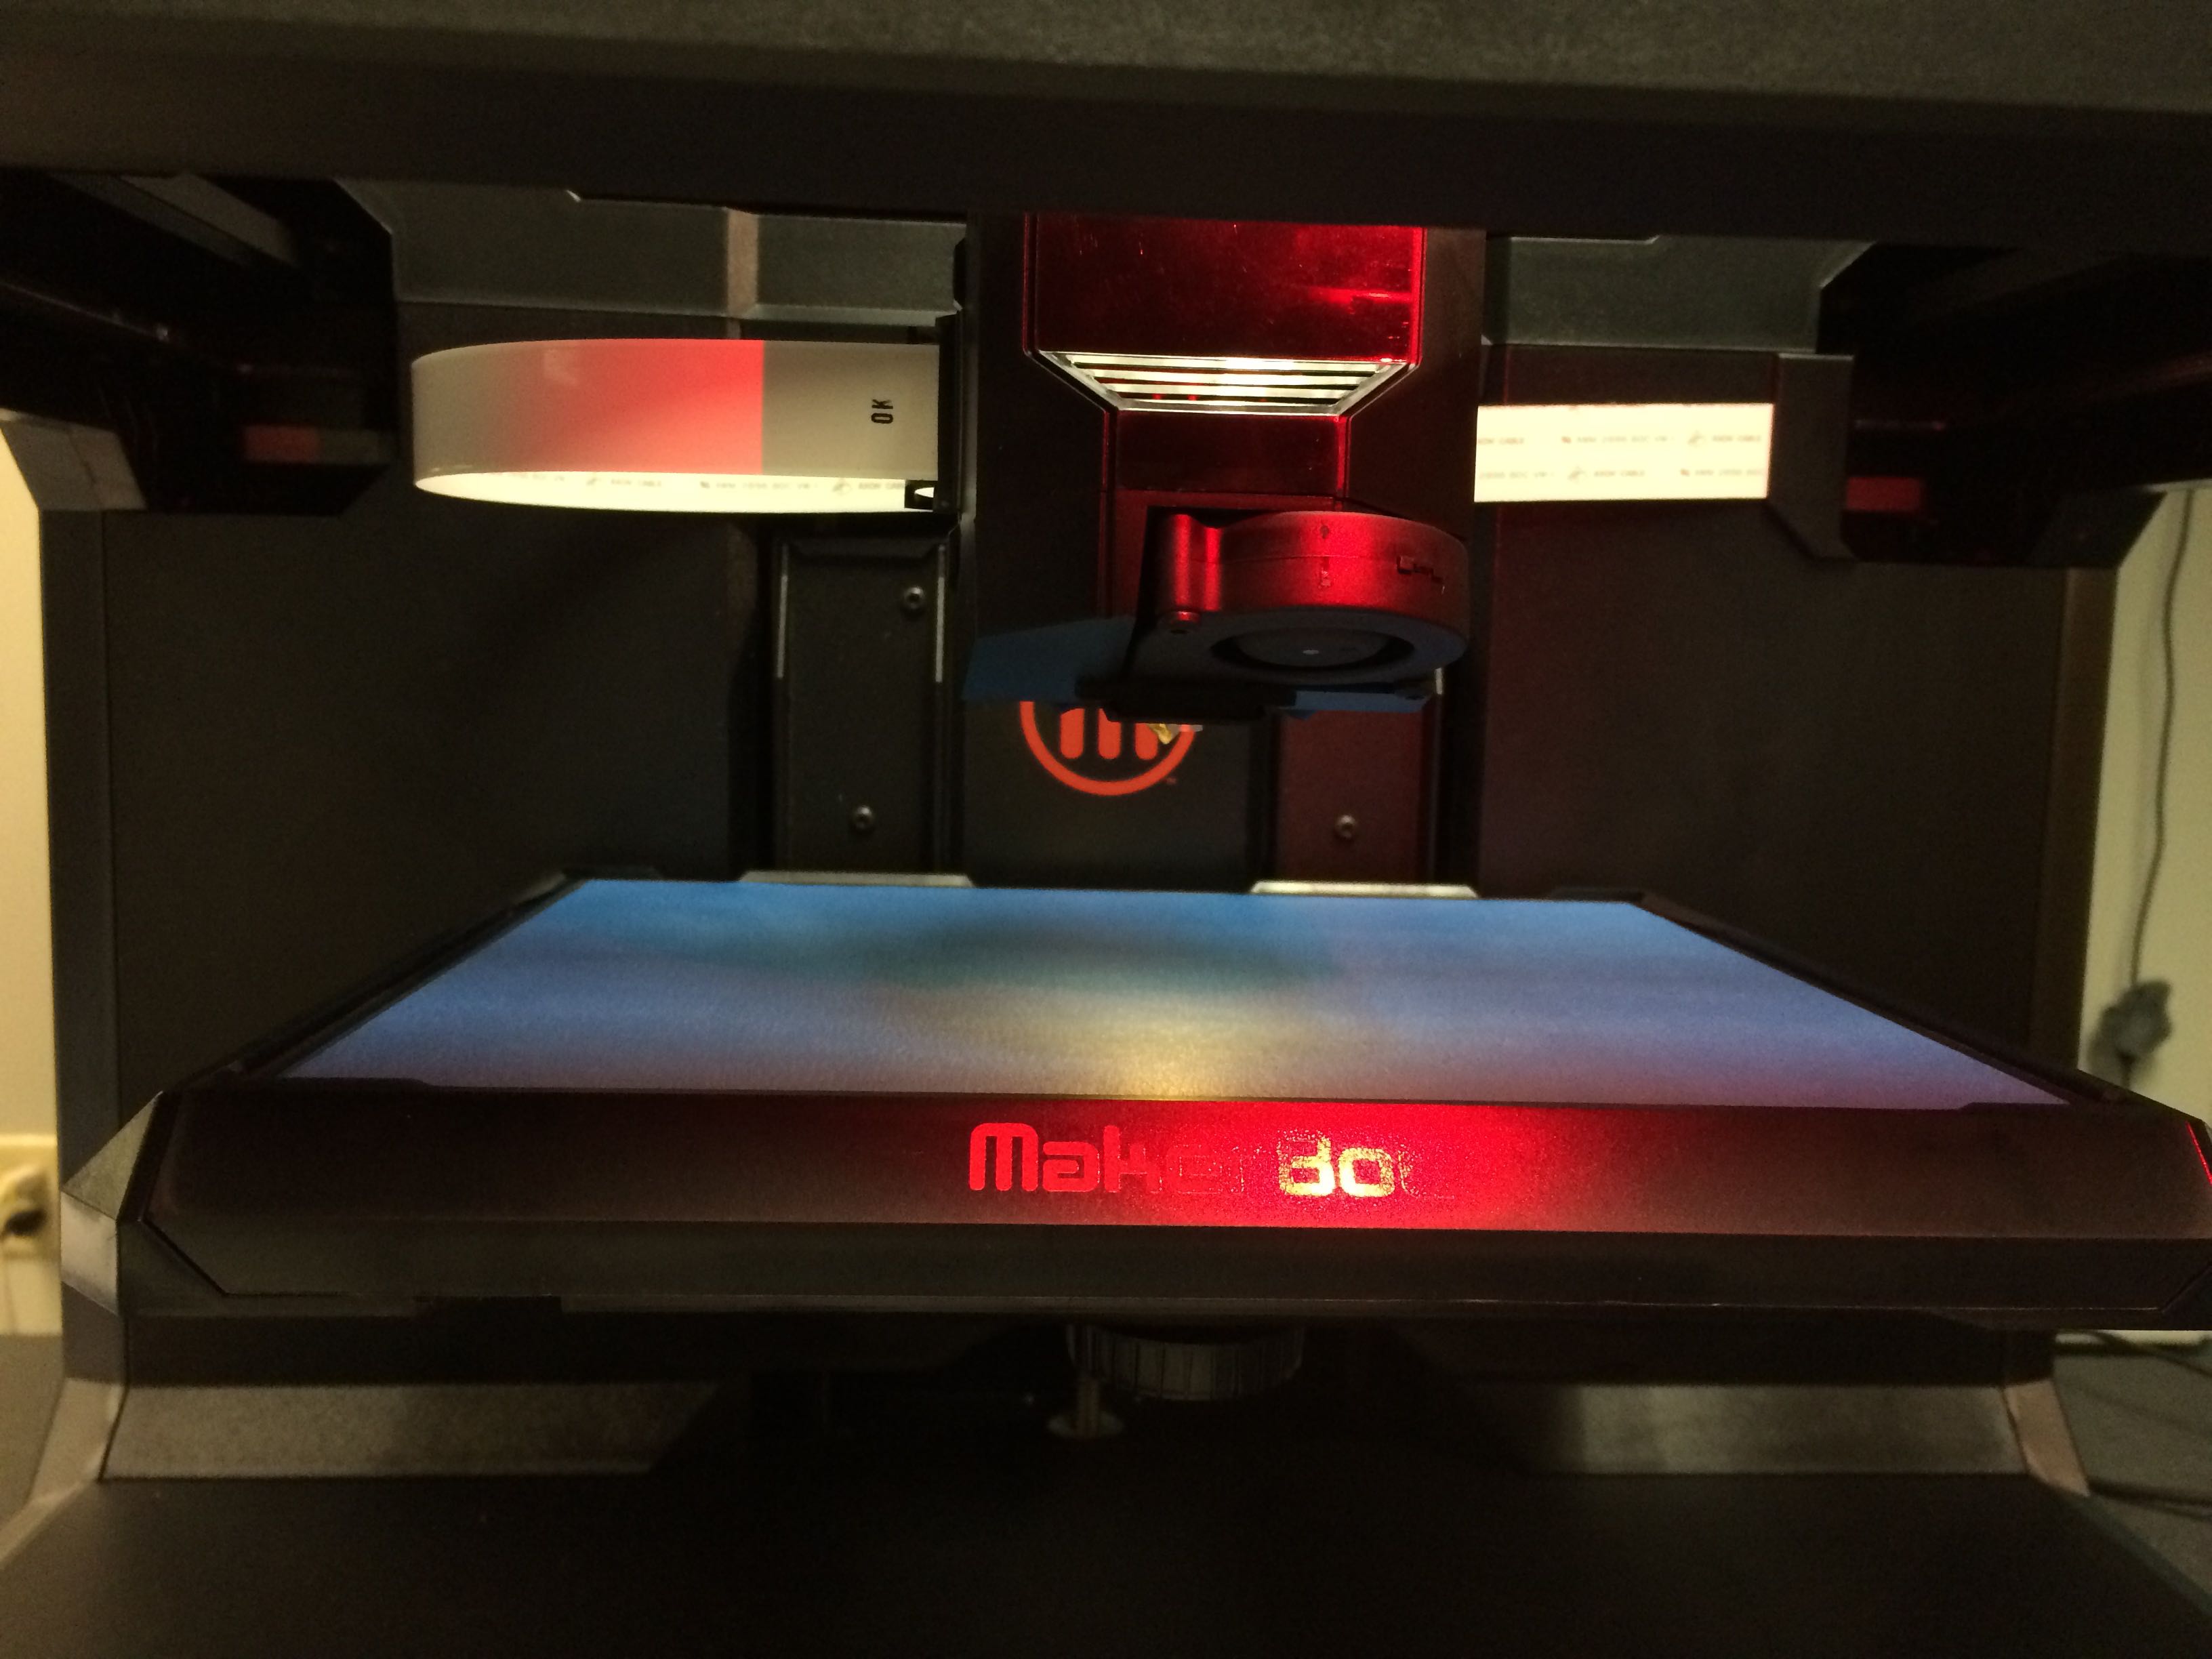
The plastic filament is threaded through this tube.
The build plate
Booting up for the first time!
The build plate being automatically leveled
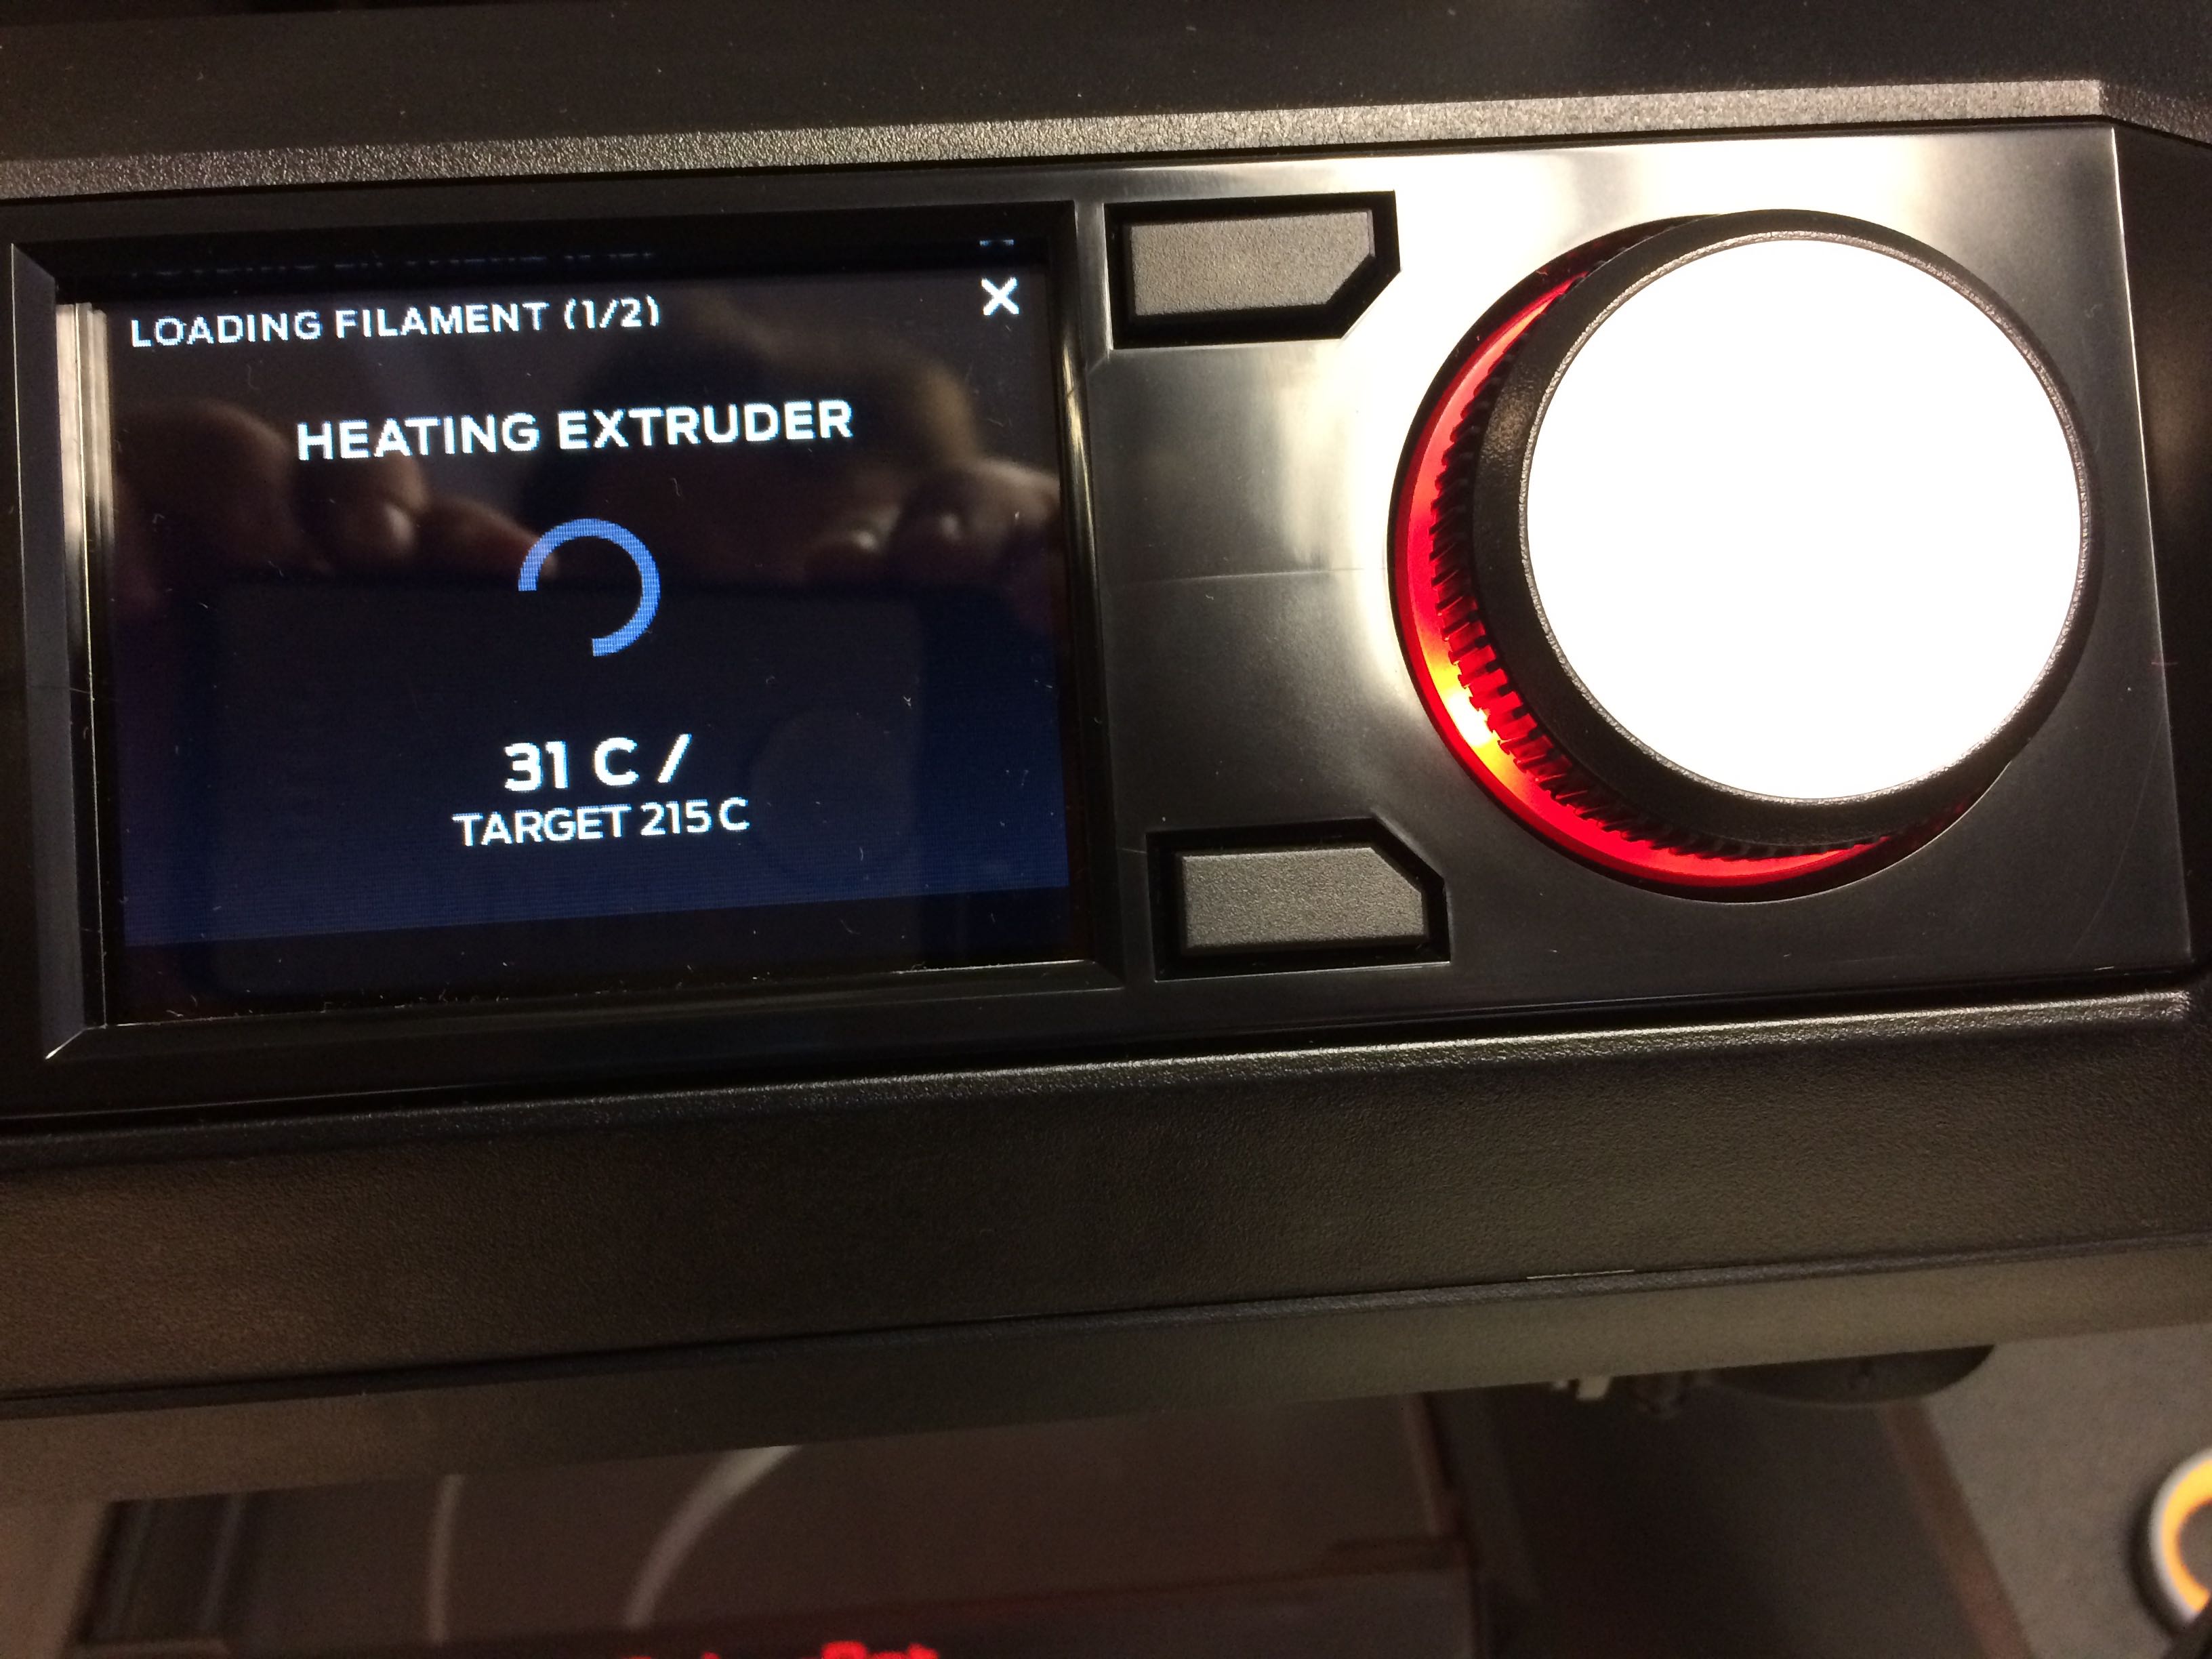
The extruder needs to be heated up to load filament.
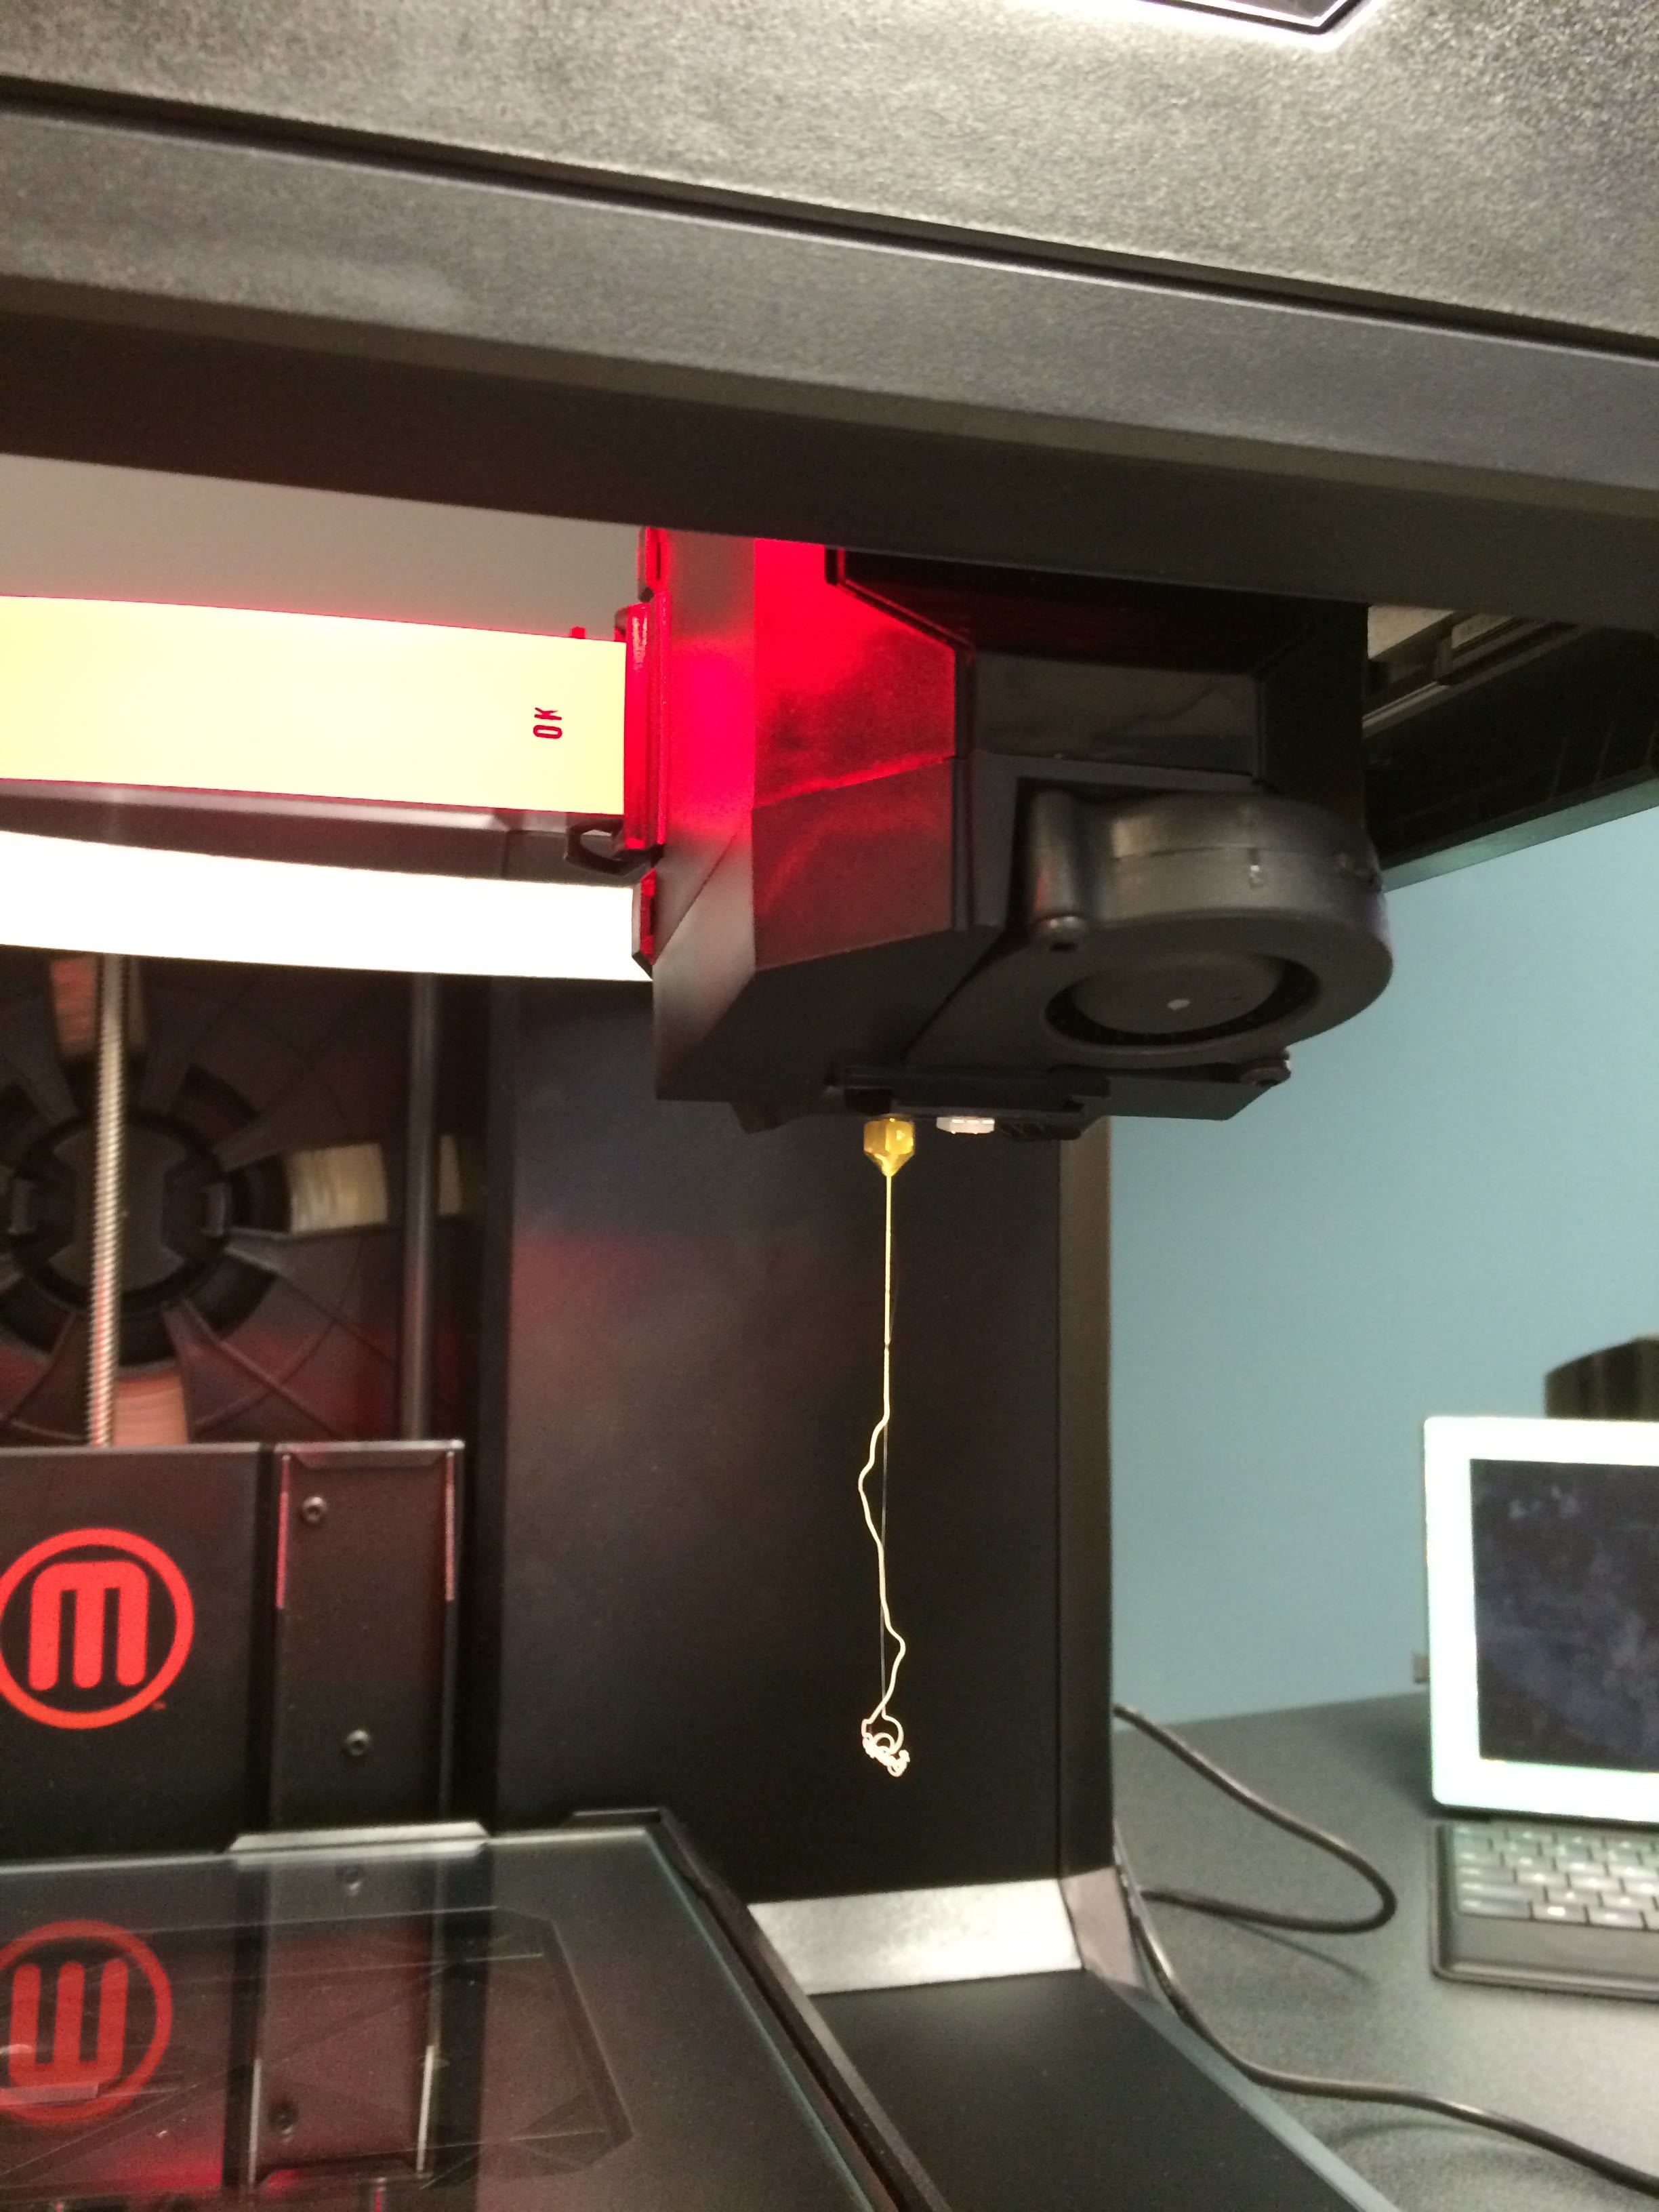
The sign that you’ve successfully loaded the filament
Auto leveling again after putting up the blue tape
We then connected a Surface via USB and opened up MakerBot desktop, the standard software (there is more) that can be used to control the unit. It’s important to note that the machine can be operated quite well without an attached computer. The LCD display is easy to use and there is a USB input on the front that can be used to load model files without a computer.
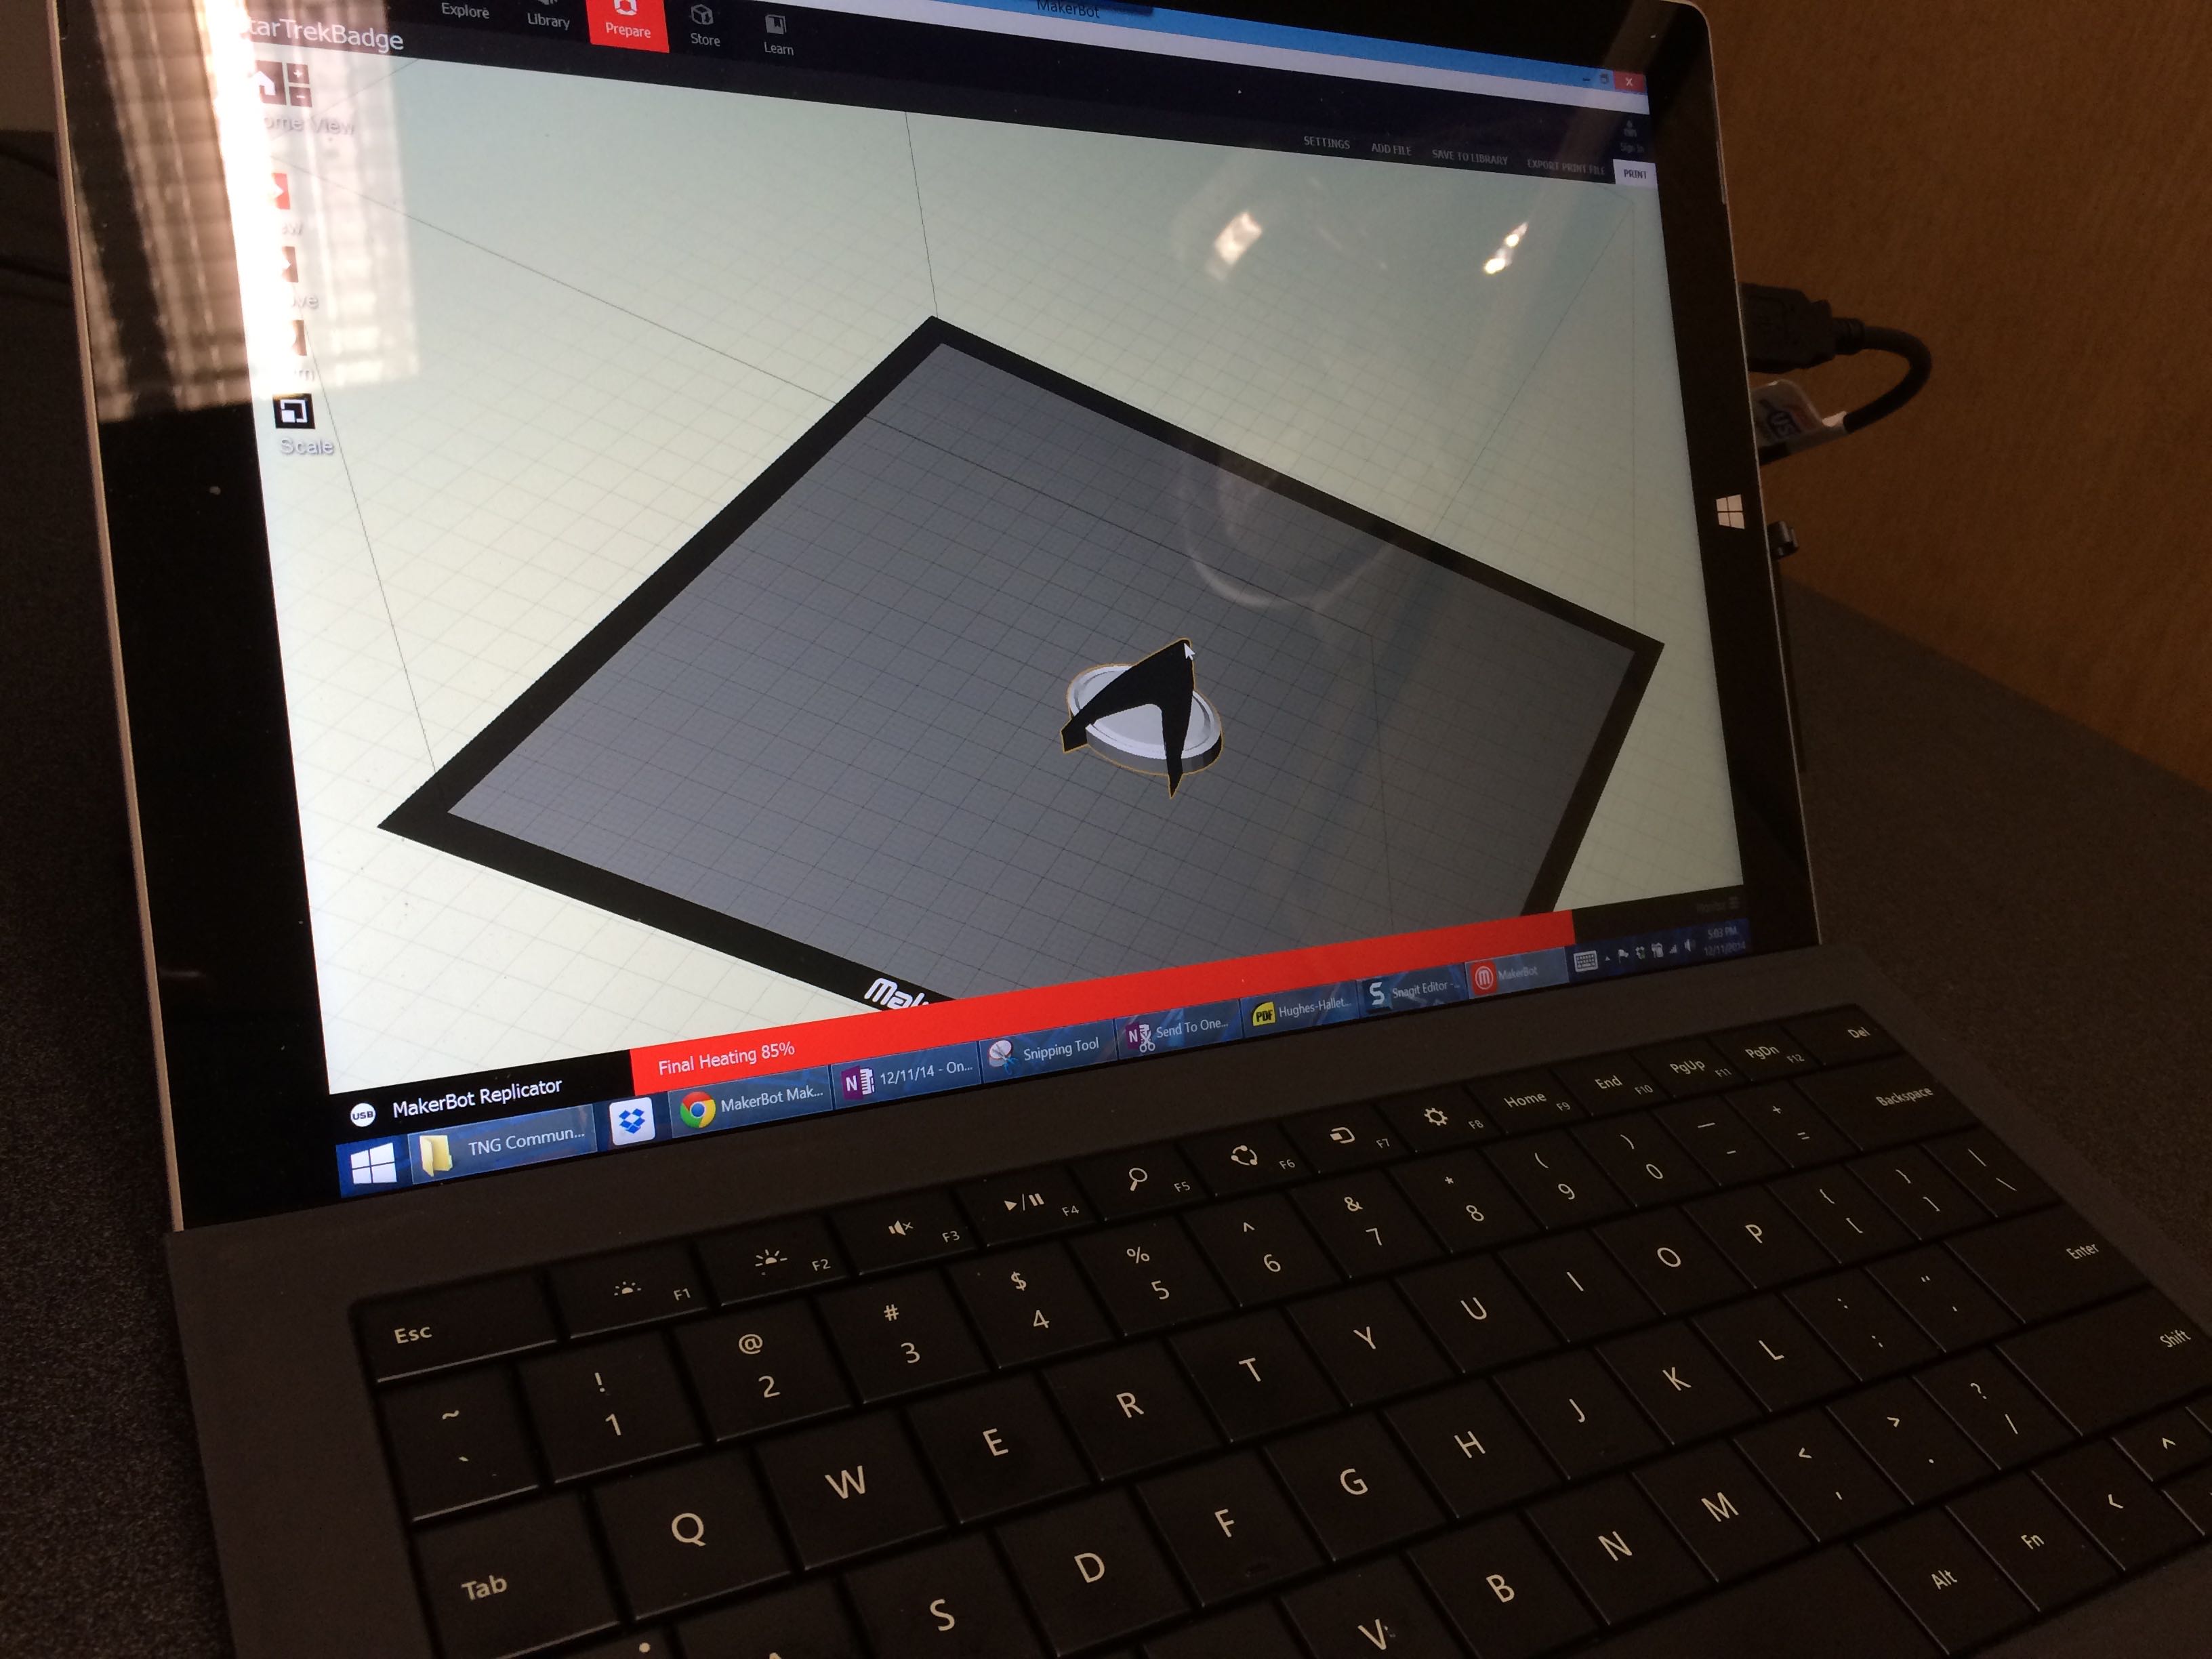
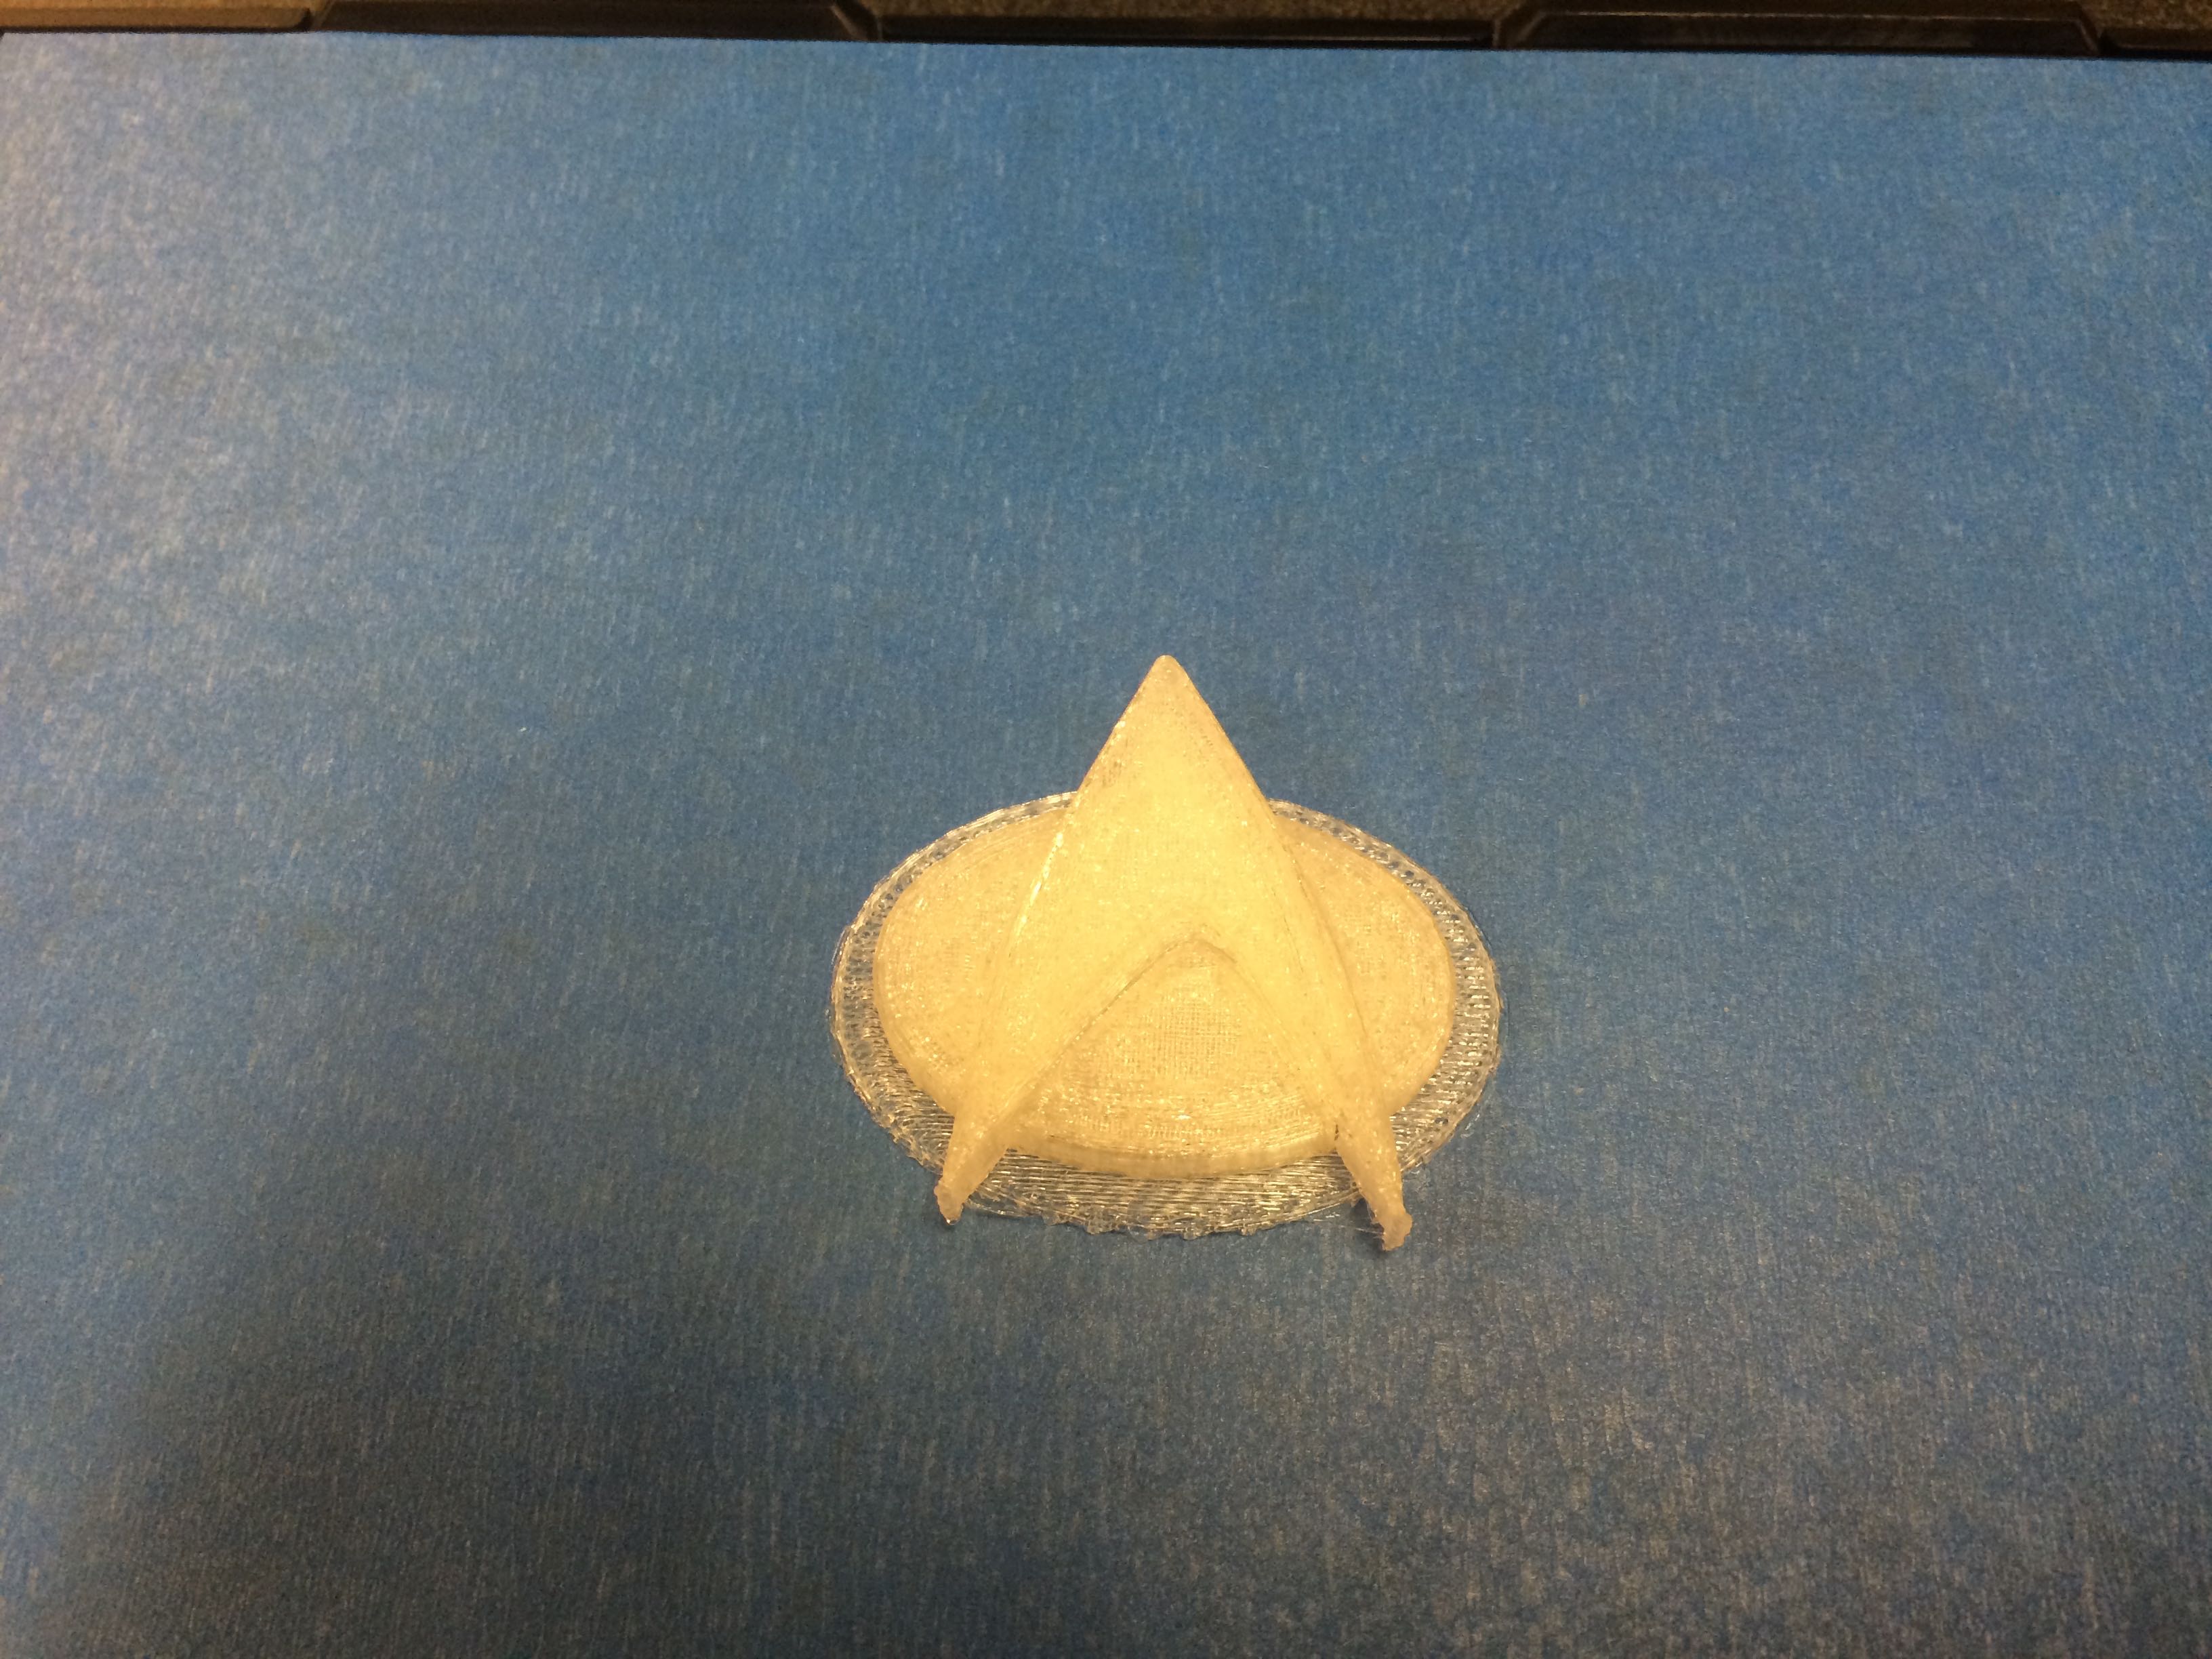
Sadly, we had to get back to class and work, so we had to take a break… but then later in the evening I returned to update the firmware and load up the first model to be printed, a Star Trek (TNG) Communicator!
It took around 15 minutes, but it got installed…
Lots of cool lights
The Star Trek communicator model in the MakerBot Desktop program
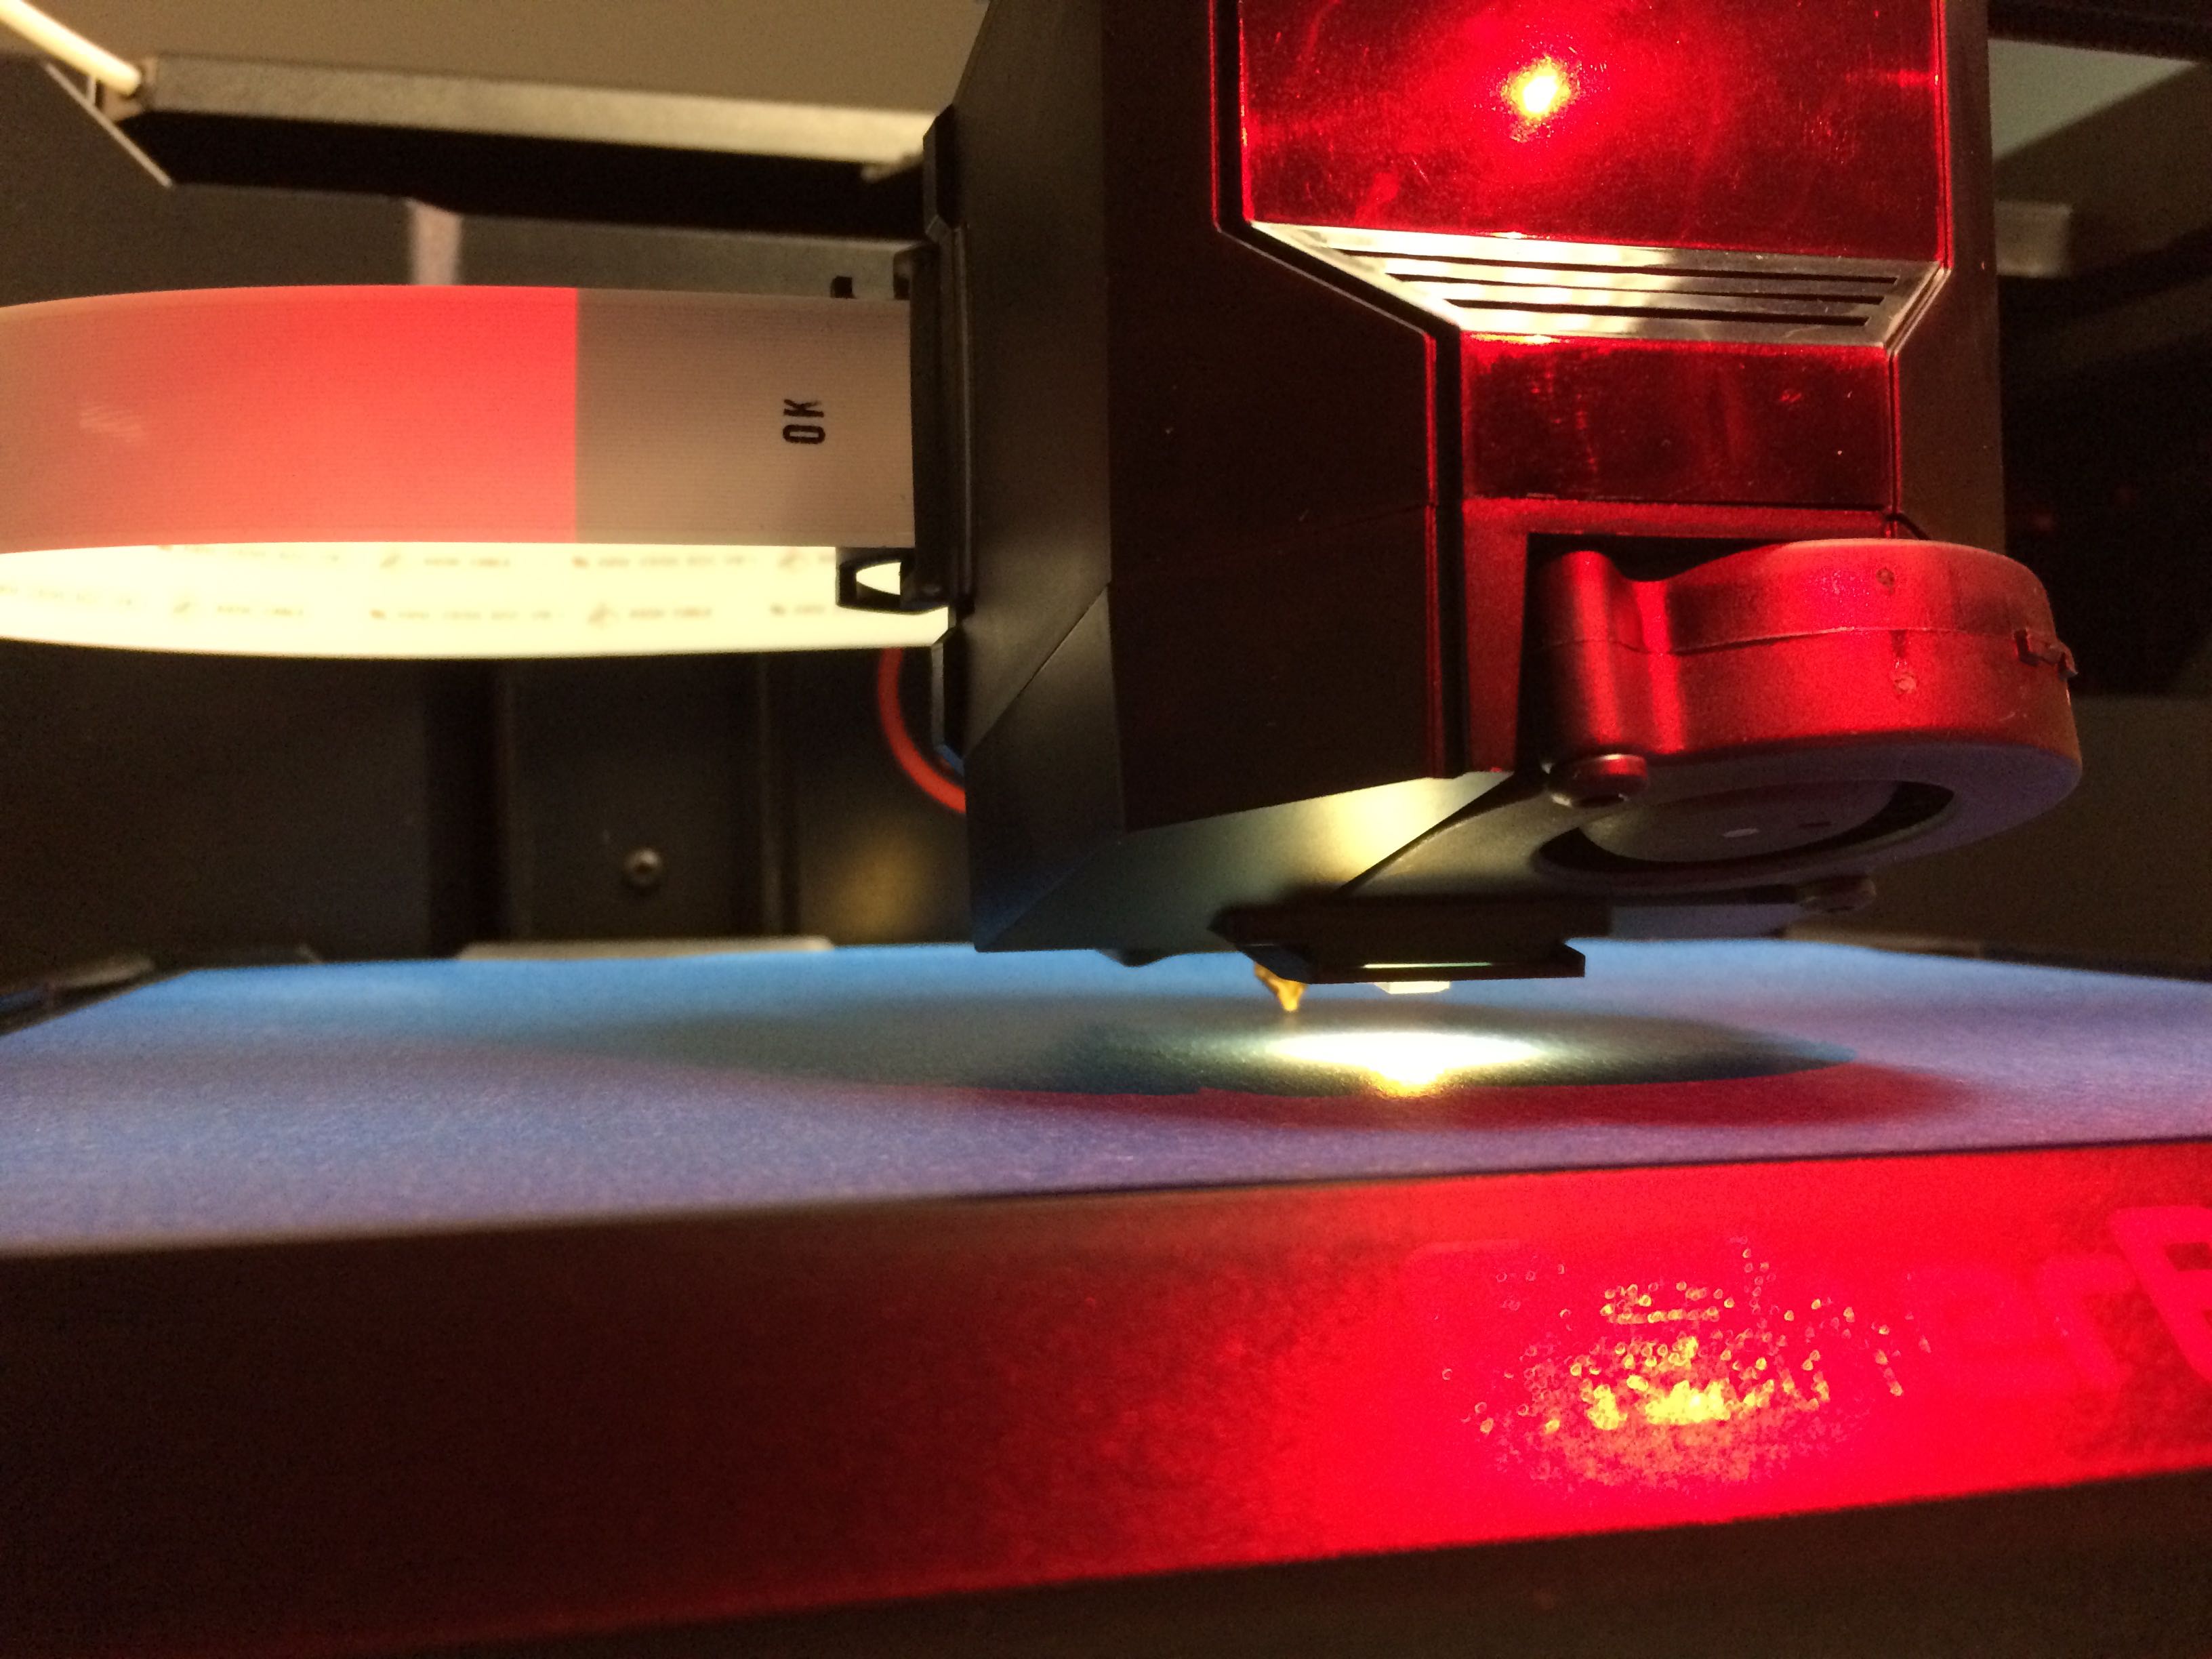
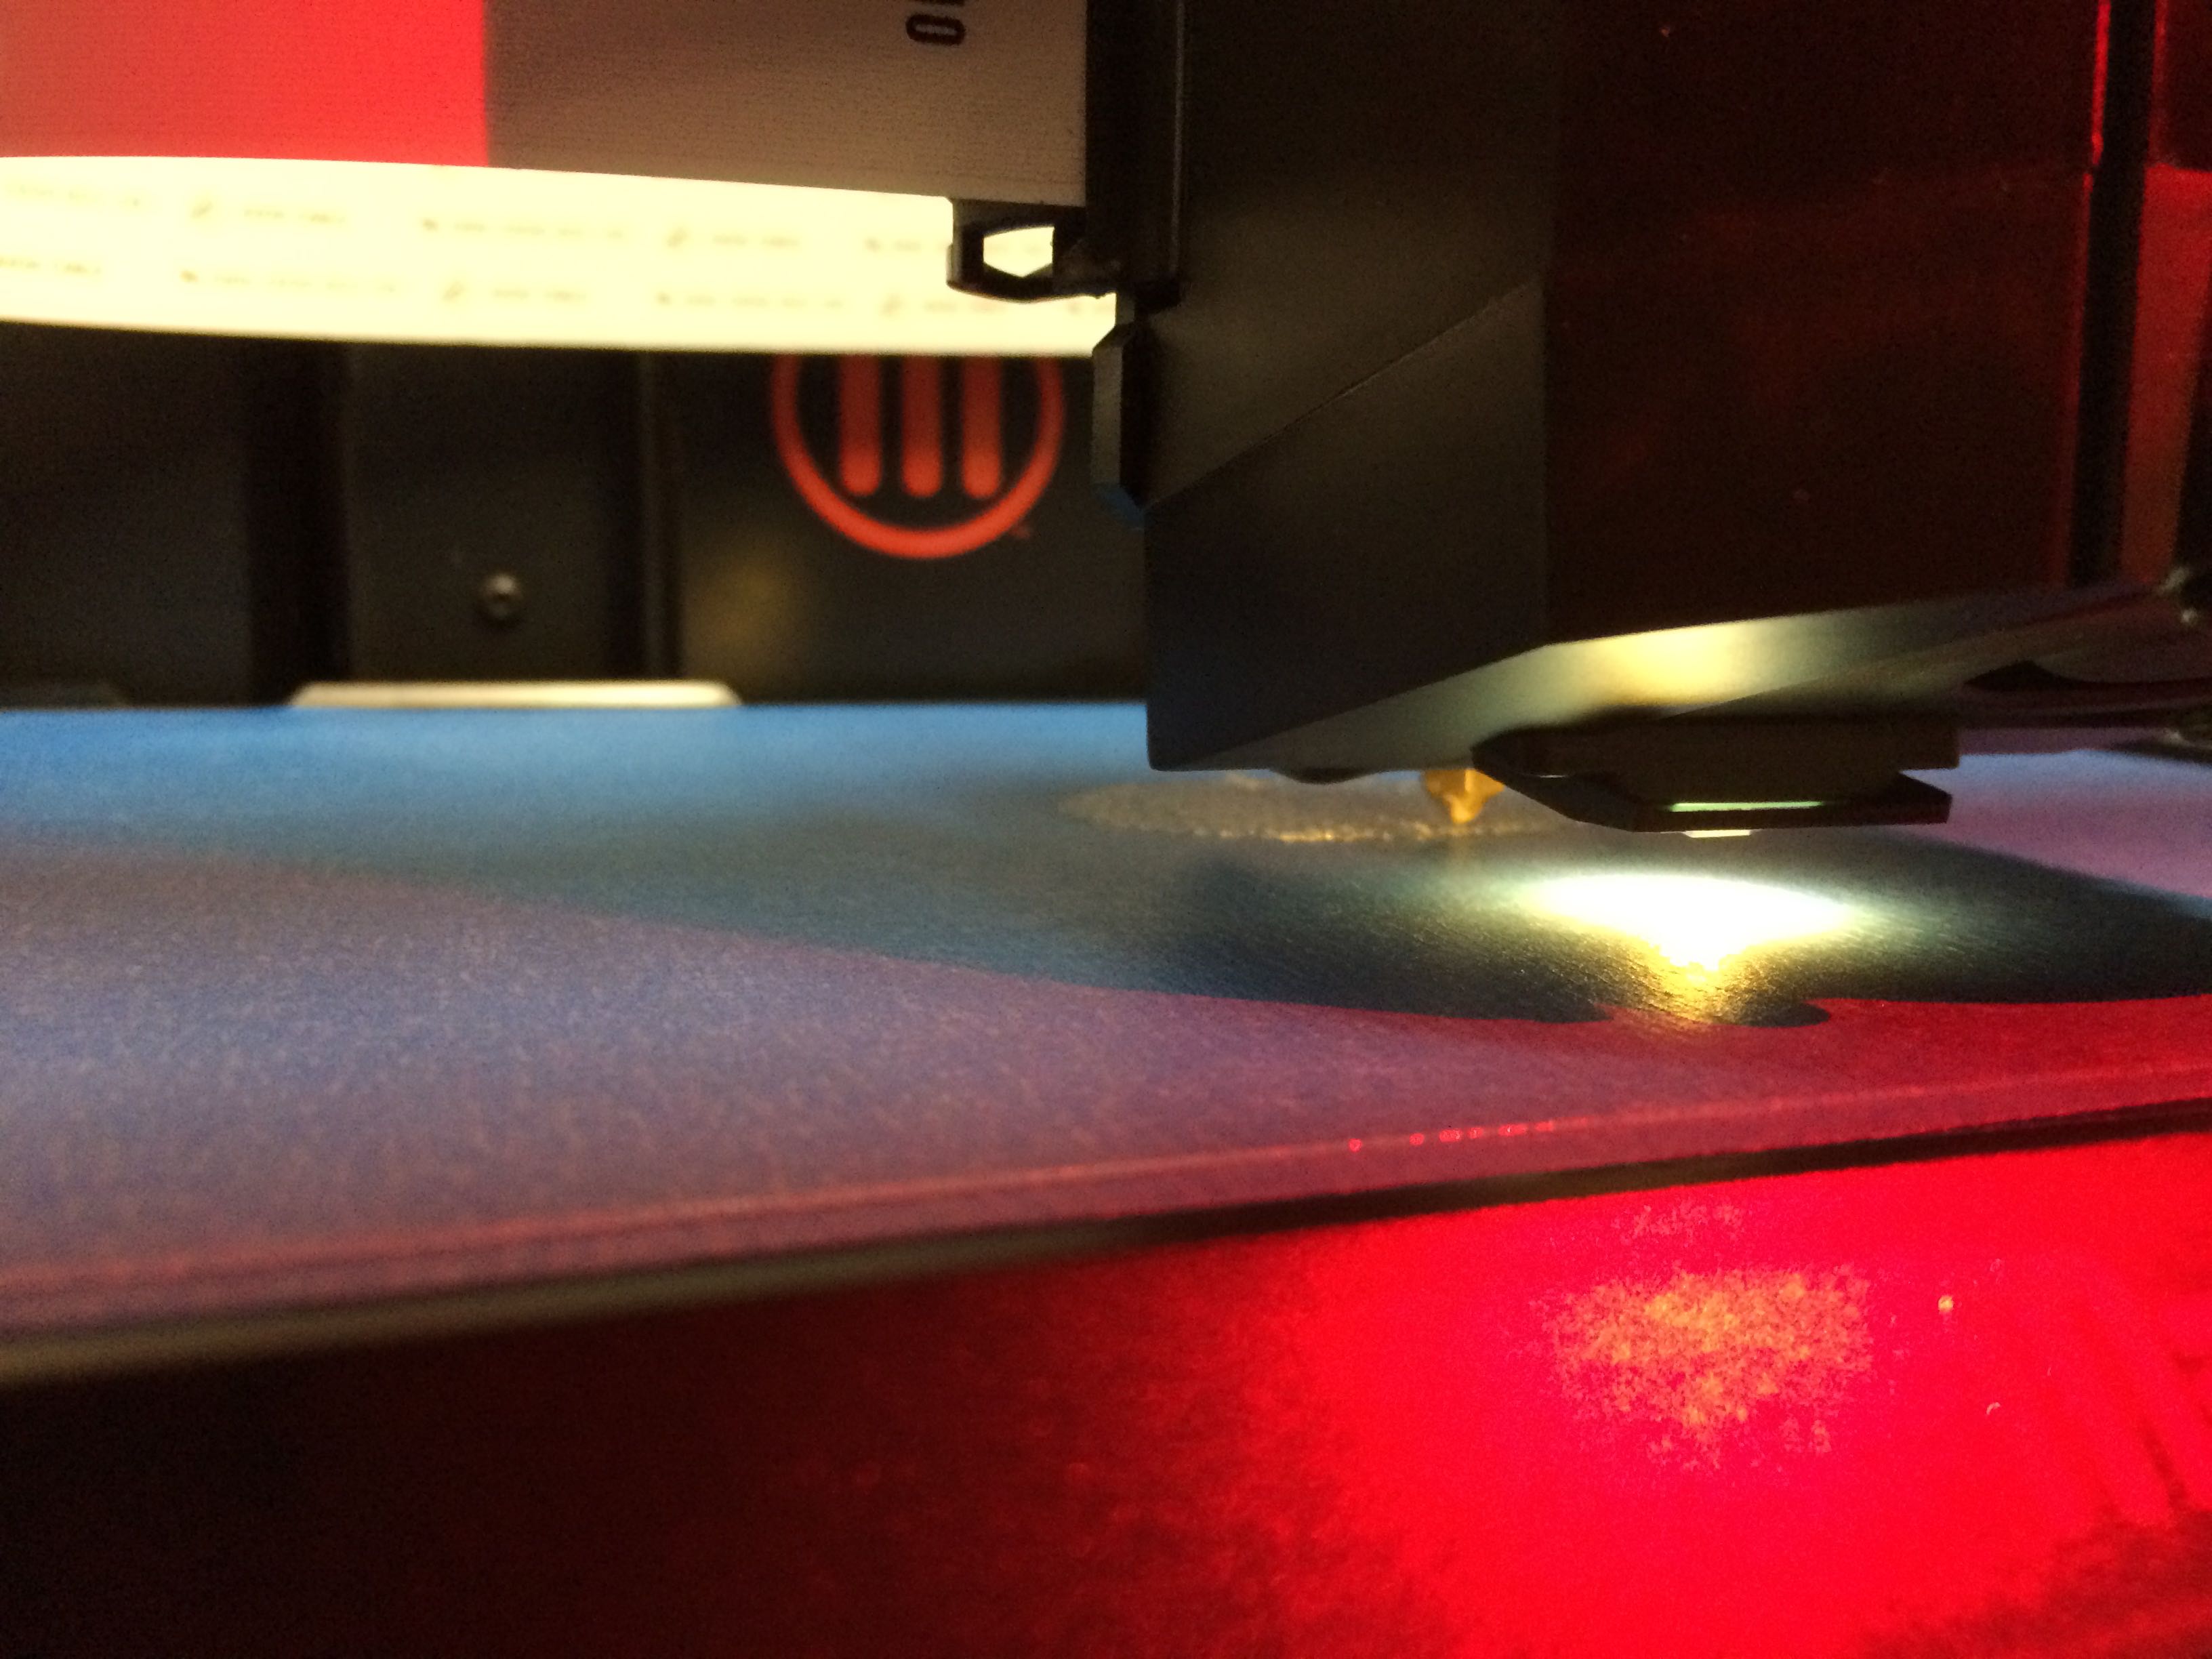
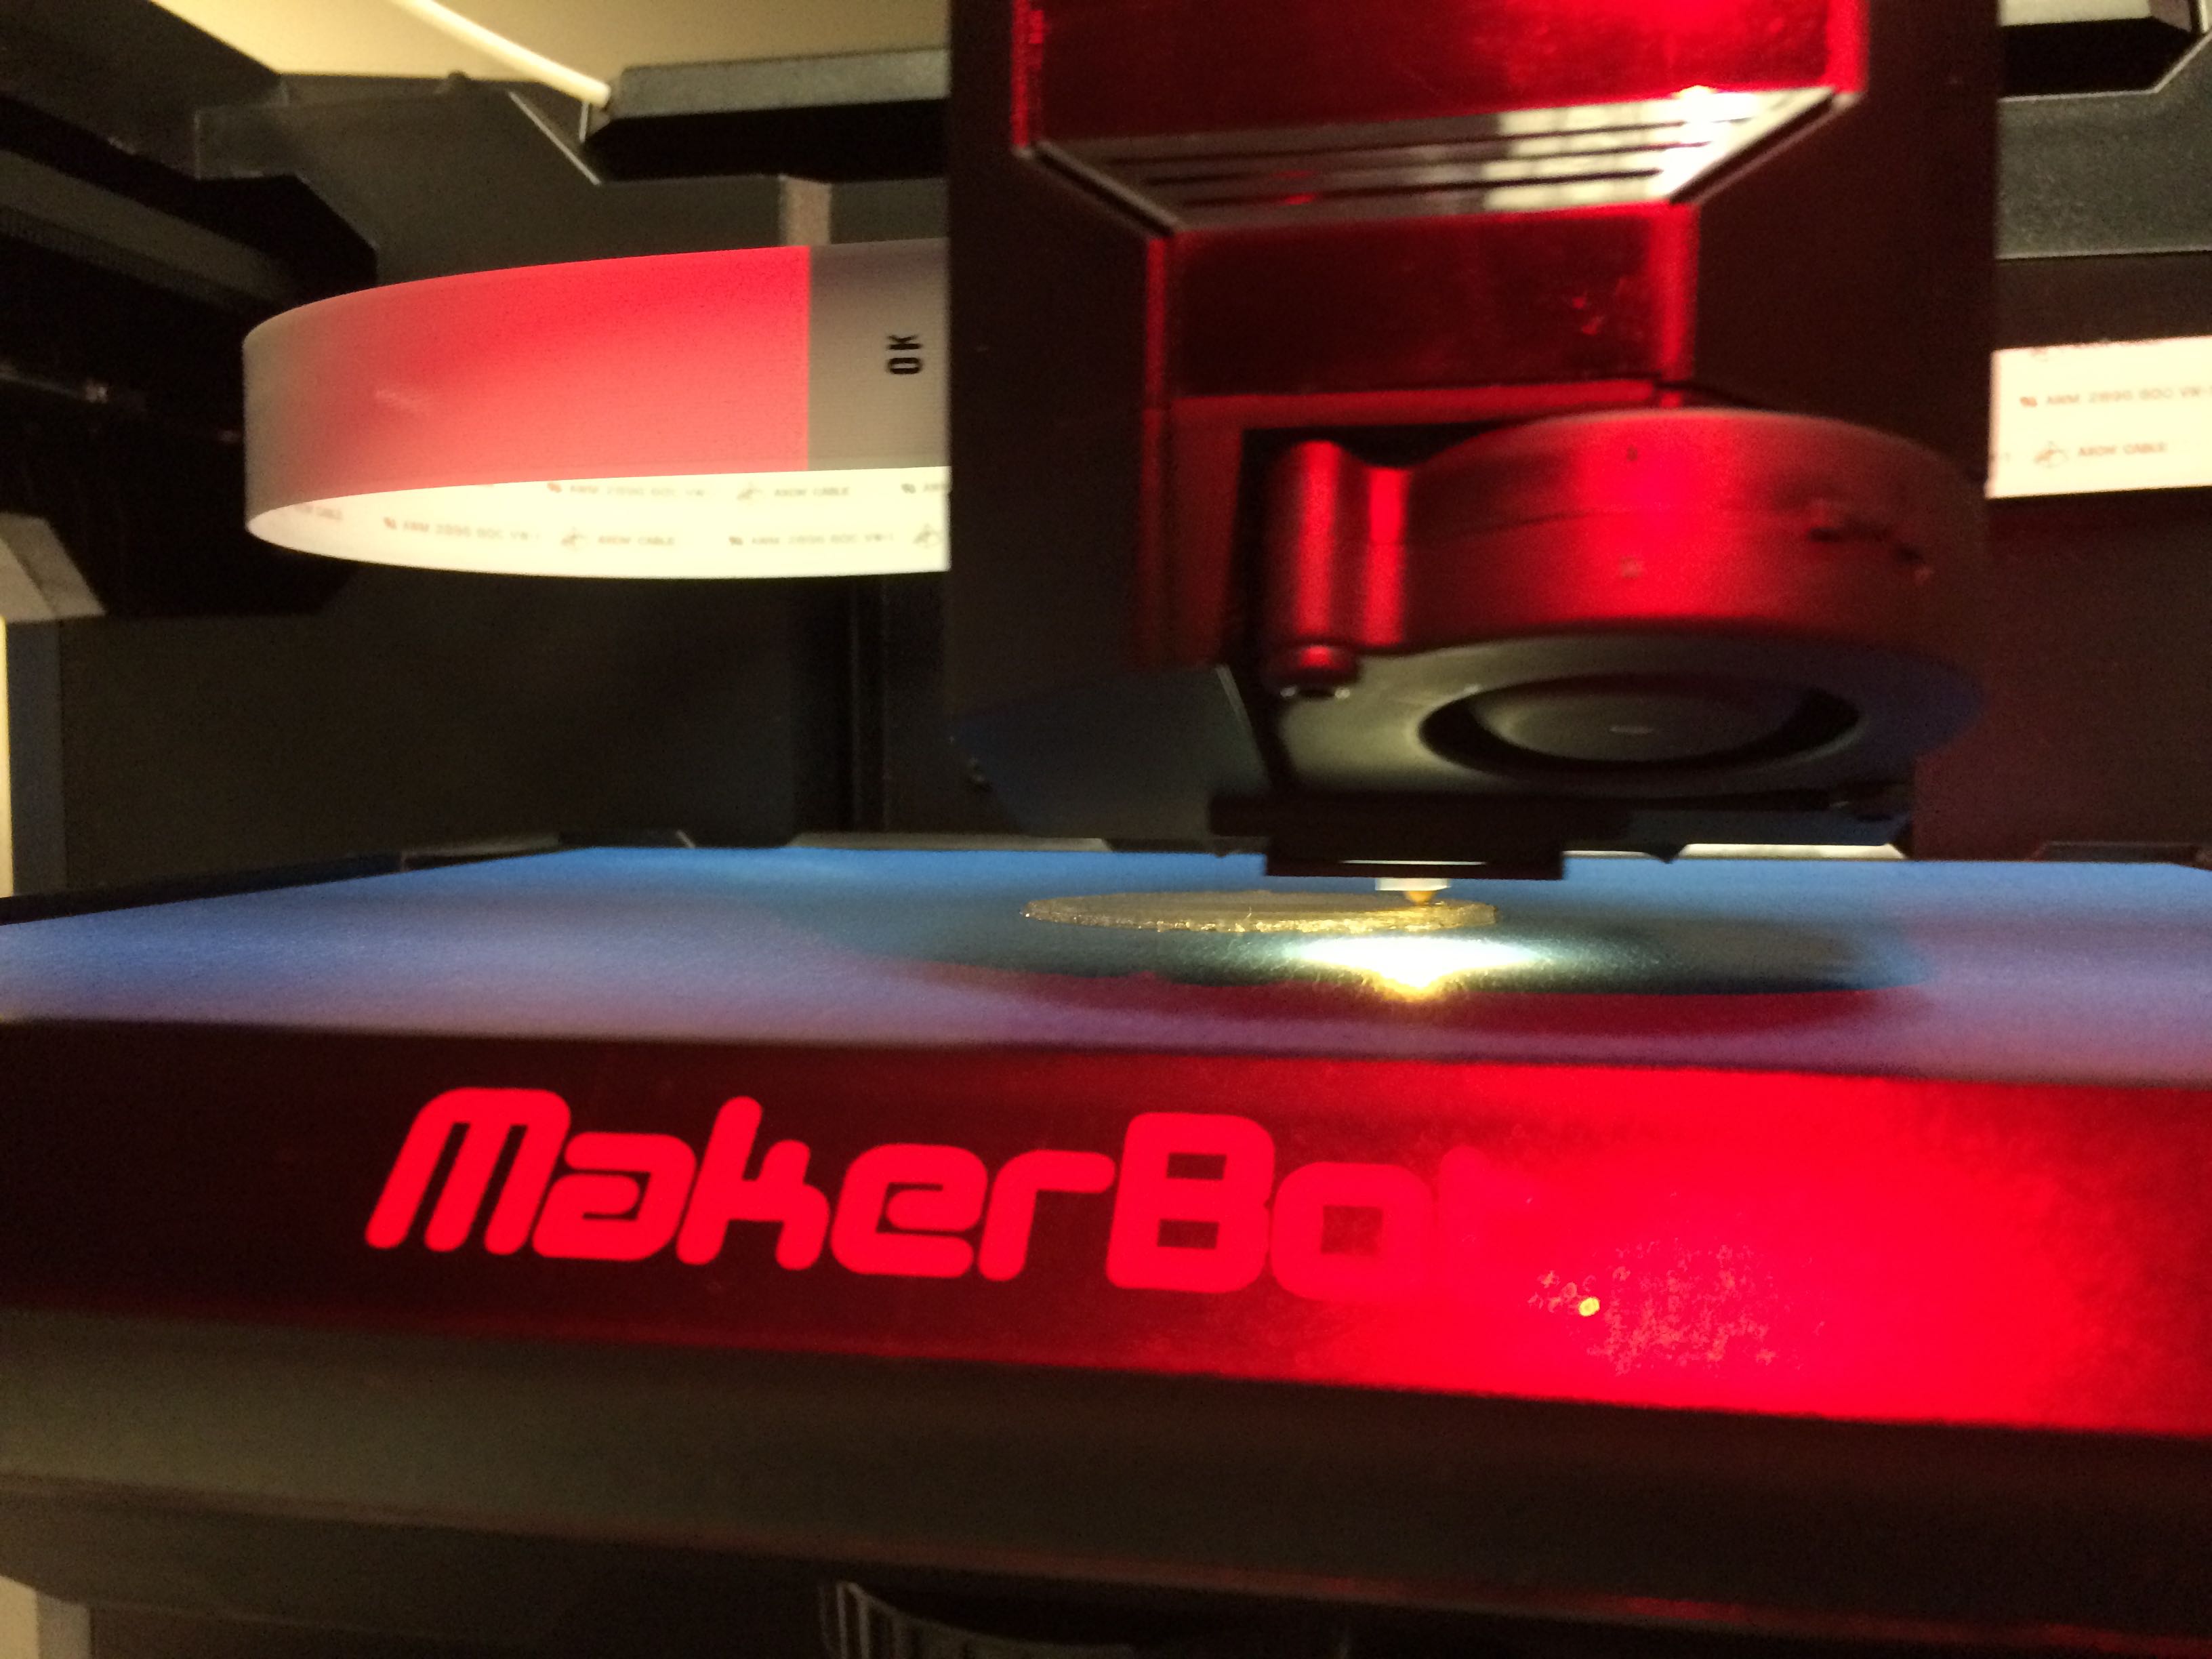
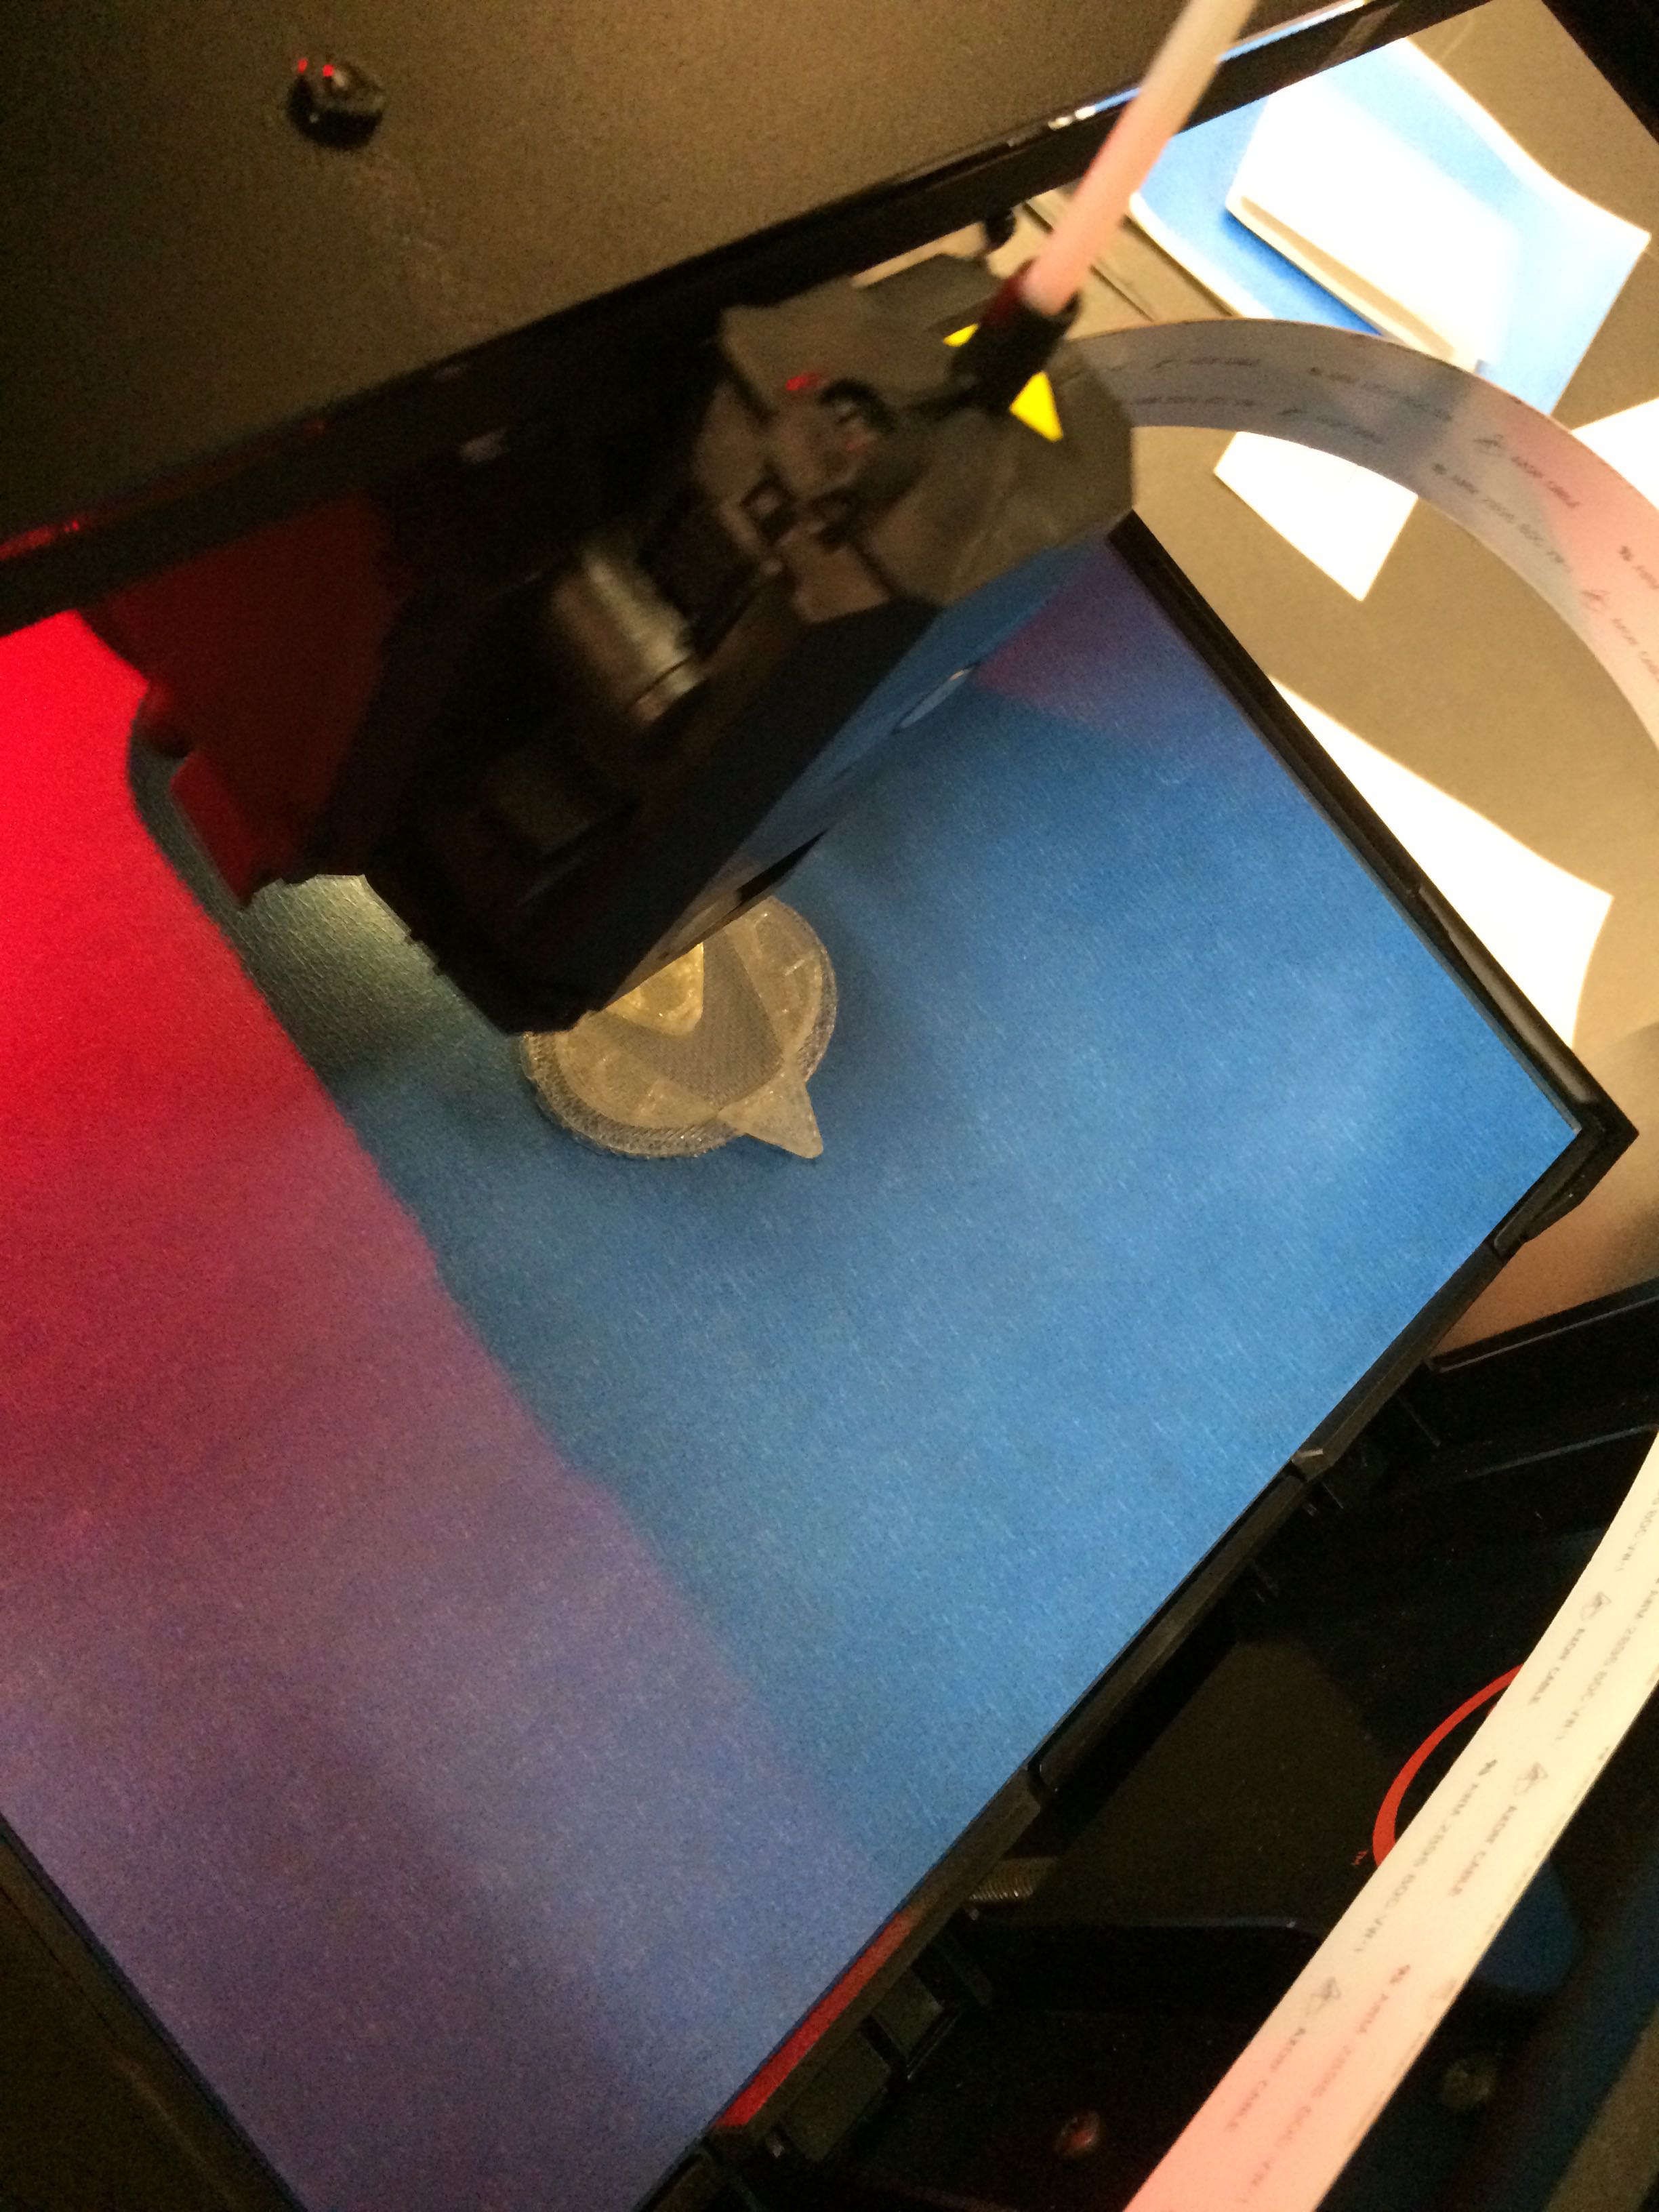
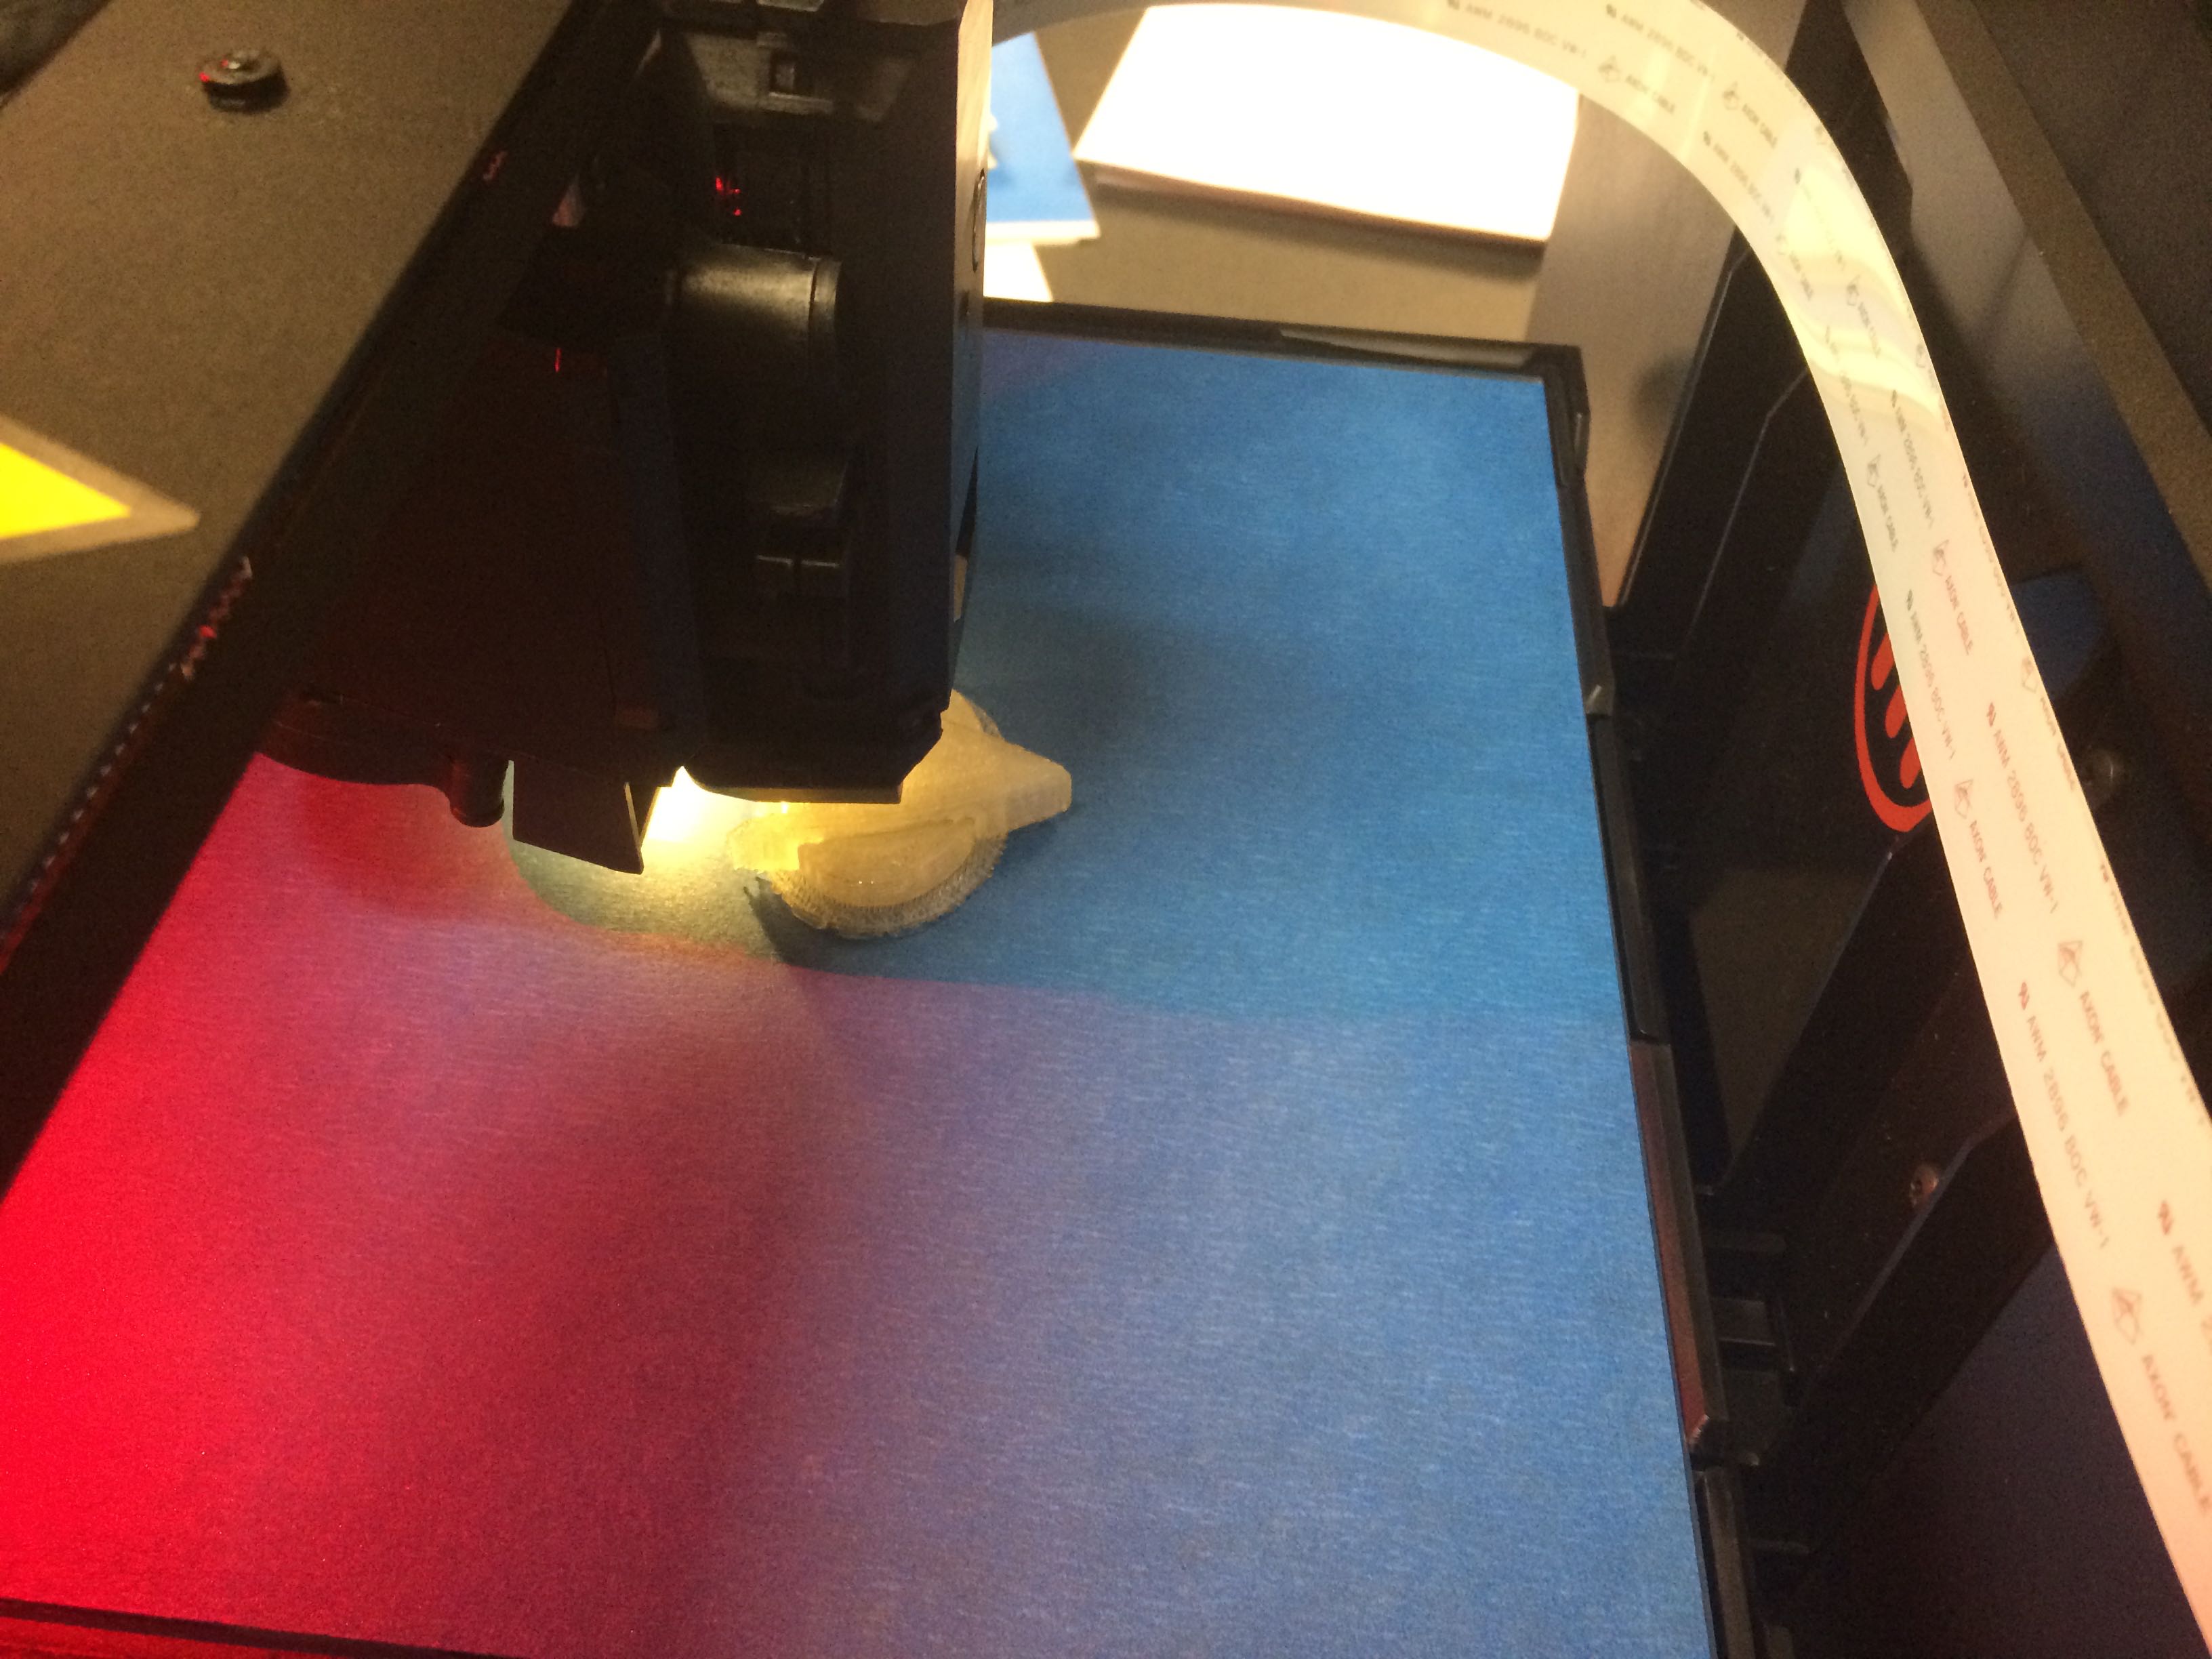
The first ever printing begins!
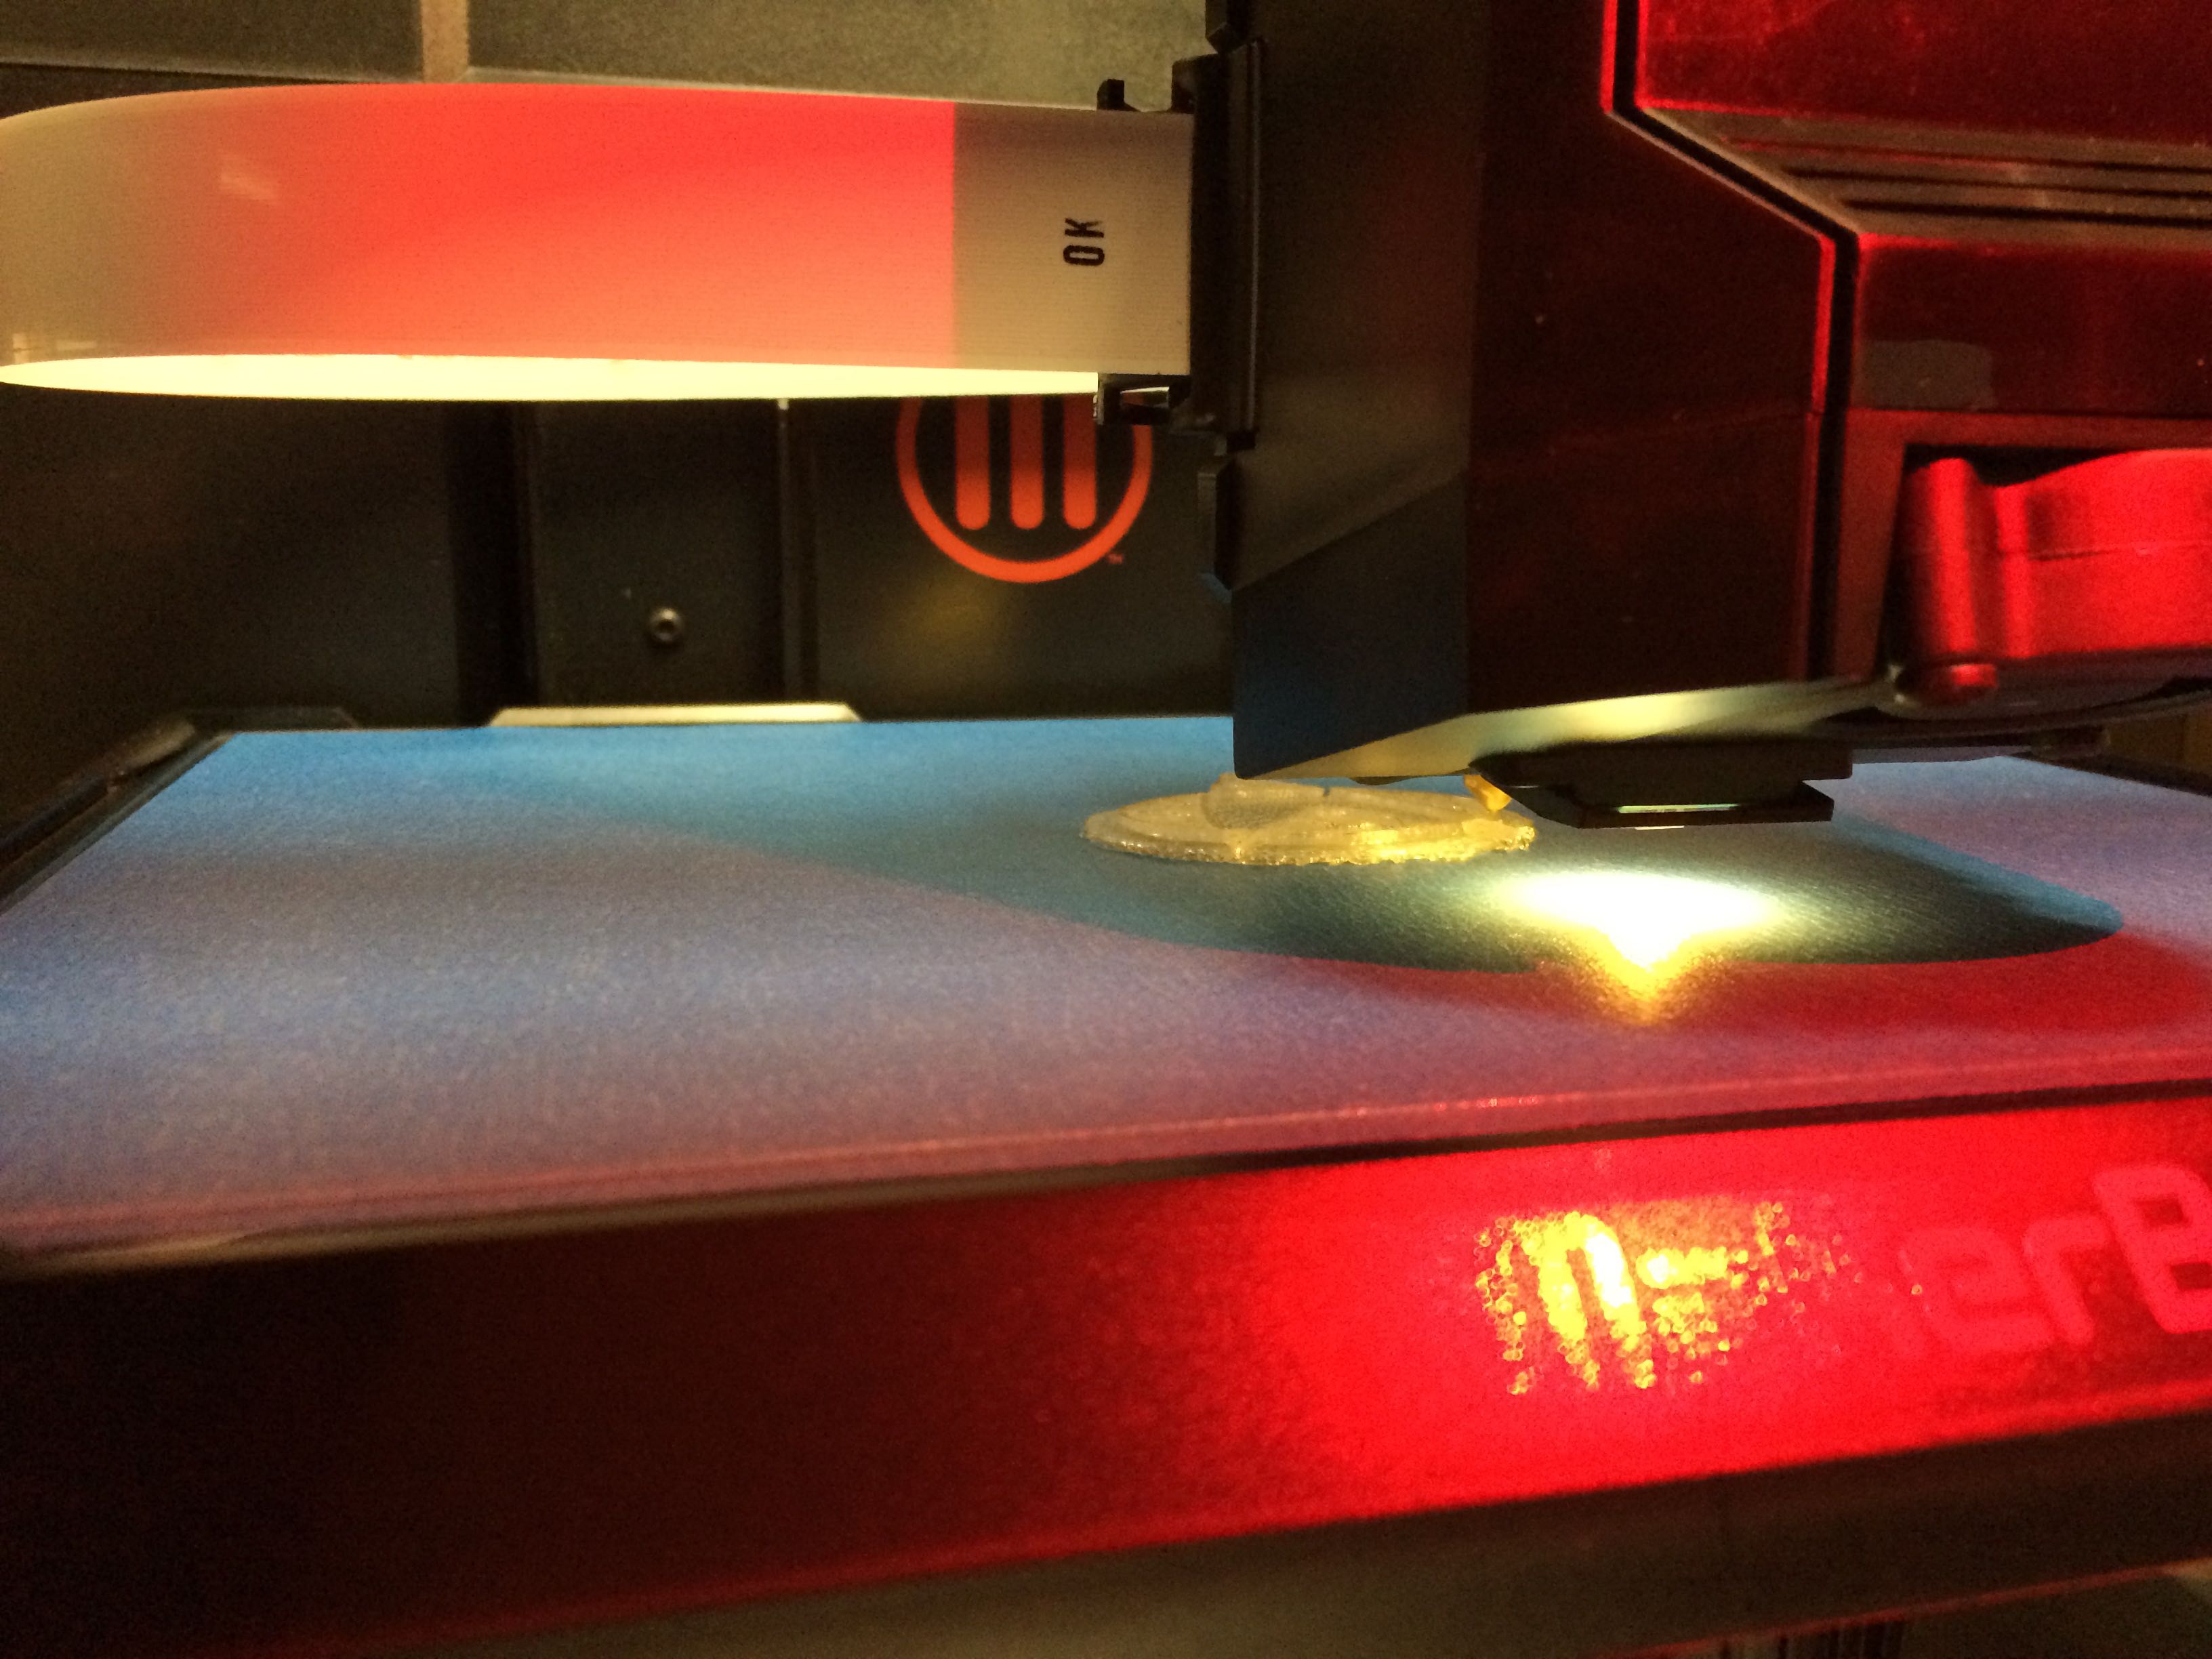
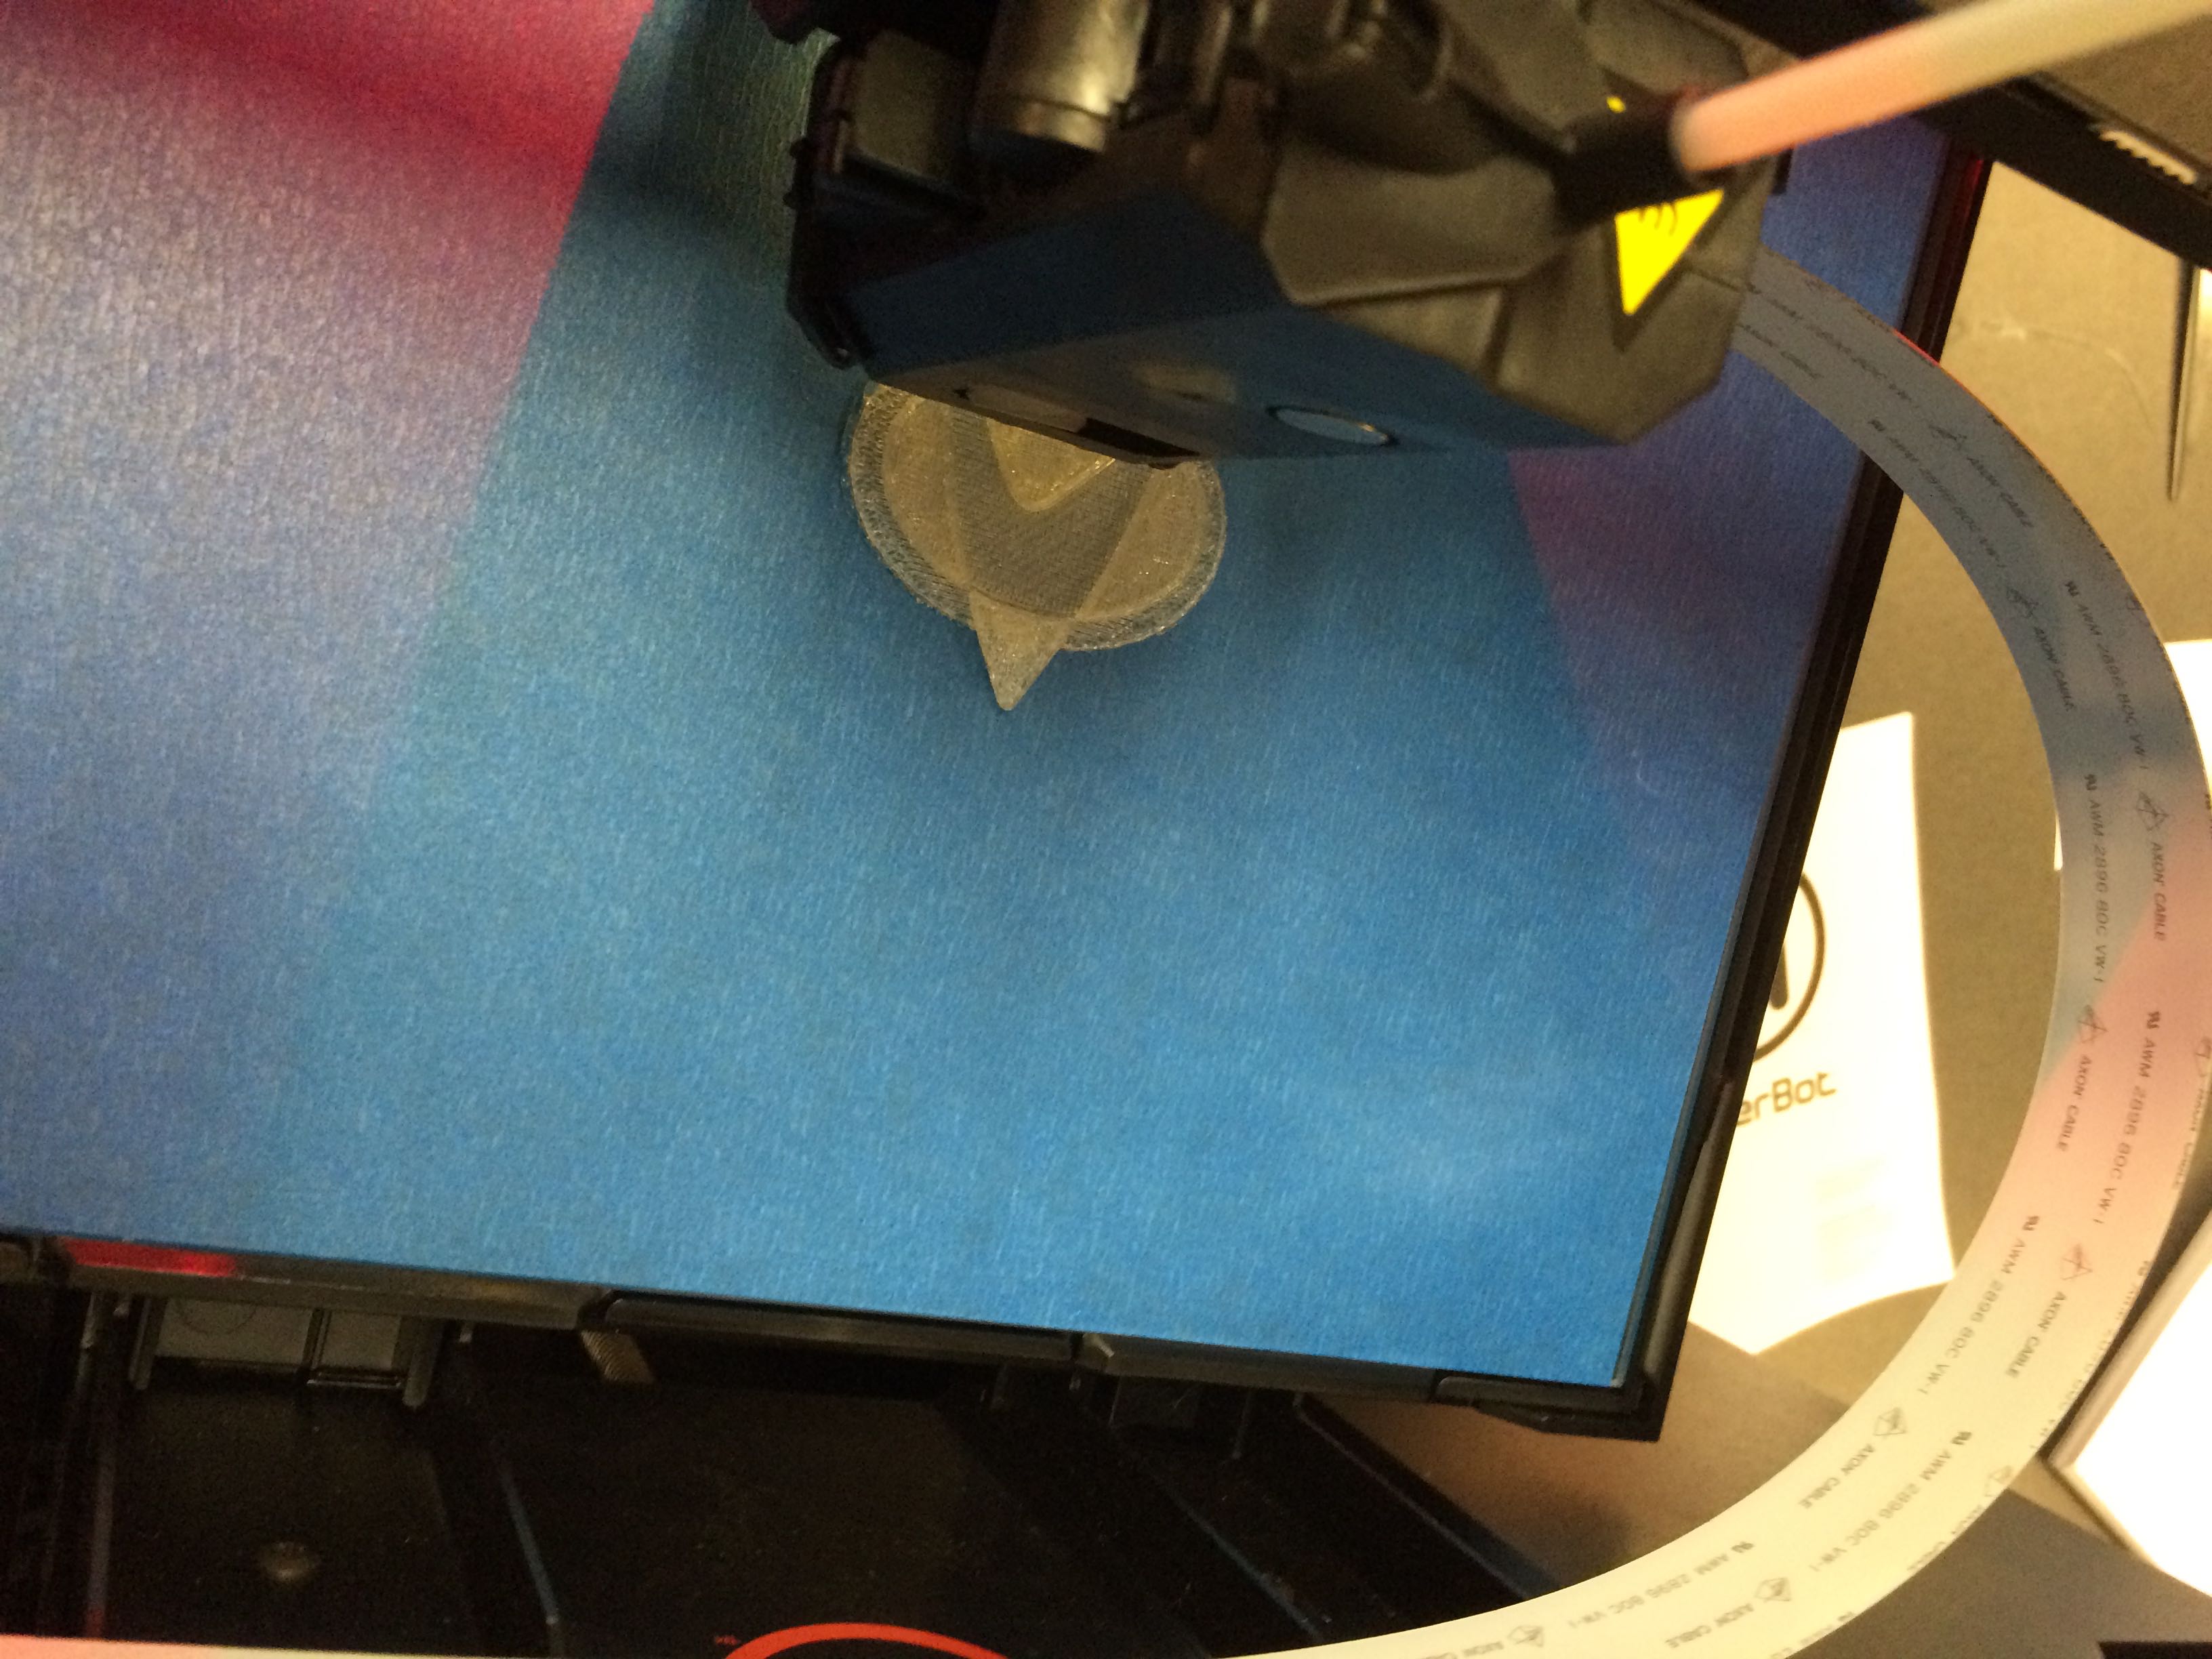
The communicator takes shape
All done!
Overall the process was incredibly fun!
Next up I will be teaching the Science and Art departments how to use the machines, and then they will set to work using them in their departments. Given the amazingly broad applications for the tech, I’d imagine many other departments are going to want to get in on the action!
Here are some notes I took during the day:
– Make sure you download and install the MakerBot Desktop software well before you need it. It’s a big (150mb+) download which you can do right here.
– It’s really important to update the unit’s firmware. You can download the latest firmware (1.5) right here.
– You can use regular painter’s tape on the build plate
– The final models are pretty light! The communicator came in at 6 grams.
– Make sure to push any air bubbles out of the blue tape
– There is a built in leveling utility (for the build plate) which is pretty mesmerizing to watch
– Turn the machine off in the menu system, not using the switch on the back
– It takes 2-3 mins to turn off
– Make sure to slide in the build plate correctly so it’s snapped in
– Make sure to update the firmware whenever a new version comes out
– It takes about 15 minutes to update firmware
– The machine makes some really fun R2D2-type sounds when in operation
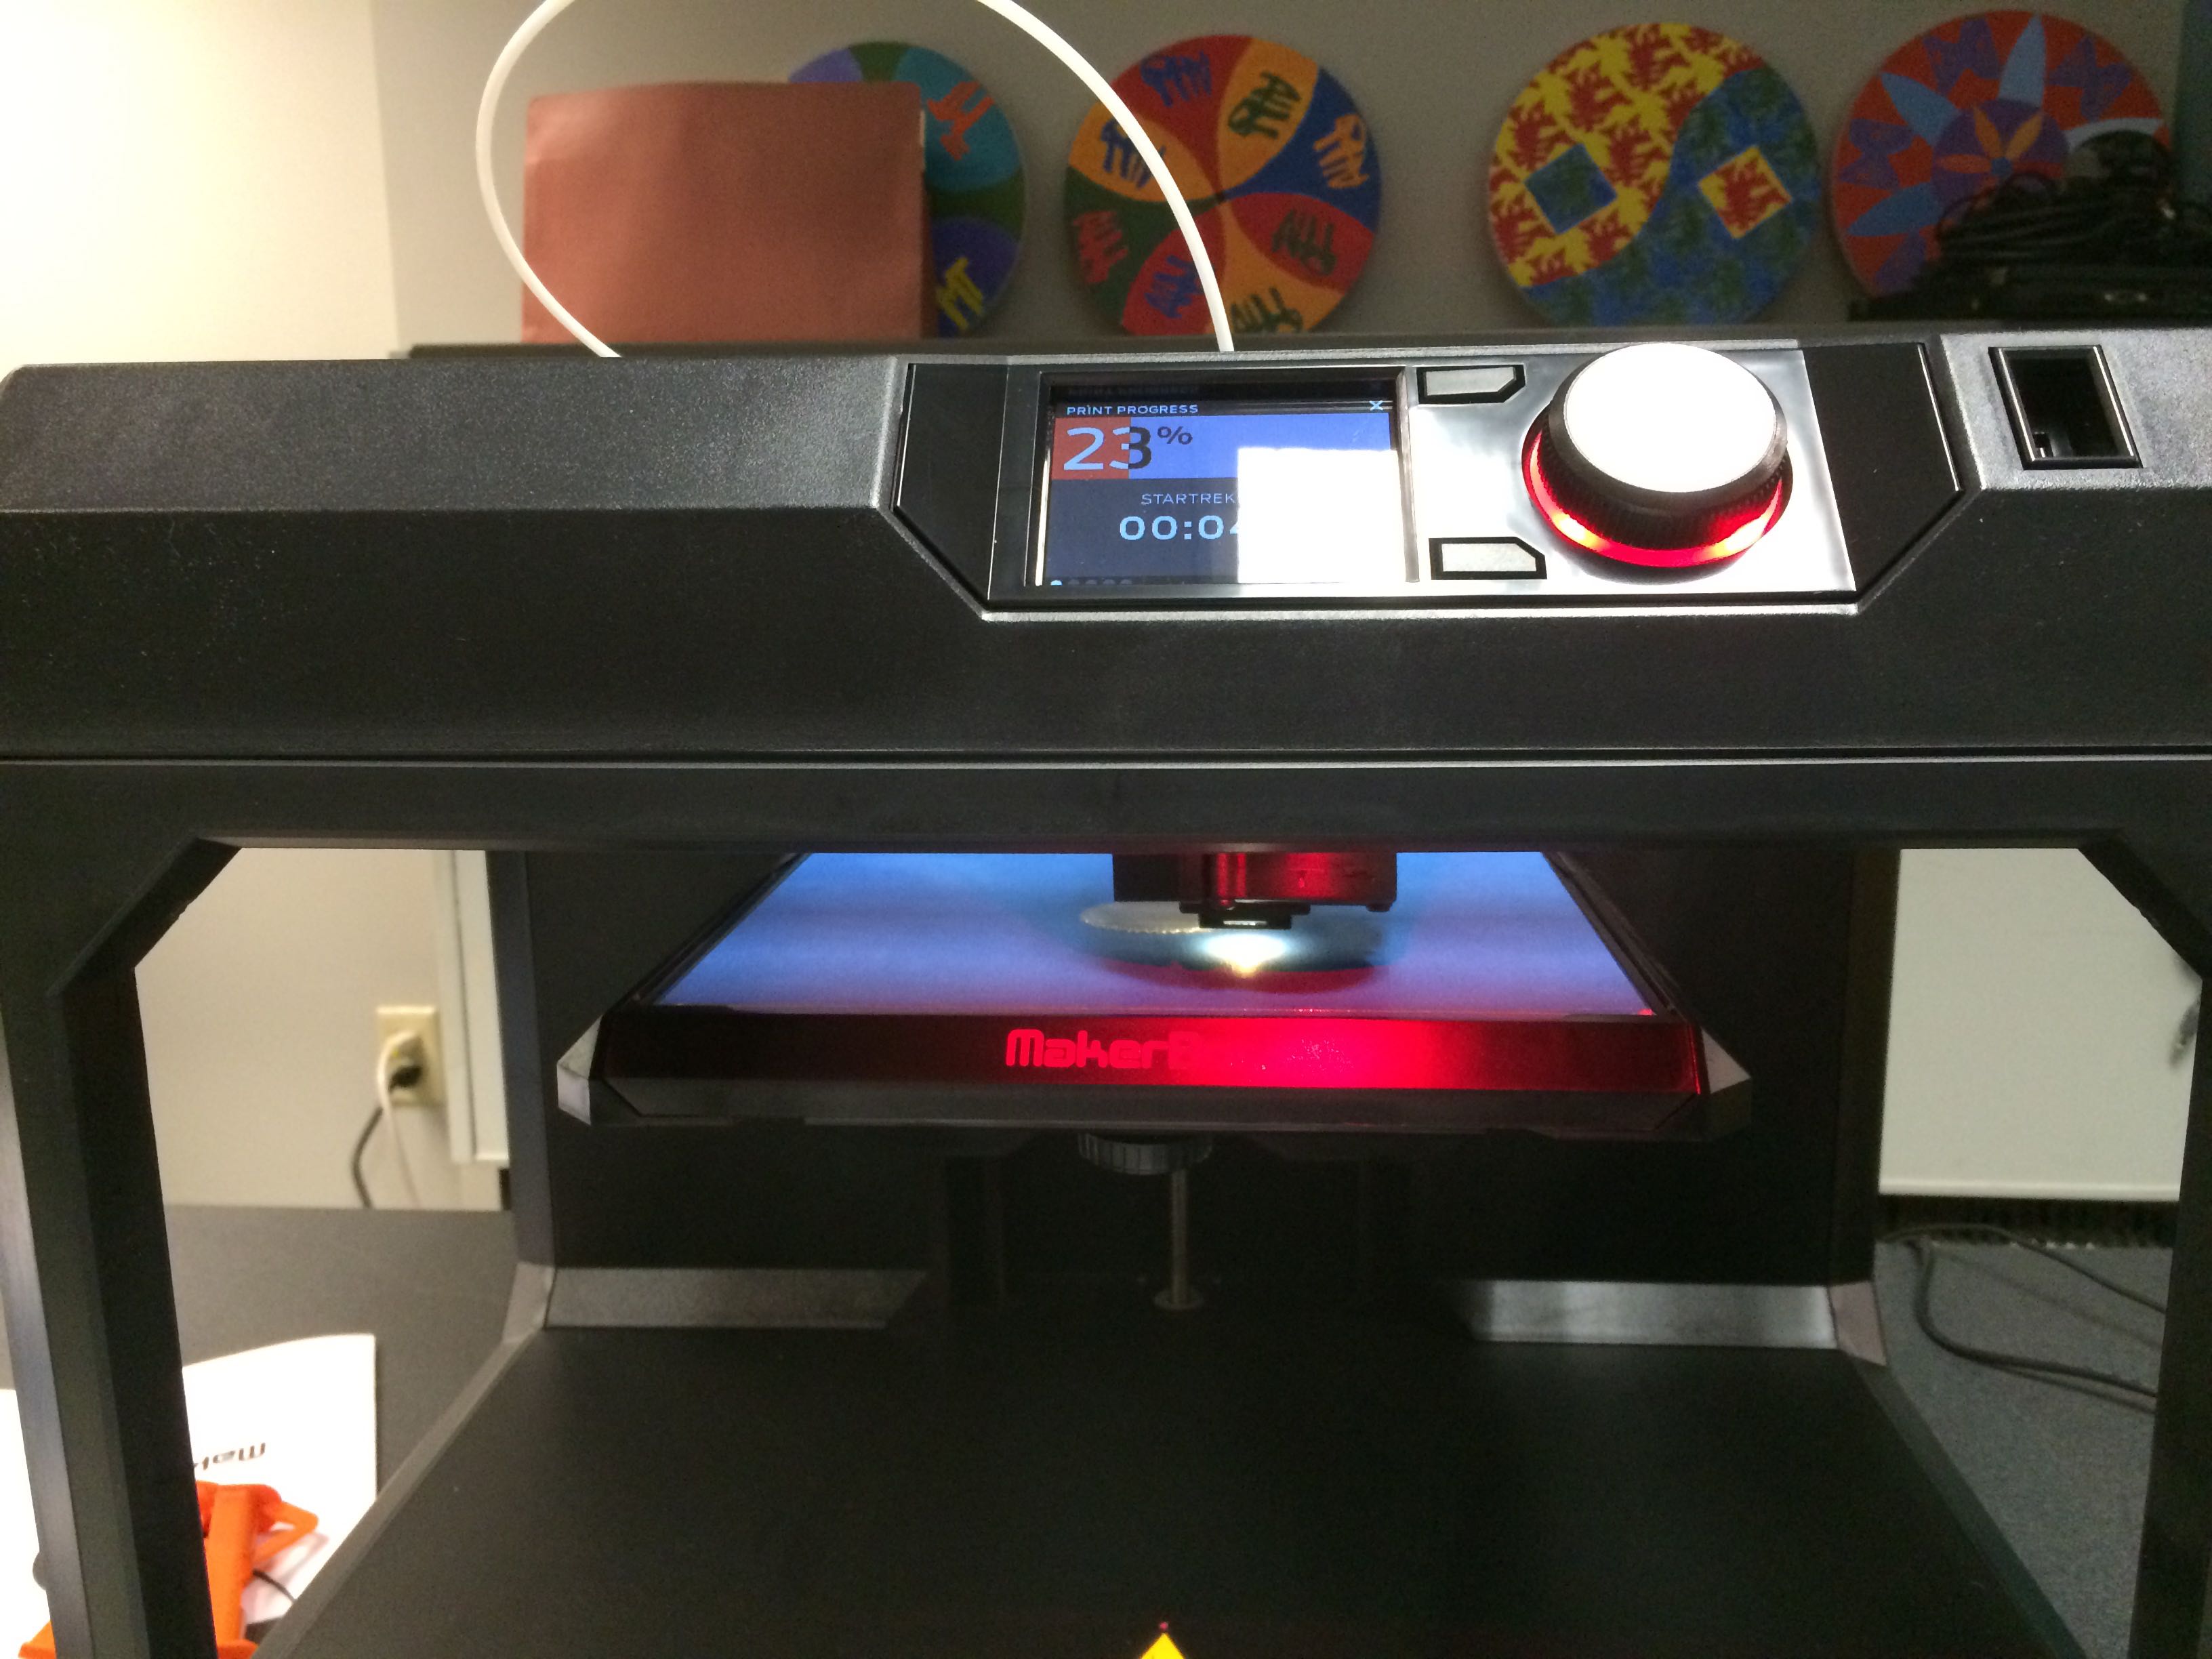
– Printing can take a while. The communicator took about 25 minutes.
– Be careful around the extruder — it gets really hot! (duh)
– Unplug your computer’s USB cable when you’re not using the machine
– The z-axis rod that lifts the build plate can get tight. It’s okay to turn it using your hands when it’s not in motion to get it loosened up.
– There is a built in camera inside the upper right corner of the unit which is tied into the MakerBot Desktop software. It makes it easy to take photos of the process in action!
– You can connect the unit to a WiFi network (or via cable) and connect to the machine over the network! You can even see the live view of the built in camera over WiFi!
– Models can include hollow space. Gaps can be bridged during printing. It’s really neat to see! (There is a hollow space inside the middle of the communicator.)
– You can use different colors of plastic
I absolutely cannot wait to see how these machines get used!