The spring 2017 OneNote planners are now available for download right here.
First, download the file through the above link. Then:
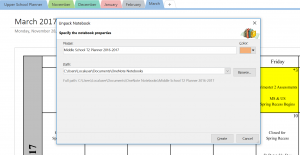
In order to open the planners you have to:
Double click on the planner that you wish to open
Download the file
Select Open
Select Create
In case of any confusion, I have provided a screenshot of the final step listed. If you have any questions, please feel free to ask.
Have a great day,
Rachael Blanchard
Technology Support Technician
(413) 529-3335
rblanchard@williston.com
This just in from Tech:
Middle School T2 Planner 2016-2017
Upper School T2 Planner 2016-2017
 In order to open the planners you have to:
Double click on the planner that you wish to open
Download the file
Select Open
Select Create
In case of any confusion, I have provided a screenshot of the final step listed. If you have any questions, please feel free to ask.
Have a great day,
Rachael Blanchard
Technology Support Technician
(413) 529-3335
rblanchard@williston.com
A document outlining how to add or remove students from a OneNote class notebook is now online on the Support Docs page:
Adding or Removing Students in OneNote ClassNotebook
If you are using the OneNote ClassNotebook system for your classes, you may need to make some changes to the roster as students adjust their schedules. Attached are instructions for making these changes. Please note, this must be done online through the “ClassNotebook Wizard” found at www.OneNote.com/ClassNotebook.
This just in from Kim Evelti:
If you’ve been dreaming or scheming ways to make your class notebooks more awesome than they already are, look no further! Microsoft recently issued an “add-in” for OneNote (which is just a little file you install to give yourself new functionality in an existing program) that’s specifically designed for Class Notebooks.
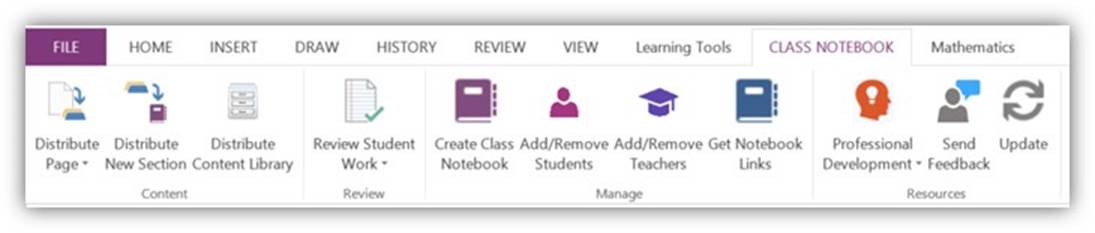
And a few highlights:
- Create a new section in all student notebooks at once
- Distribute a page to all students at once (Middle School – I’m talking to you!)
- Launch an external window that lets you navigate to all students’ work for a particular assignment quickly instead of having to find them one-by-one
- Shortcut to the place where you add/remove students and get notebook links
For more info or to get this yourself, click here:
https://www.onenote.com/classnotebook
This has already saved me at least 20 minutes and that was just after 1 class! Looks like I’ll have time for a second daily Tandem run.
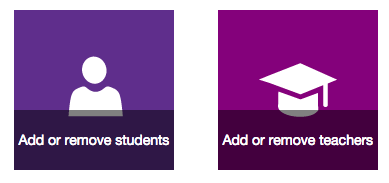
Microsoft just announced a few updates to the OneNote Class Notebook system, including the ability to remove students and teachers from notebooks!
Remember that you can access the Class Notebook system directly using this link: onenote.com/classnotebook
Here are a few good things to know as you dive into using OneNote notebooks created using the Class Notebook Creator:
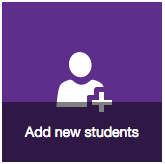 You need to add students to your notebook through the Class Notebook Creator web interface by clicking on “Add new students”, not through the OneNote program. If you share your class notebook with a student through the OneNote program, you can end up giving a student view or edit access to ALL of the sections, including those of other students. If this is something you’ve done already with a notebook you created with the Class Notebook Creator, it’s recommended that you un-share the notebook with all of your students and then add the students through the “Add new students” button on the Class Notebook Creator website.
- When students configure their Surfaces for the first time, two versions of OneNote are loaded, one that launches in the start menu and one that launches on the desktop. We (faculty) typically use the version on our desktop. The default on the students’ machines, however, may be set up as the start menu version. If you see a student who hasn’t properly opened OneNote in the desktop version, they can change the default to the desktop version easily using these instructions.
- Lots of helpful instructional documents are online on the Support Docs page.
- You can access the notebook creator website in a couple ways:
- While logged into any Office 365 website, click on the “waffle” icon in the upper left and then the purple “Class Notebook” tile:
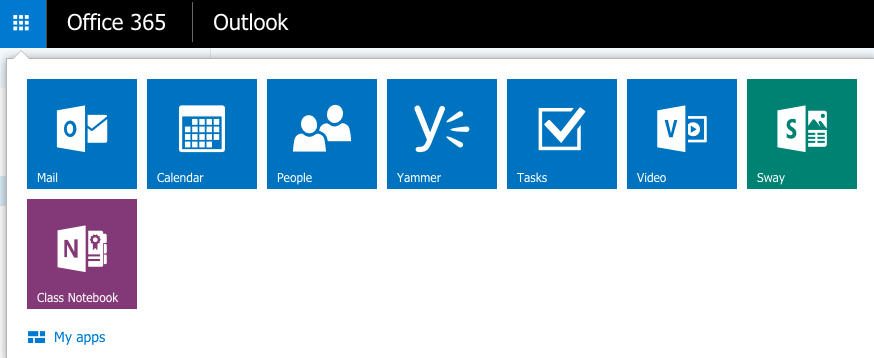
- You can go directly to the Class Notebook Creator website by logging into www.onenote.com/classnotebook.
- You have successfully logged into the Class Notebook Creator website when you see this screen:
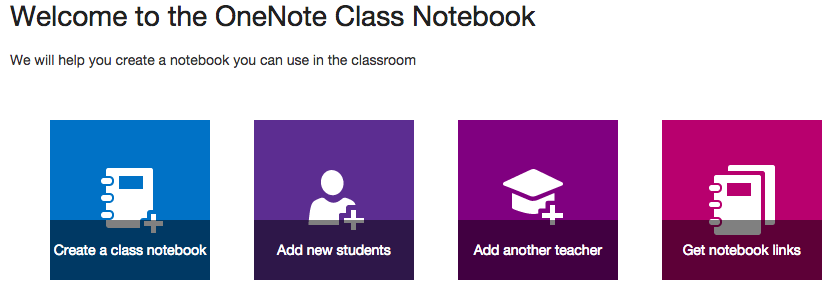
- If you create a new section or section group in a notebook created with the Class Notebook Creator, all of the students in your class will be able to see that folder. If you’d like to create a notebook section that students can’t see, you have two options:
- Create an entirely separate notebook on your Surface in OneNote.
- Add a password to the section you’d like to keep private. Please note that this method is not recommended as we have had some stability issues with password protected sections in the past.
- It is possible to put section groups into section groups. You can use this maneuver to put all of your student section groups into one section group, possibly called “Student Notebooks”, or whatever you’d like to name the section group. If you do this, you’ll be able to collapse all of your students notebooks and not have them all listed out all of the time:

Sharing best practices and success stories