

Here are a few good things to know as you dive into using OneNote notebooks created using the Class Notebook Creator:
 You need to add students to your notebook through the Class Notebook Creator web interface by clicking on “Add new students”, not through the OneNote program. If you share your class notebook with a student through the OneNote program, you can end up giving a student view or edit access to ALL of the sections, including those of other students. If this is something you’ve done already with a notebook you created with the Class Notebook Creator, it’s recommended that you un-share the notebook with all of your students and then add the students through the “Add new students” button on the Class Notebook Creator website.
- When students configure their Surfaces for the first time, two versions of OneNote are loaded, one that launches in the start menu and one that launches on the desktop. We (faculty) typically use the version on our desktop. The default on the students’ machines, however, may be set up as the start menu version. If you see a student who hasn’t properly opened OneNote in the desktop version, they can change the default to the desktop version easily using these instructions.
- Lots of helpful instructional documents are online on the Support Docs page.
- You can access the notebook creator website in a couple ways:
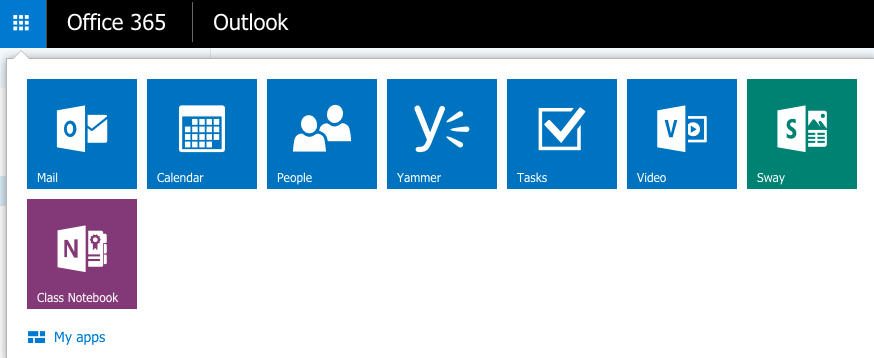
- While logged into any Office 365 website, click on the “waffle” icon in the upper left and then the purple “Class Notebook” tile:
- You can go directly to the Class Notebook Creator website by logging into www.onenote.com/classnotebook.
- While logged into any Office 365 website, click on the “waffle” icon in the upper left and then the purple “Class Notebook” tile:
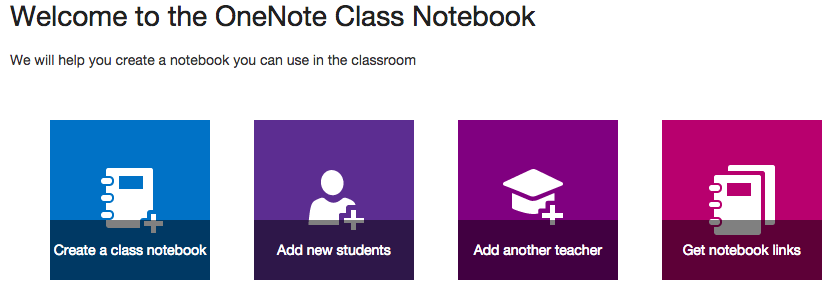
- You have successfully logged into the Class Notebook Creator website when you see this screen:
- If you create a new section or section group in a notebook created with the Class Notebook Creator, all of the students in your class will be able to see that folder. If you’d like to create a notebook section that students can’t see, you have two options:
- Create an entirely separate notebook on your Surface in OneNote.
- Add a password to the section you’d like to keep private. Please note that this method is not recommended as we have had some stability issues with password protected sections in the past.
- It is possible to put section groups into section groups. You can use this maneuver to put all of your student section groups into one section group, possibly called “Student Notebooks”, or whatever you’d like to name the section group. If you do this, you’ll be able to collapse all of your students notebooks and not have them all listed out all of the time:
