 Microsoft has released a new way to make presentations called Office Mix. In their words, Office Mix gives Powerpoint “superpowers”.
It’s free and you can check it out right here.
Also, there are some great tutorials online right here.

Microsoft has released a new way to make presentations called Office Mix. In their words, Office Mix gives Powerpoint “superpowers”.
It’s free and you can check it out right here.
Also, there are some great tutorials online right here.
Check out this original song written to Taylor’s Blank Space created by some of Ms. Michalski’s French IV students!
From Ms. Michalski:
After studying the film, Le dîner de cons, my students had to write a song from the perspective of one of its characters, using a karaoke version of an existing song.
Great work Ben Chmielewski, Aaron James, and Nate Gordon!
Ms. Michalski’s French 3 Honors class created a wonderful news broadcast! Check it out!
Here’s what Ms. Michalski had to say about the project:
“As a culminating project after studying media, my French III honors class recently created its own TV station, TV3Monde (after French station, TV5Monde). I divided the class into pairs, and assigned each an area to cover. Kids were asked to give their top 3 choices of interest, based on vocabulary studied, (for example, sports, year in review, editorial piece, fashion/celebrity news, campus news. Etc). They then were required to write their piece, including required grammar and vocabulary, in this case, the vocabulary was media related and thus lent itself perfectly to the project. The grammar we had been studying, too, fit naturally into a newscast: passé composé v. imparfait, object pronouns, interrogative pronouns and adjectives and adverbs. The goals of the project, aside from practicing with the above, collaboration, and fun, was also to speak easily and comfortably between 2-4 minutes, while presenting the news as one would see on the television.
Following the kids’ submission of each of their groups’ clip, all interested kids had the chance to edit the clips into the class newscast, “TV3Monde”. Here is one of the final products.
In terms of technology, kids chose to “interview” non-French speakers and dub/subtitle them, which they reported doing with ease (and great hilarity, in cases). The only issue was, as can be heard in the recording, the variance of the volume, depending on the devices used for recording. This is an issue I’d love to better figure out.”
They did an awesome job – 20 minutes of news!!
In this episode I talk about Google Chrome extensions, OneNote section groups, proper audio recording levels, a new presentation tool from Microsoft called “Sway”, and an advanced 3D modeling program (free!) called Blender.
Chrome Web Store – Extensions
Microsoft’s new presentation tool: Sway
Advanced 3D modeling program (free!): Blender
Past episodes of YDKWYDK are online right here.
 Here are the resources that go along with Allison Evans’ presentation on Open Education Resources.
If you find an Open Content site or resource that you think everyone should know about, please submit your findings using this short online form.
General Resources (interdisciplinary)
→ http://ed.ted.com/
→ http://www.loc.gov/teachers/
→ https://www.oercommons.org/ (browse by topic)
→ http://www.pbslearningmedia.org/
→ https://www.khanacademy.org/
→ https://www.boundless.com/
History
→ http://historyexplorer.si.edu/home/
→ http://sheg.stanford.edu/
→ http://www.digitalhistory.uh.edu/
→ https://zinnedproject.org/teaching-materials/
→ http://teachufr.org/about/
Science
→ http://k12videos.mit.edu/
→ http://www.discoveryeducation.com/teachers/
→ http://concord.org/stem-resources
→ https://nsdl.oercommons.org/
→ http://learn.genetics.utah.edu/
→ http://www.energyville.com/energyville/
Math
→ http://playspent.org/
→ http://csedweek.org/learn
→ http://concord.org/stem-resources
→ http://ocw.mit.edu/high-school/mathematics/
→ http://nlvm.usu.edu/
English
→ http://www.barbican.org.uk/canihaveaword
→ http://www.readwritethink.org/
→ http://oyc.yale.edu/english
→ http://www.quickanddirtytips.com/grammar-girl (podcasts)
Language
→ https://babadum.com
→ http://languages.ku.edu/oer
→ http://ocw.mit.edu/courses/global-studies-and-languages/
→ http://coerll.utexas.edu/coerll
Arts
→ http://curiator.com/
→ https://artsy.net/
→ http://ocw.mit.edu/courses/music-and-theater-arts/
→ http://www.exploratorium.edu/music/index.html
→ https://www.google.com/culturalinstitute/project/art-project
![]() Earlier this month, Ms. Baldwin gave a great presentation on Plot.ly, an online system that lets you easily graph and share your data. Here are the resources she spoke about:
Earlier this month, Ms. Baldwin gave a great presentation on Plot.ly, an online system that lets you easily graph and share your data. Here are the resources she spoke about:
Plot.ly pages created by Ms. Baldwin:
Private School Data
Private School Visualization
Articles:
Wired Magazine – The cost of Legos
Washington Post – Do taxes on the rich leave the middle class with lower wages
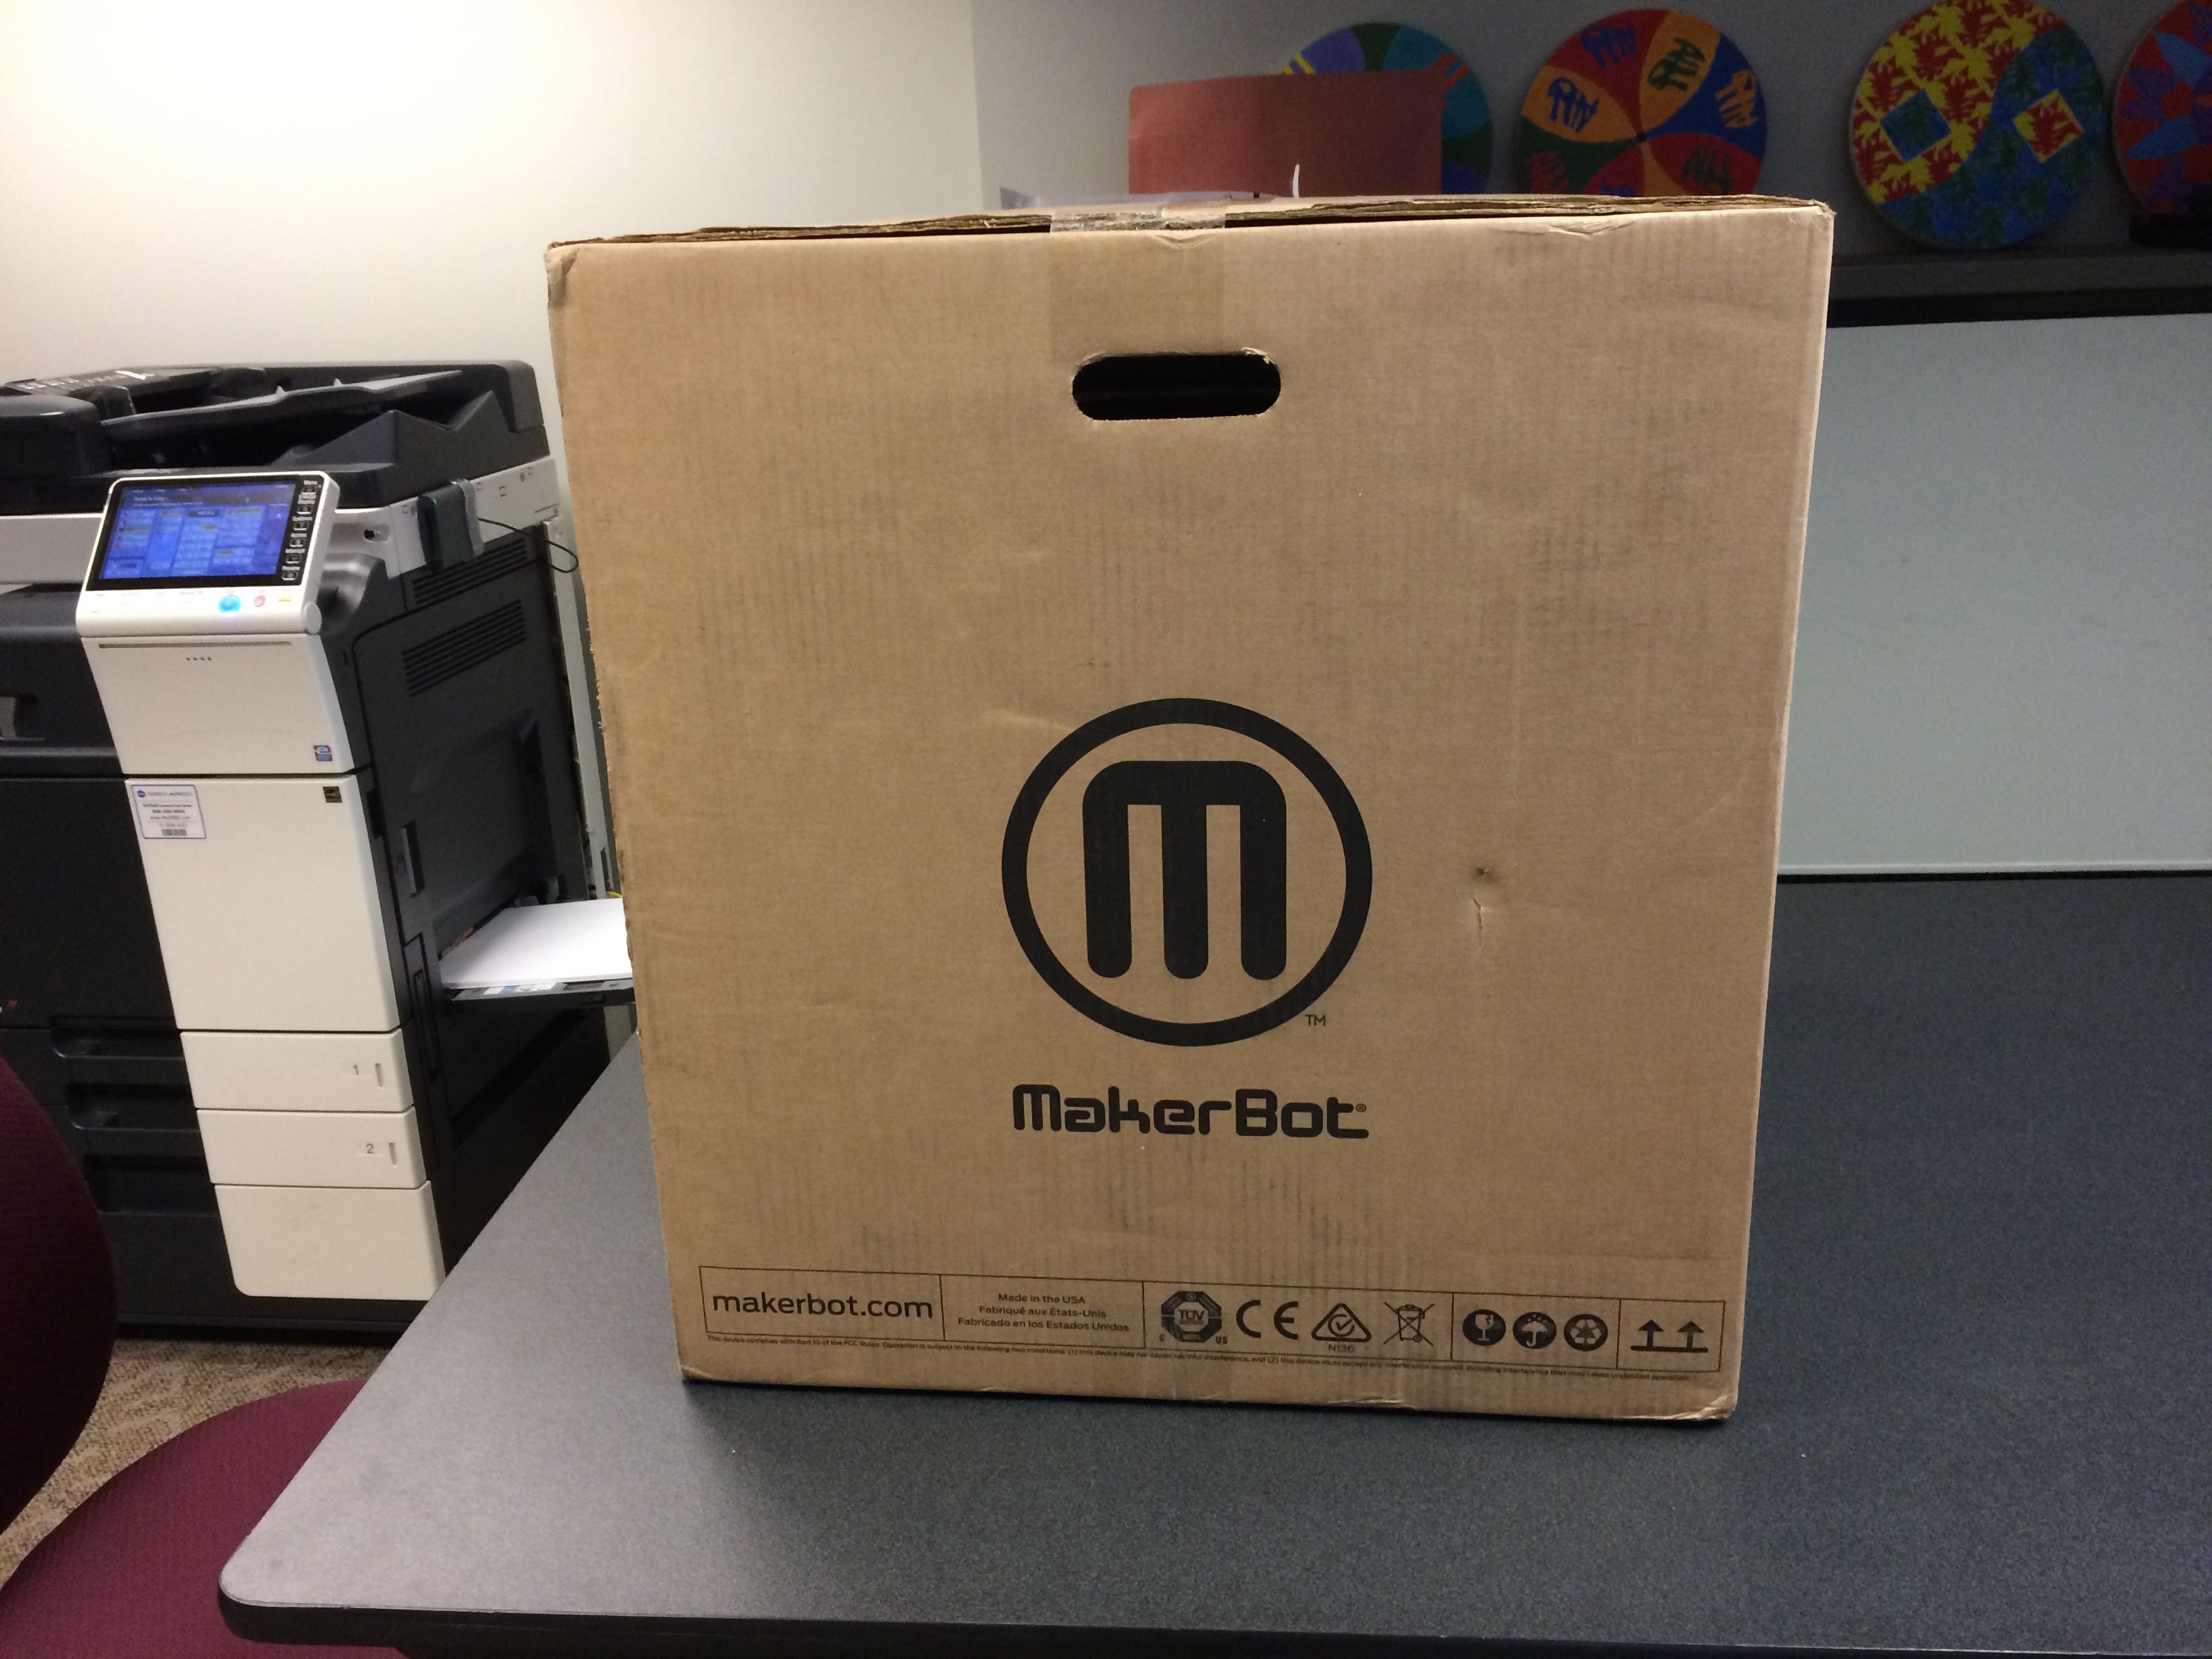
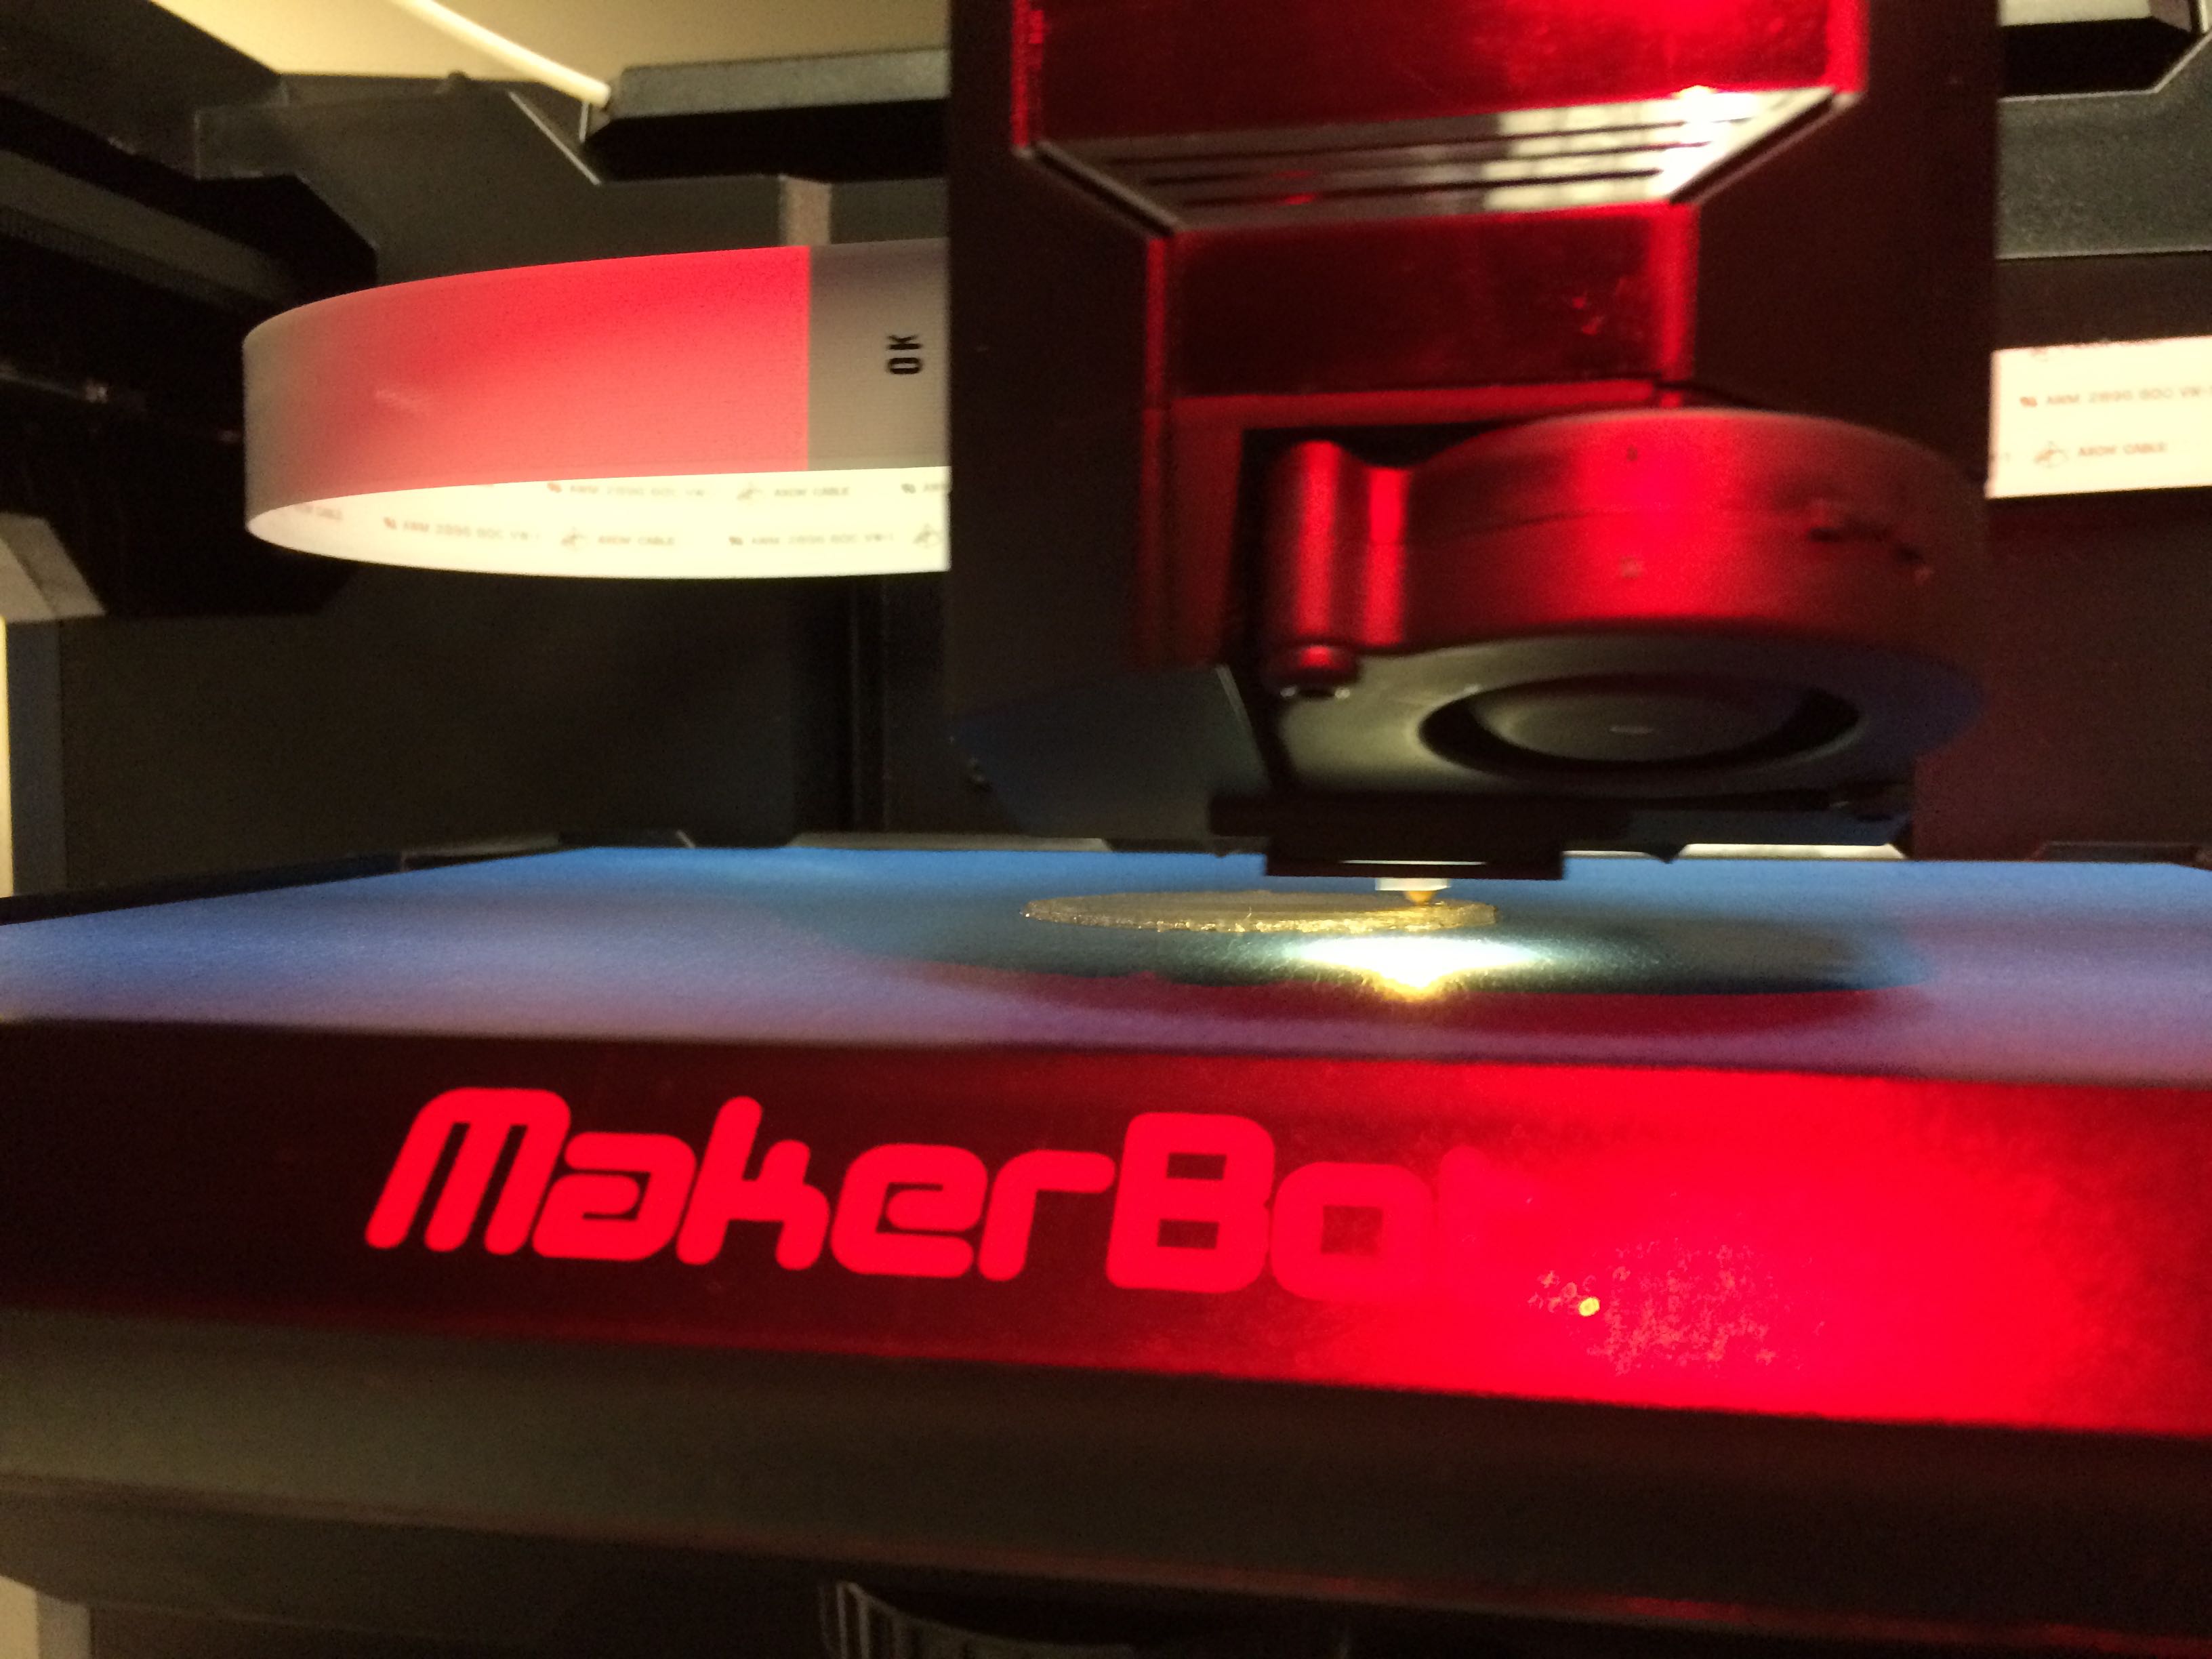
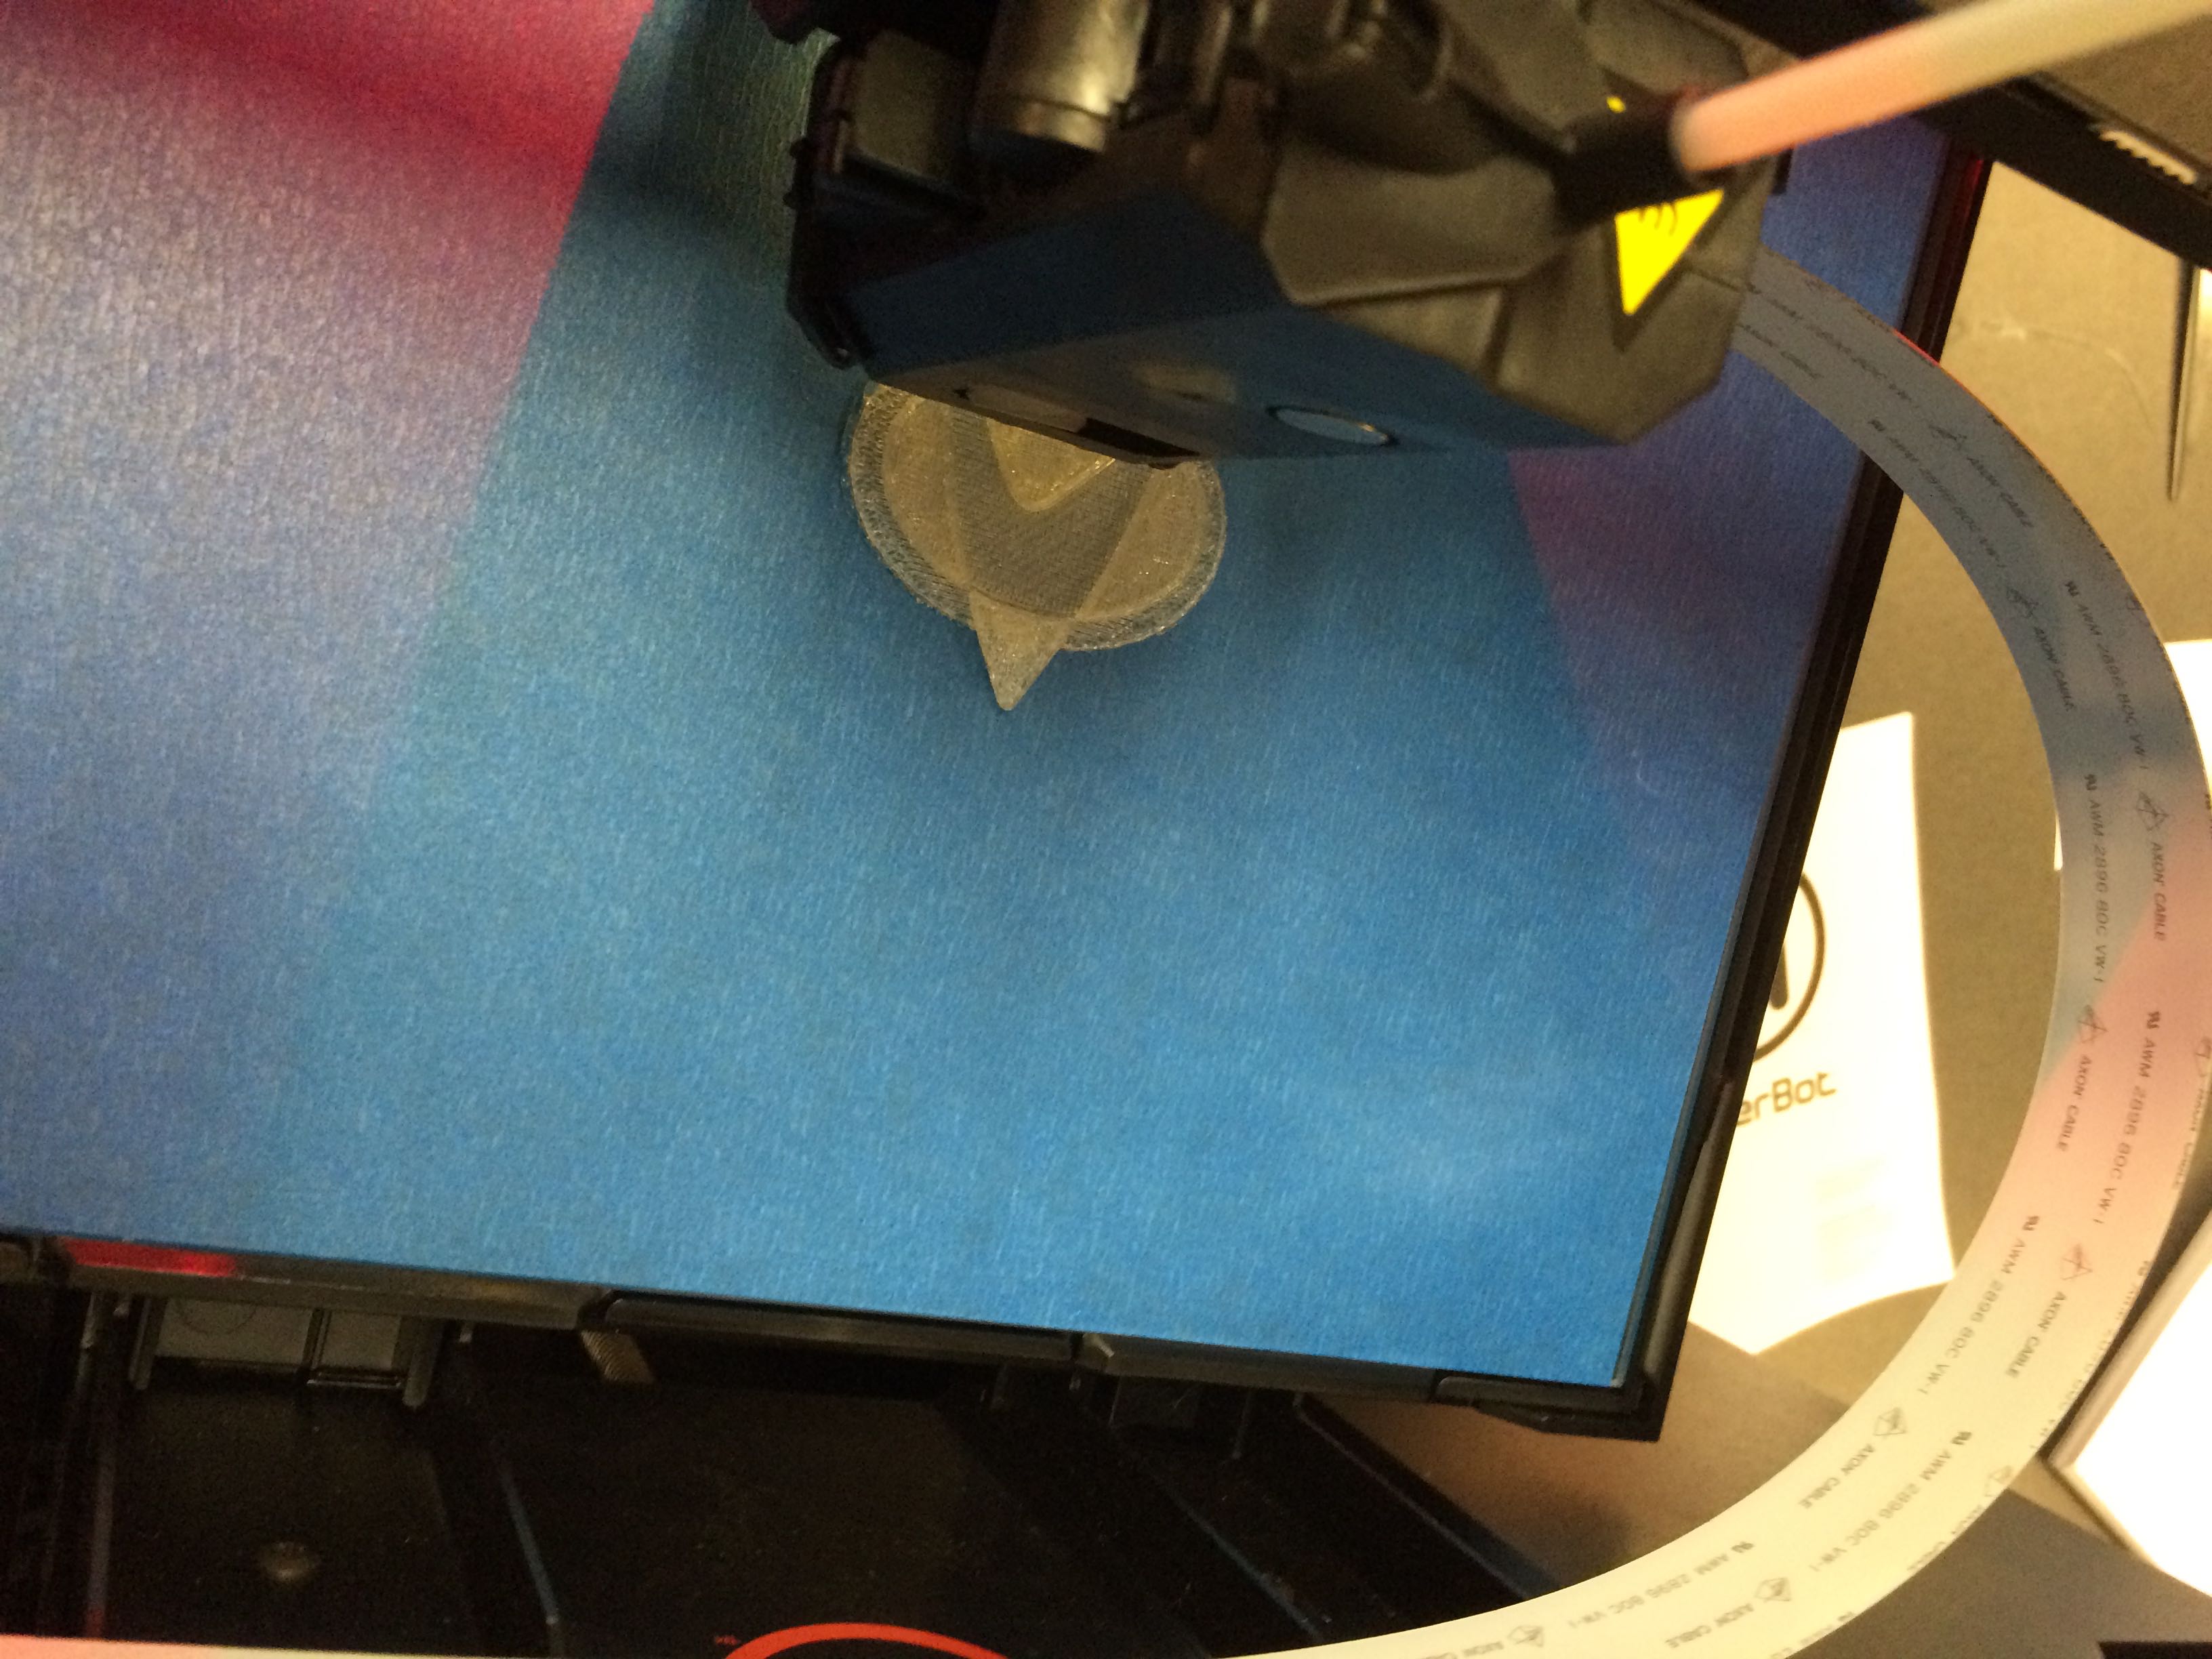
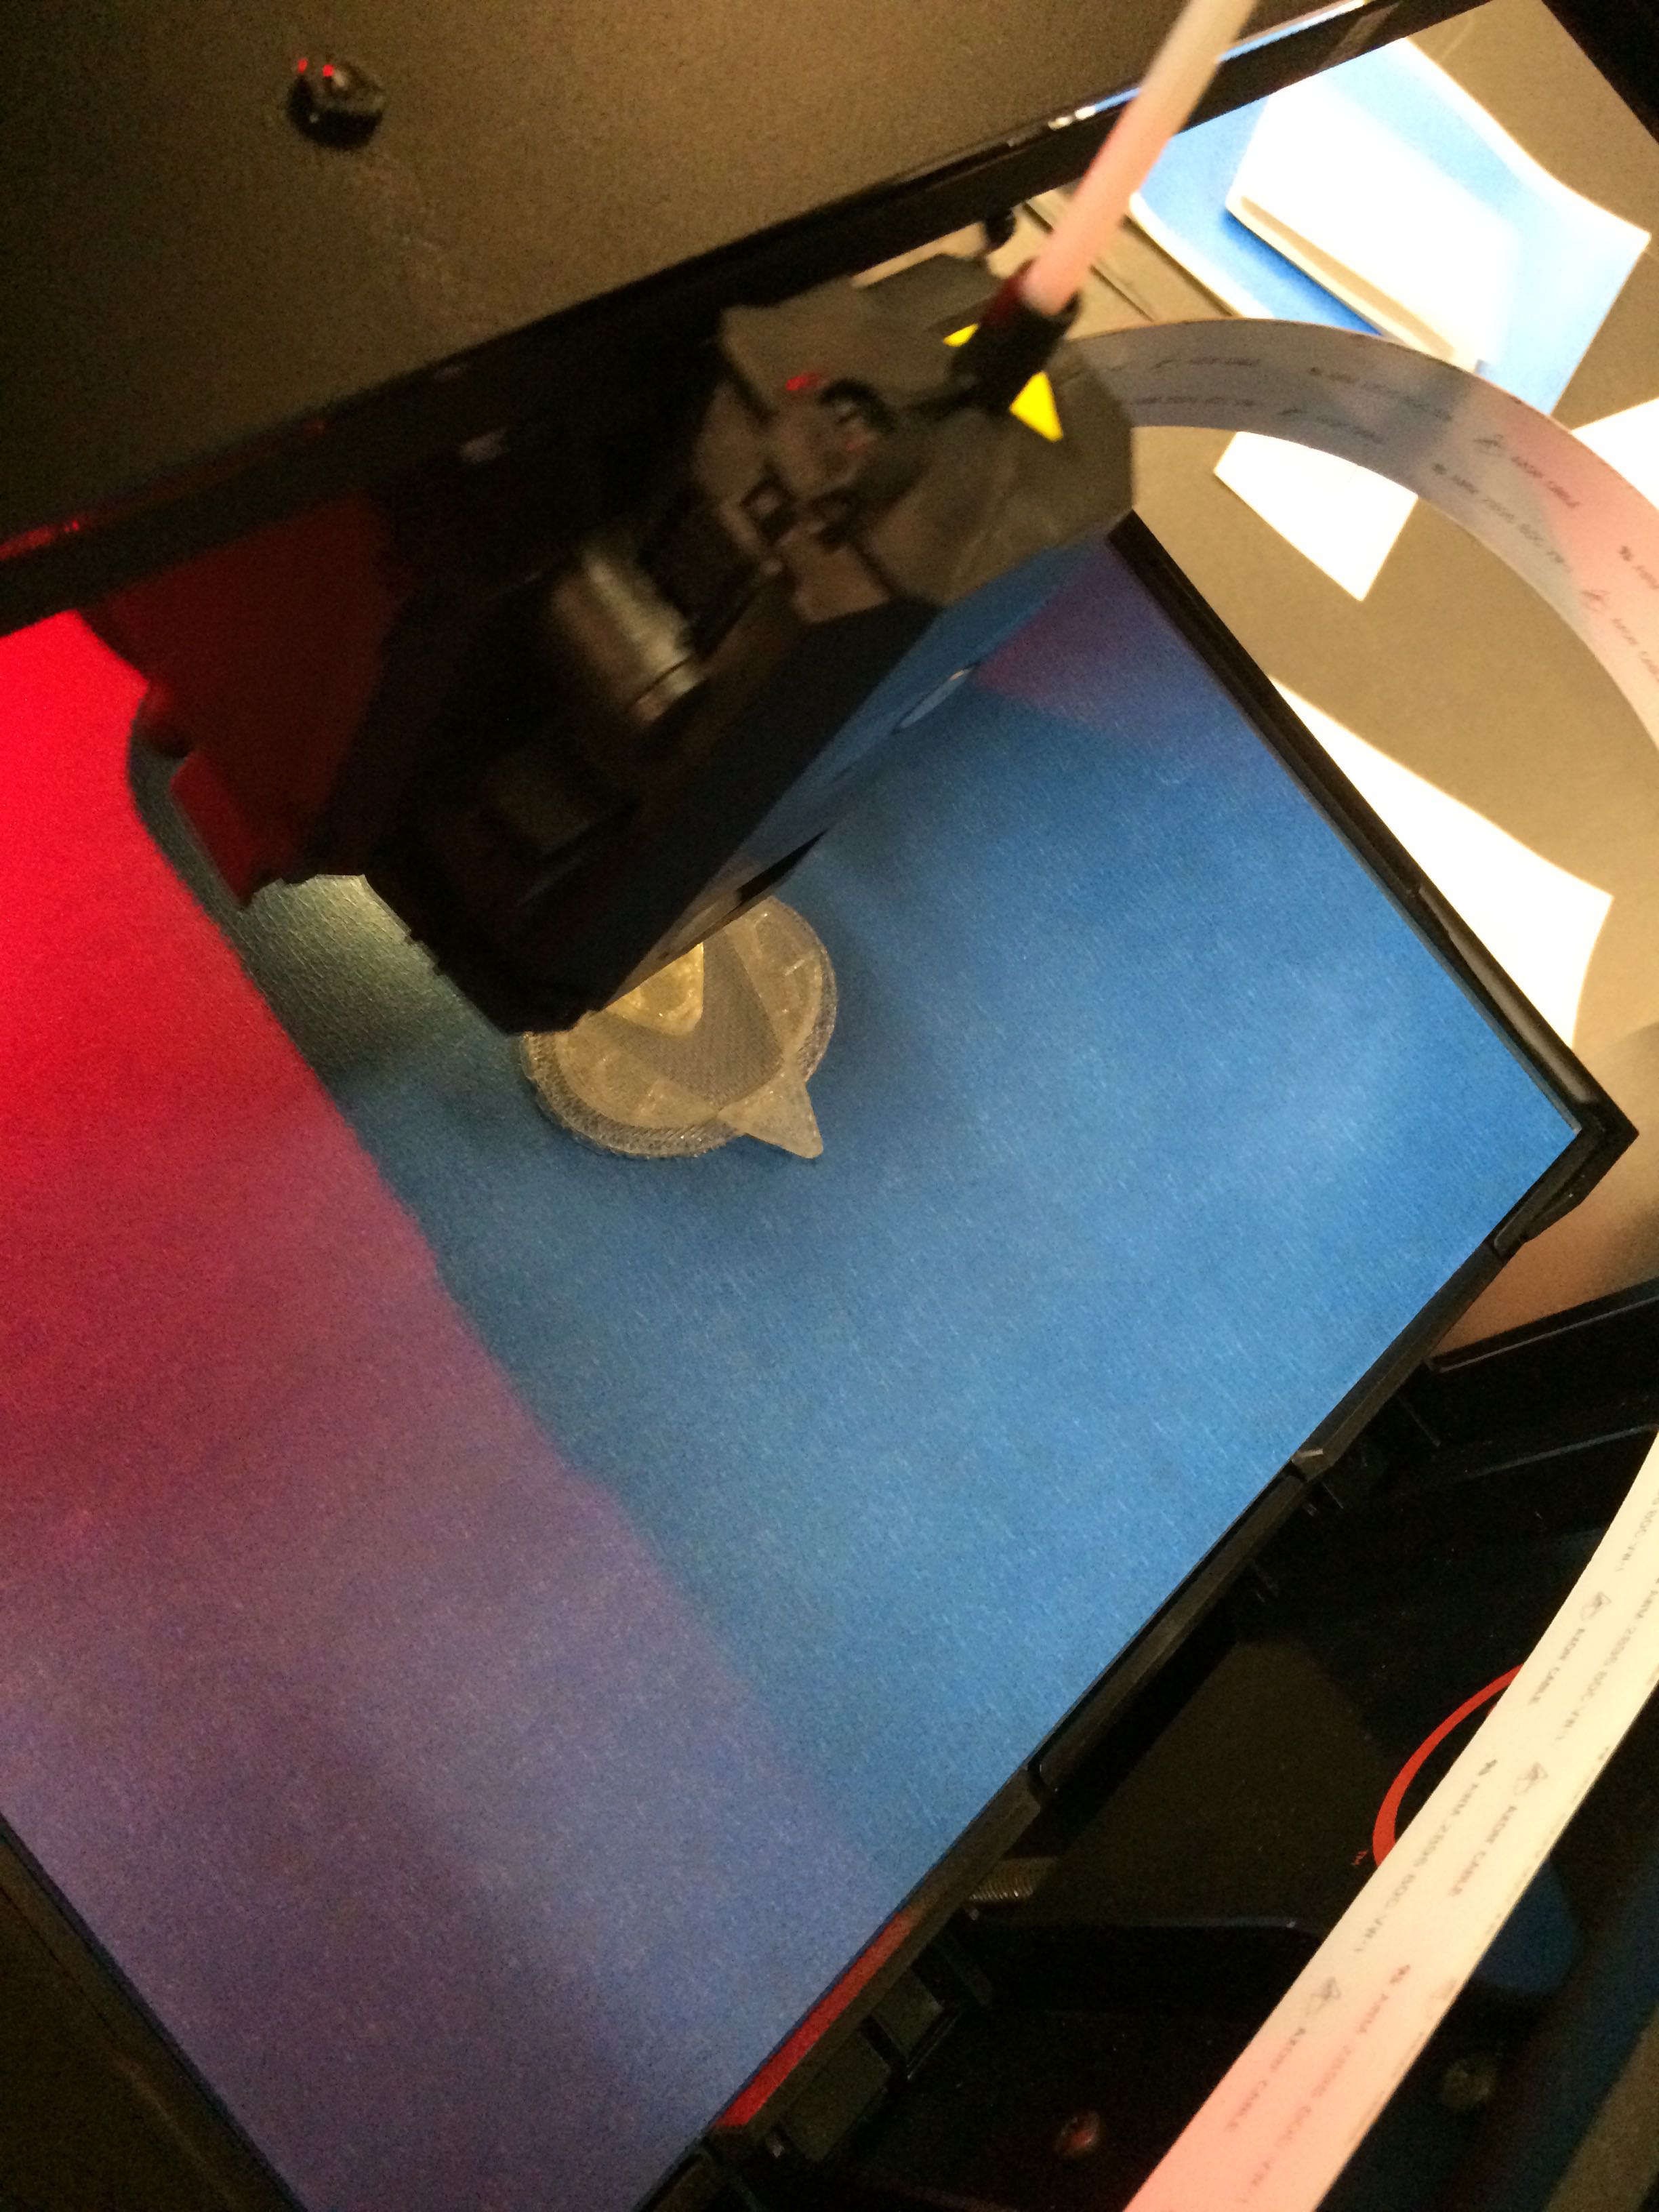
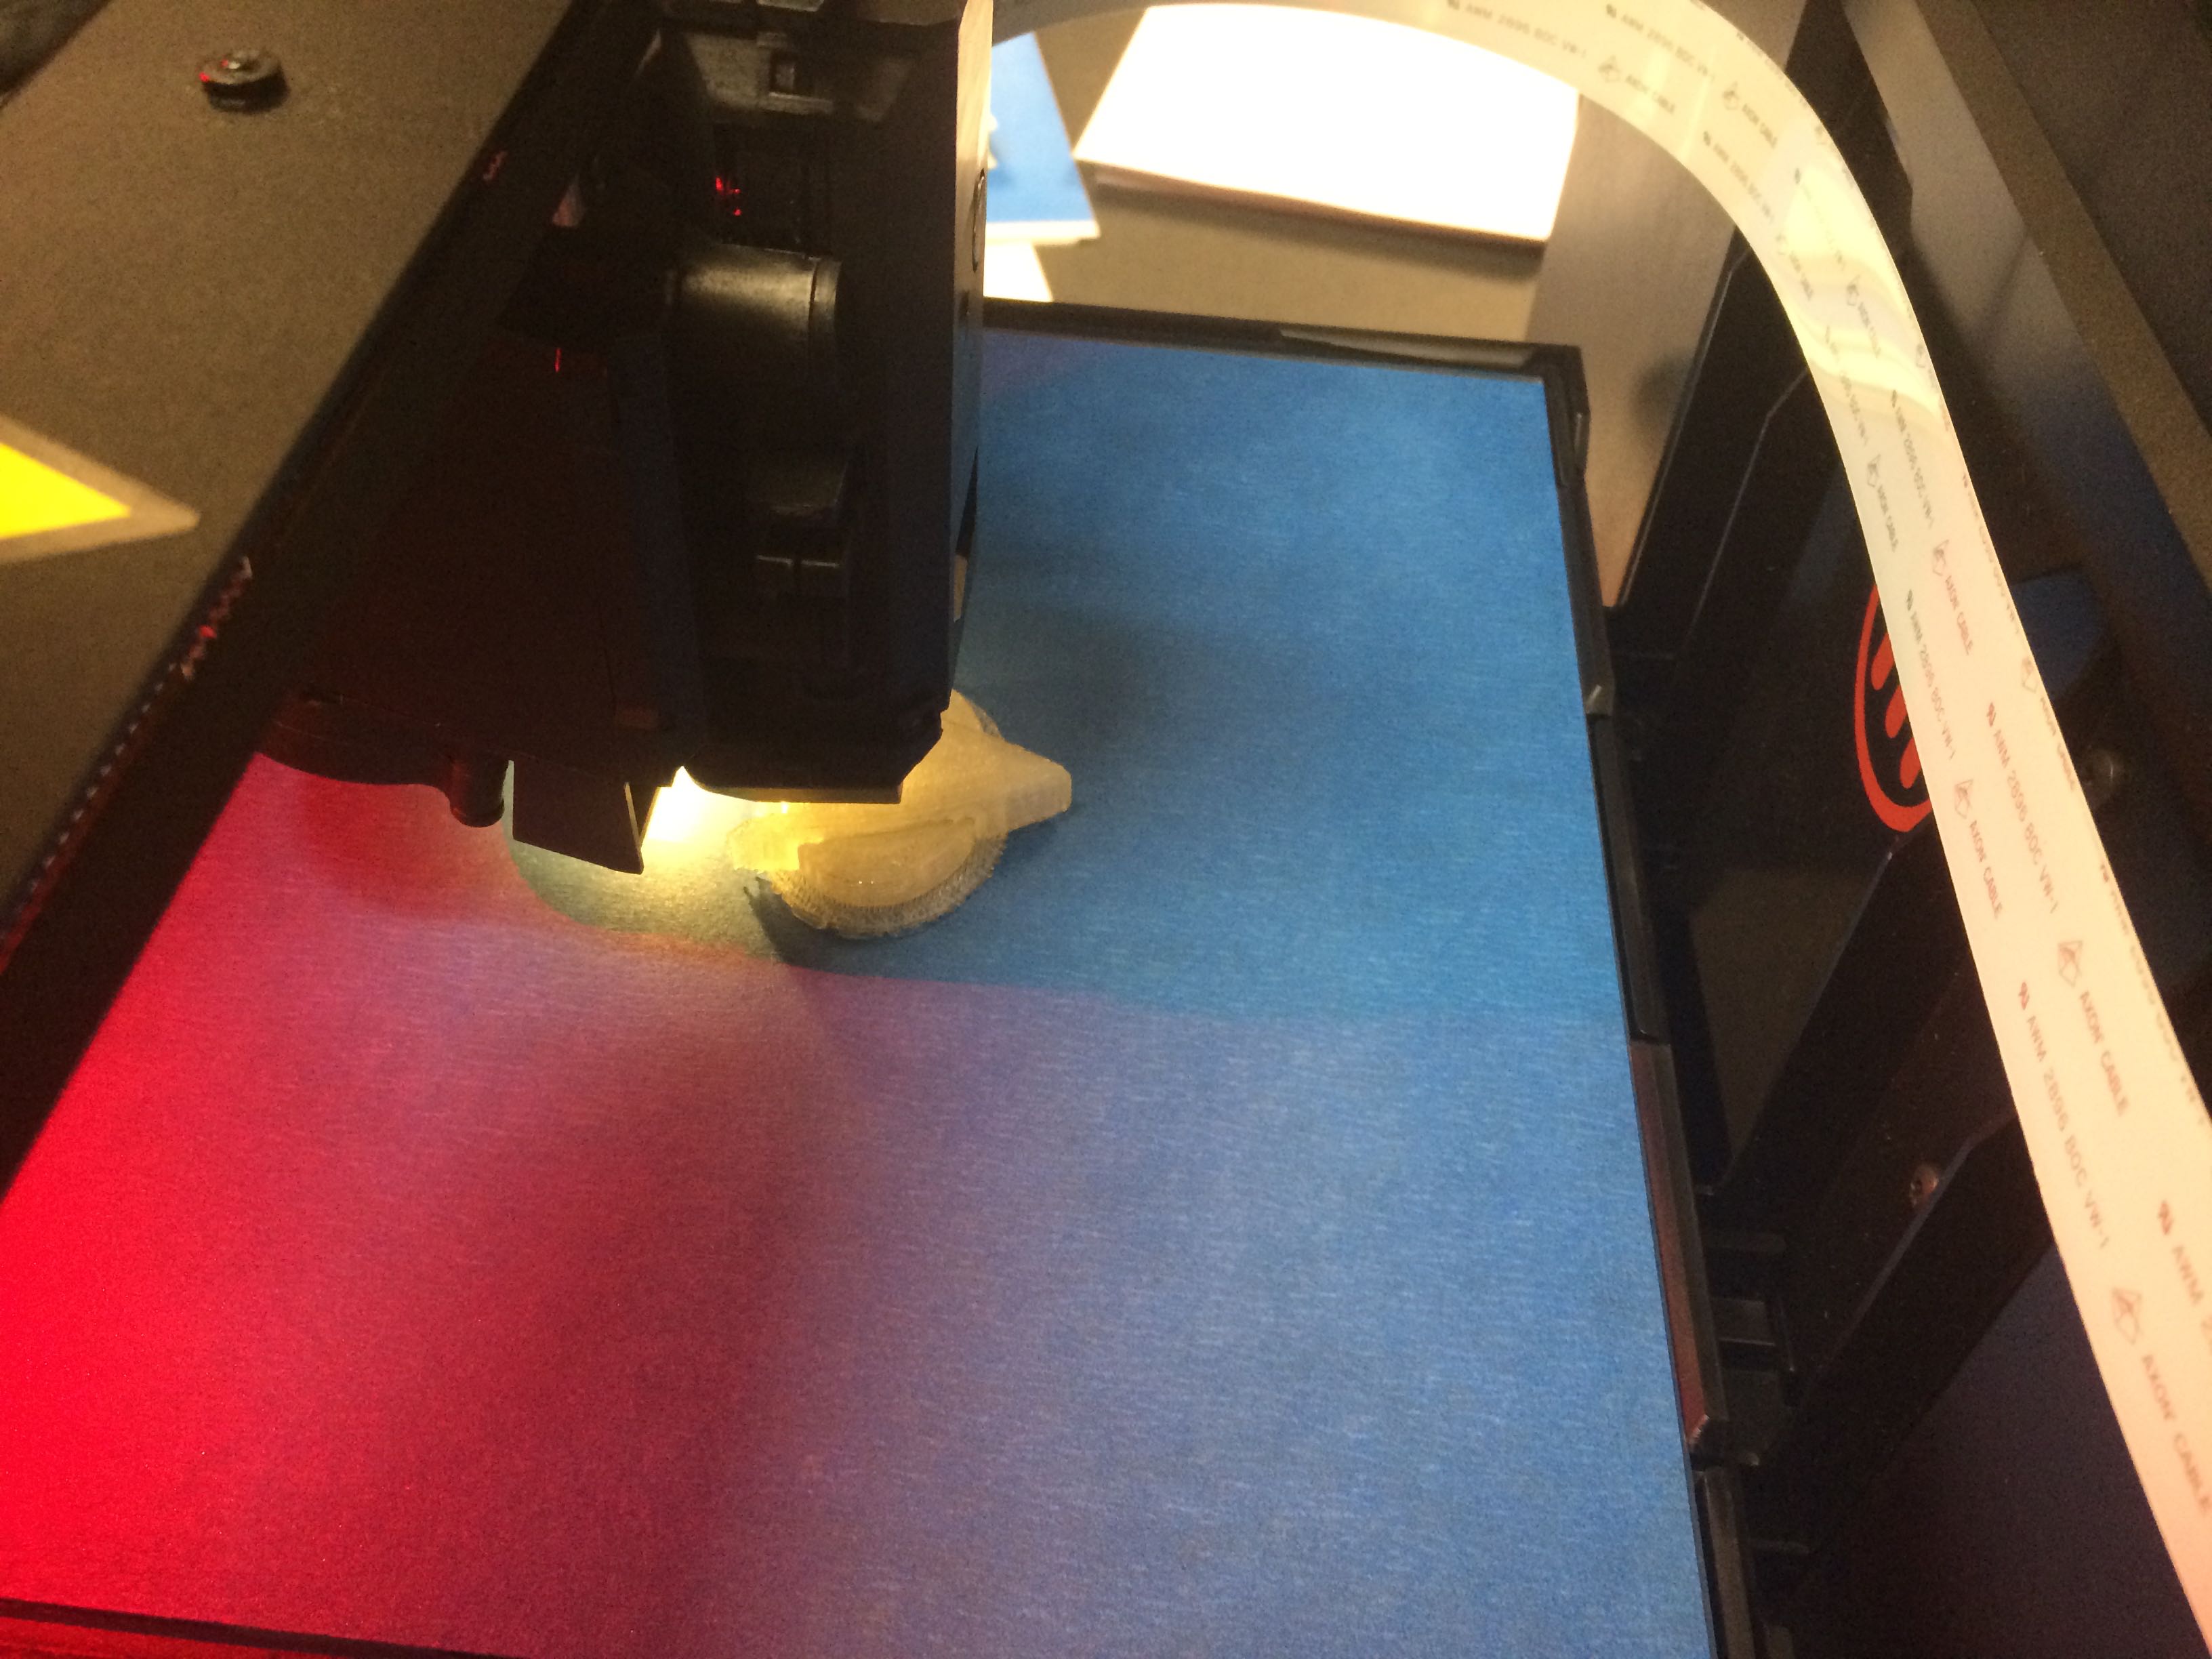
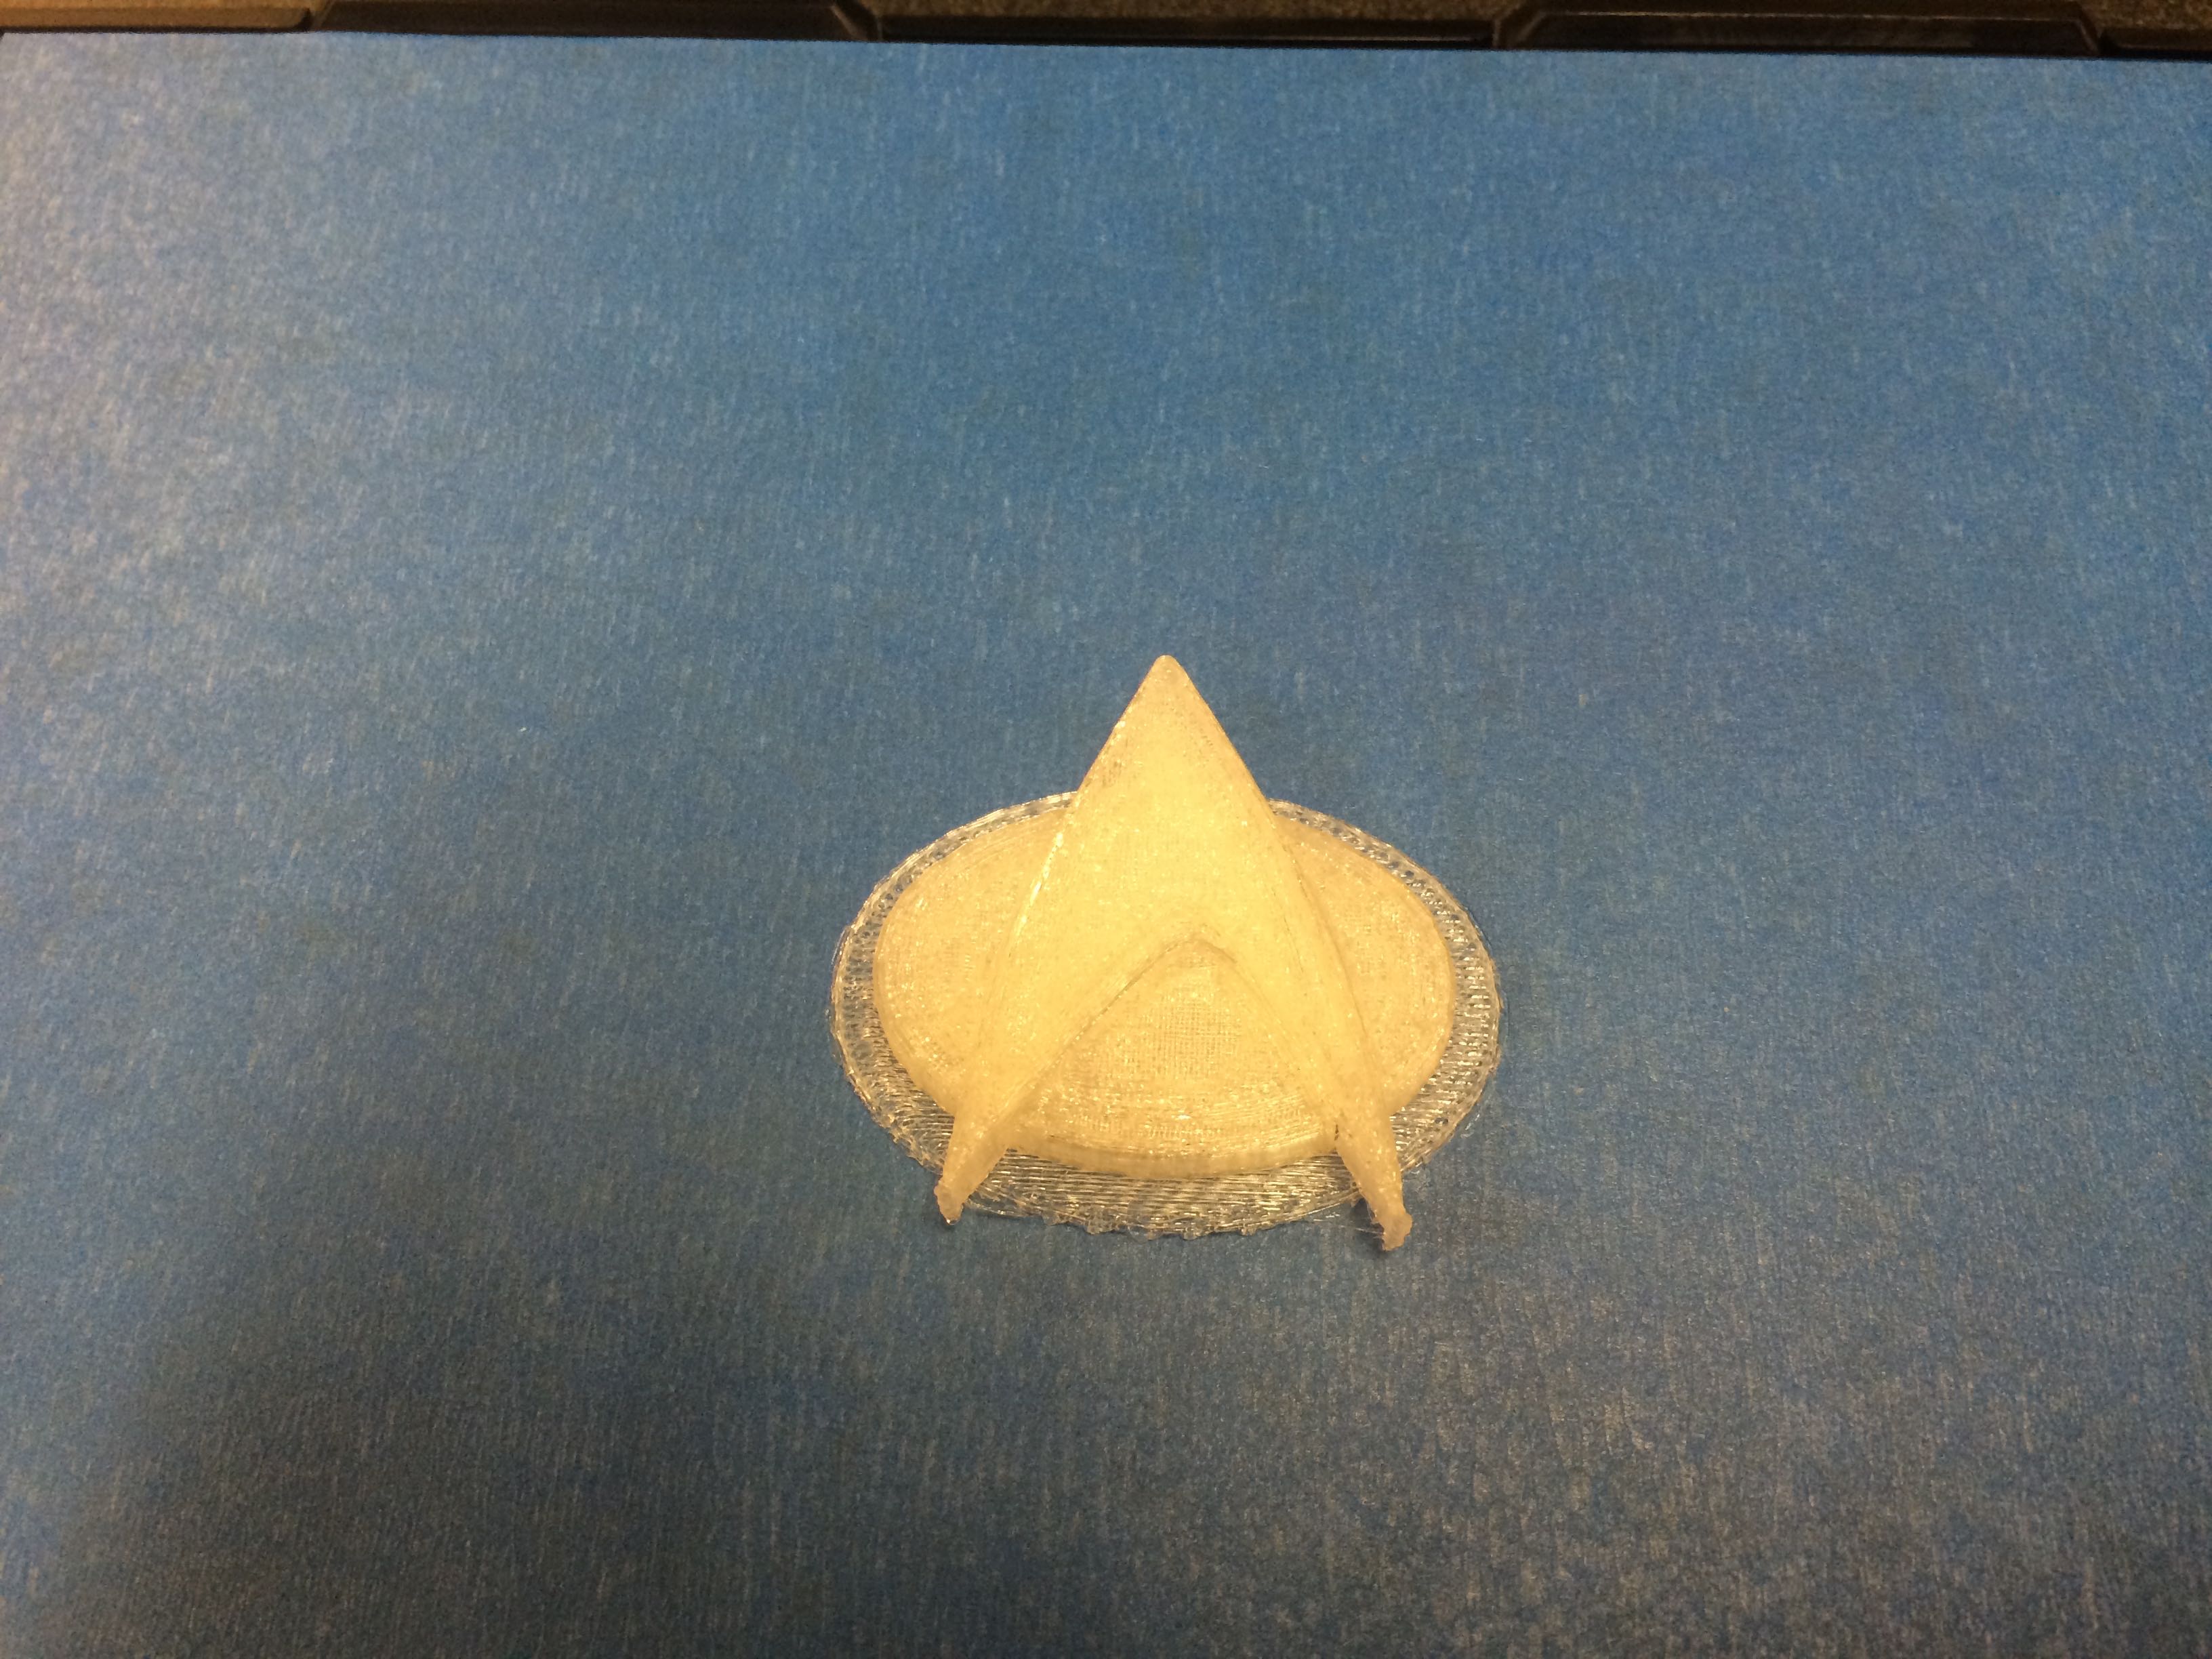
As an #edtech geek, I love working with new technologies. So, yesterday was a particularly exciting day as it was MakerBot unboxing day! May I present you with the first item ever 3D printed at Williston, a Star Trek (TNG) Communicator!

The first @WillistonNS 3D print run: A Star Trek (TNG) Communicator! @iWilliston https://t.co/xPsxT7970V
— Josh Seamon-Ingalls (@MrJoshSeamon) December 12, 2014
Right after lunch, MattieByrd and I headed over to Tech and pulled one of the two MakerBot Replicator (5th gen) boxes out of the server room. There is a certain heft to the unit, but it’s not overly heavy, which is not surprising since much of the unit is the empty space where models are built.
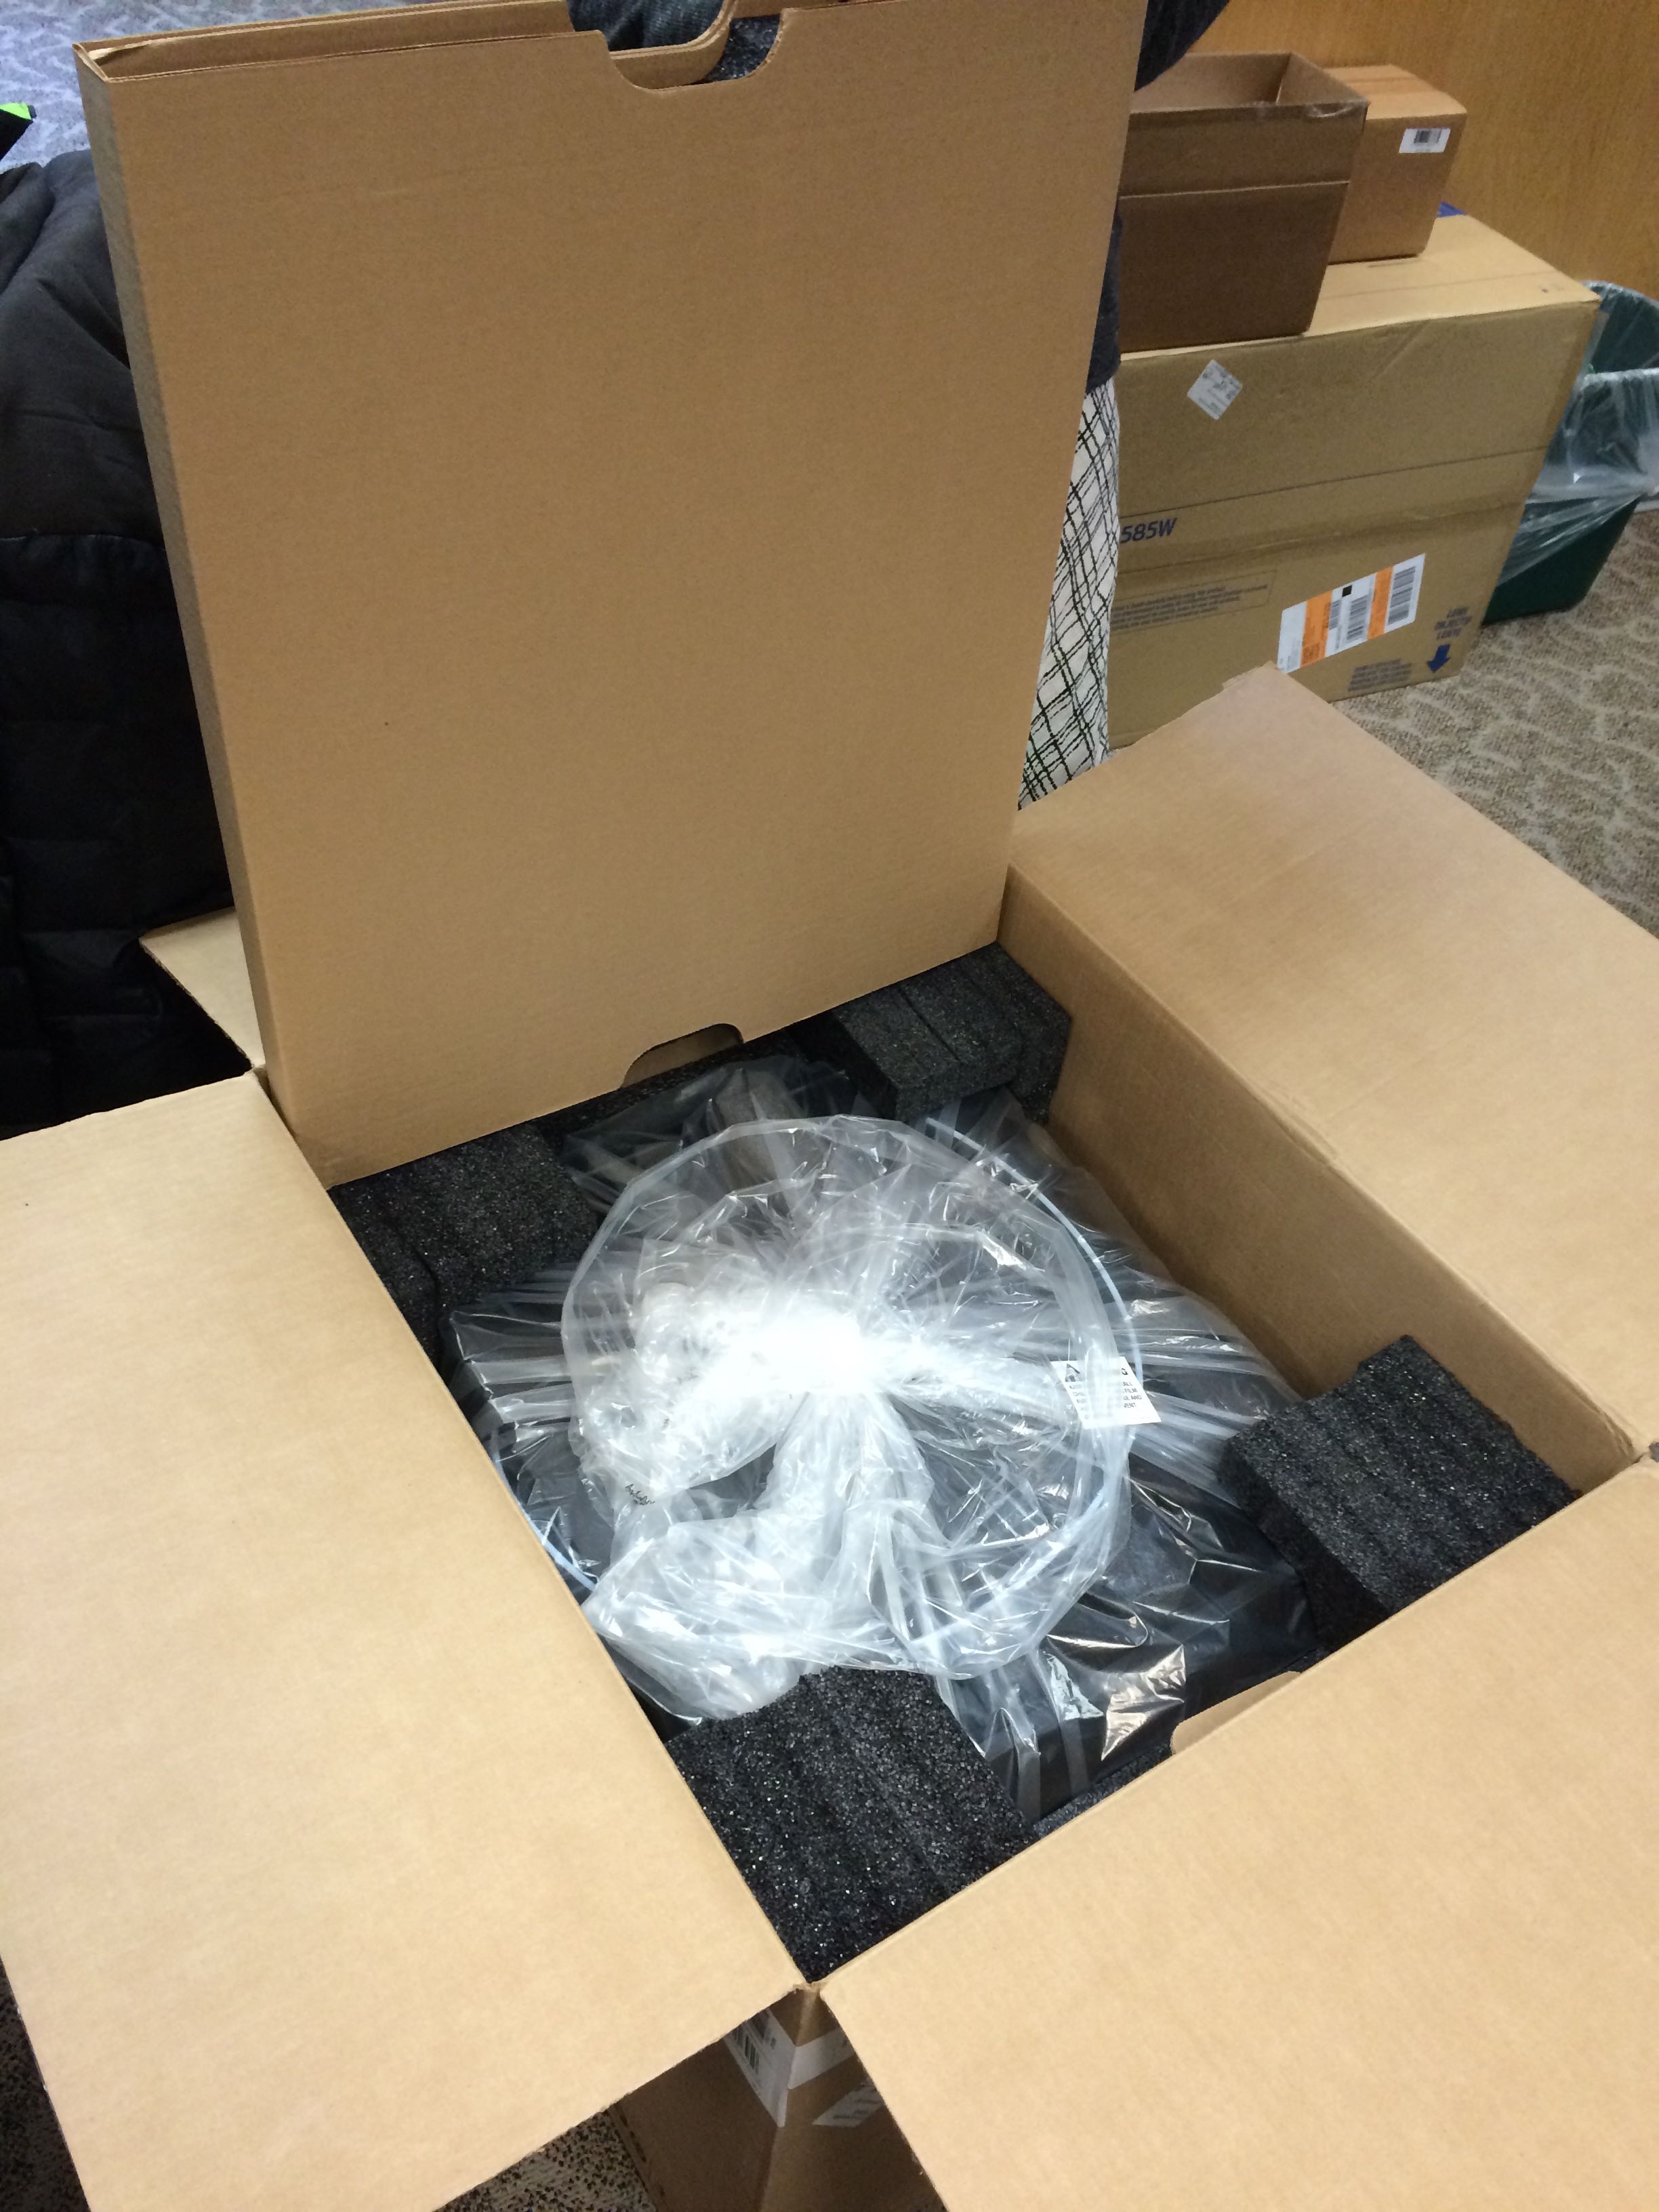
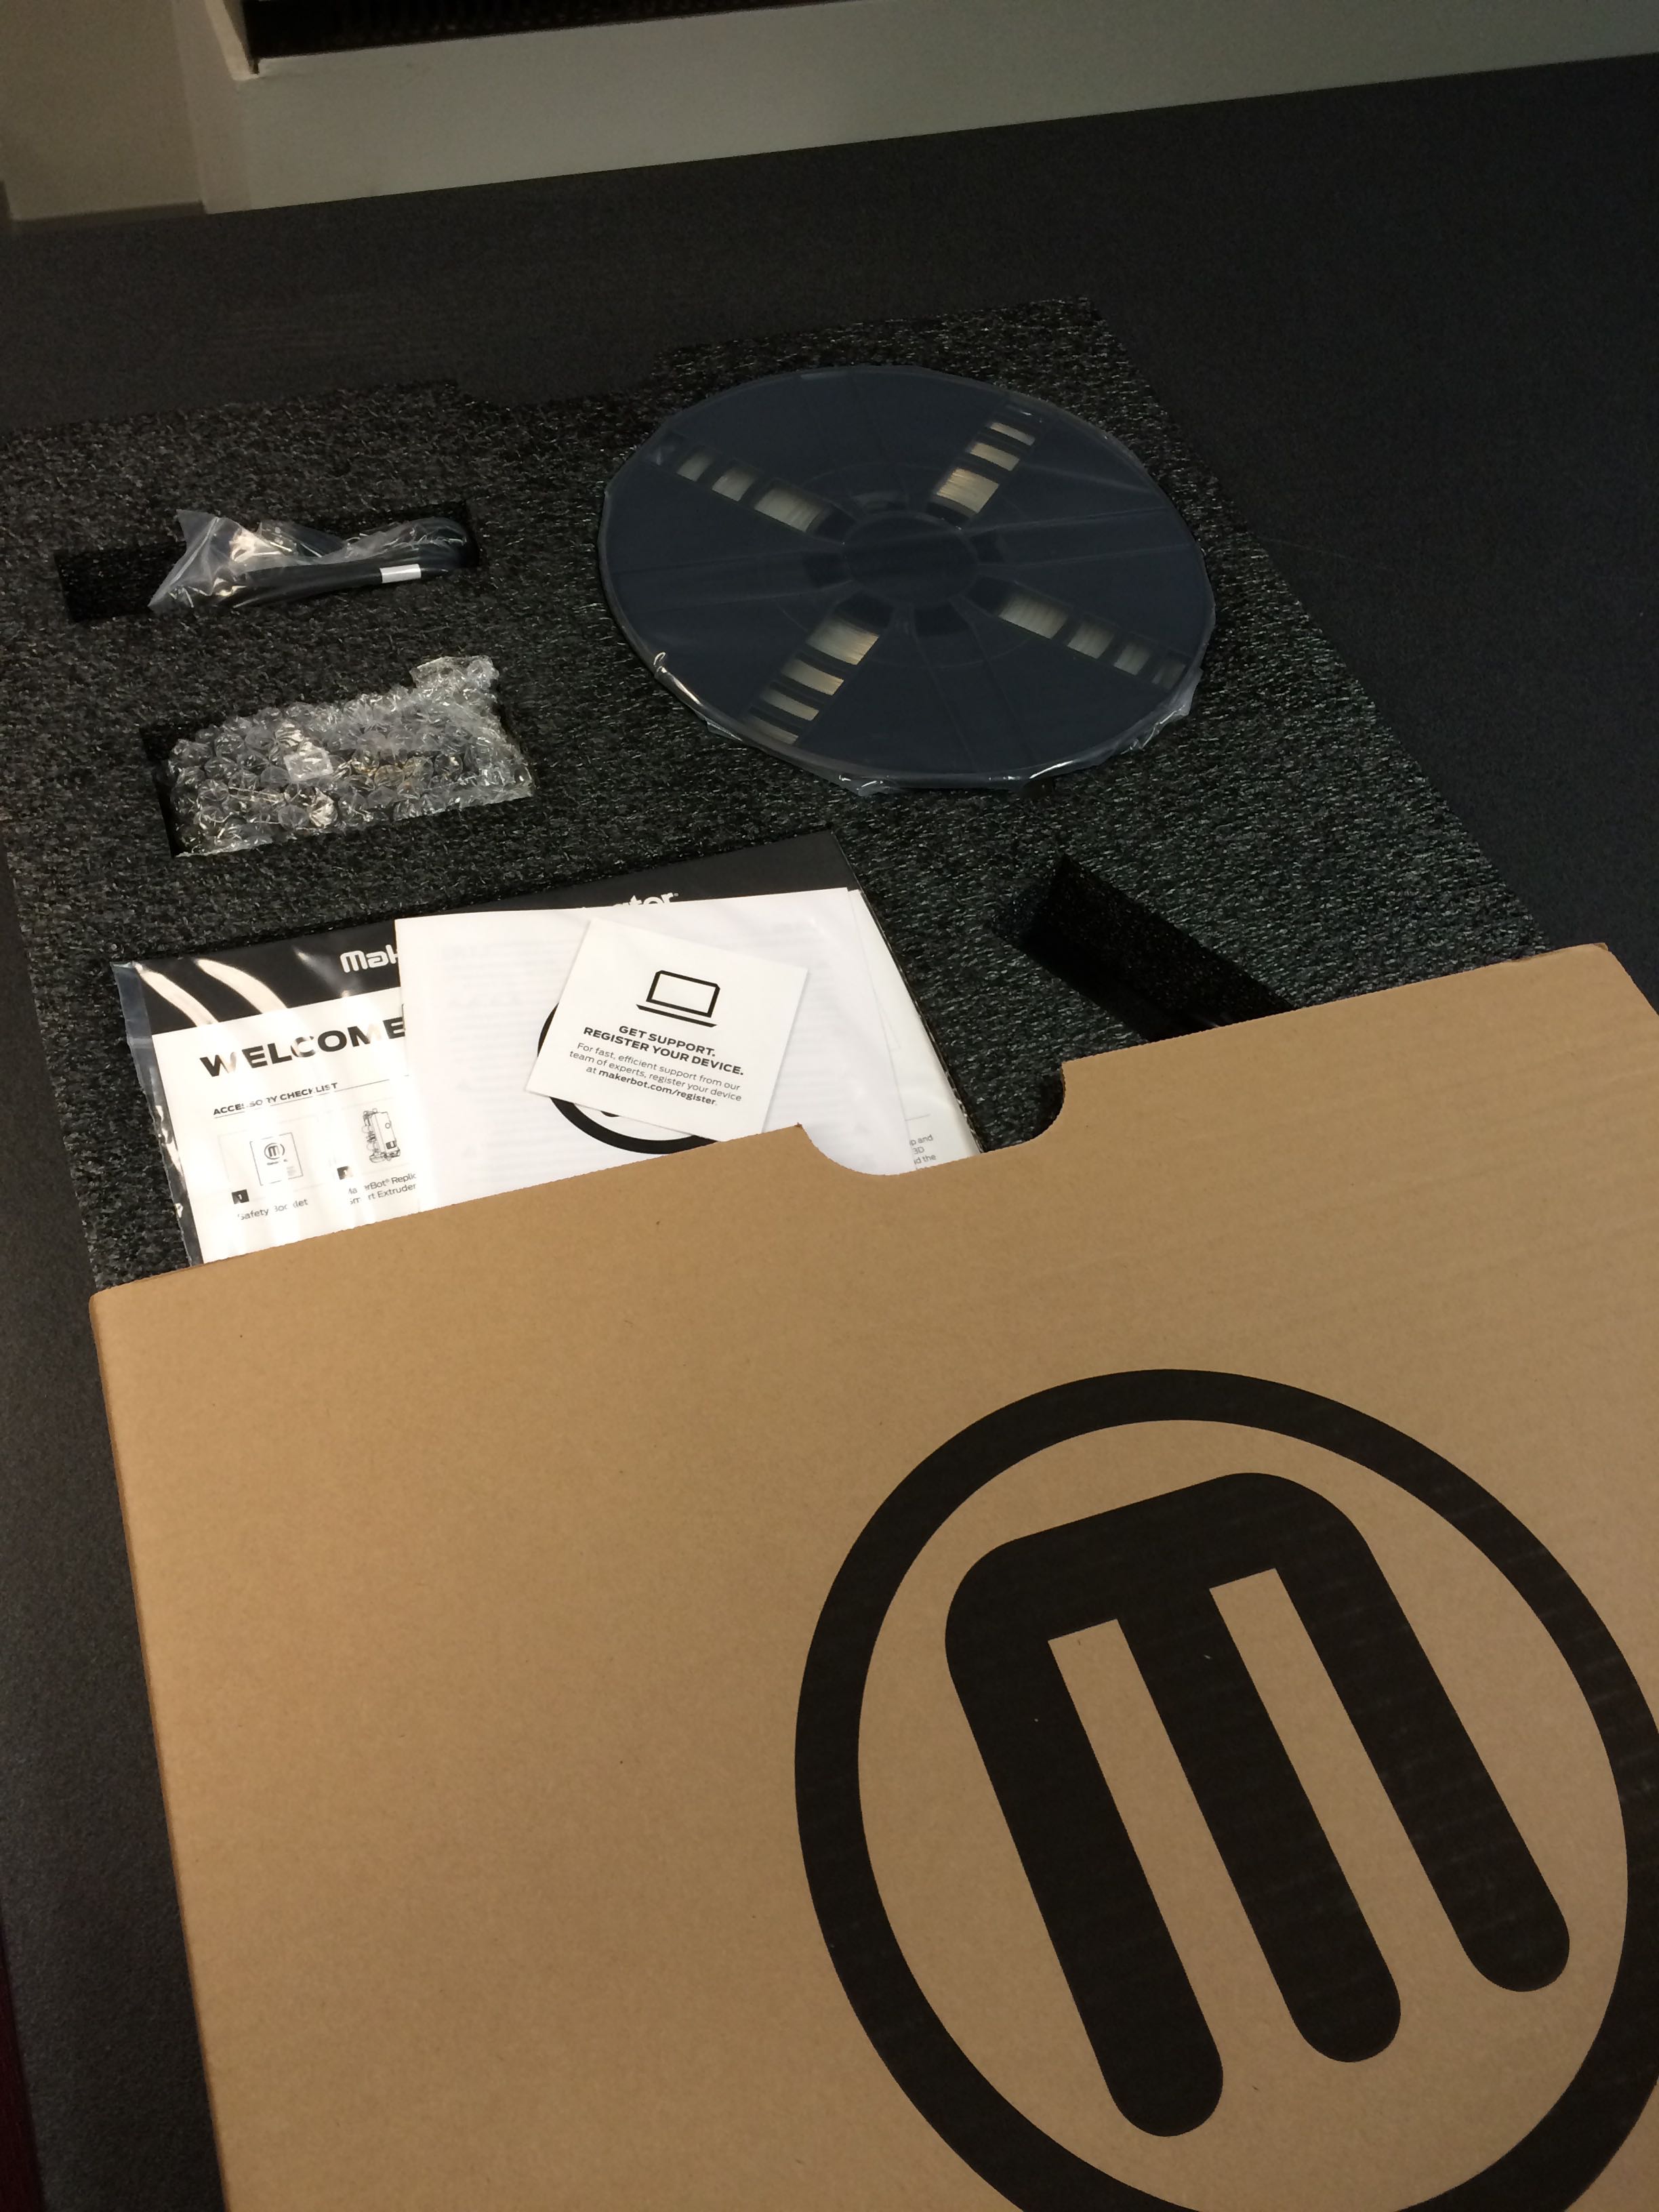
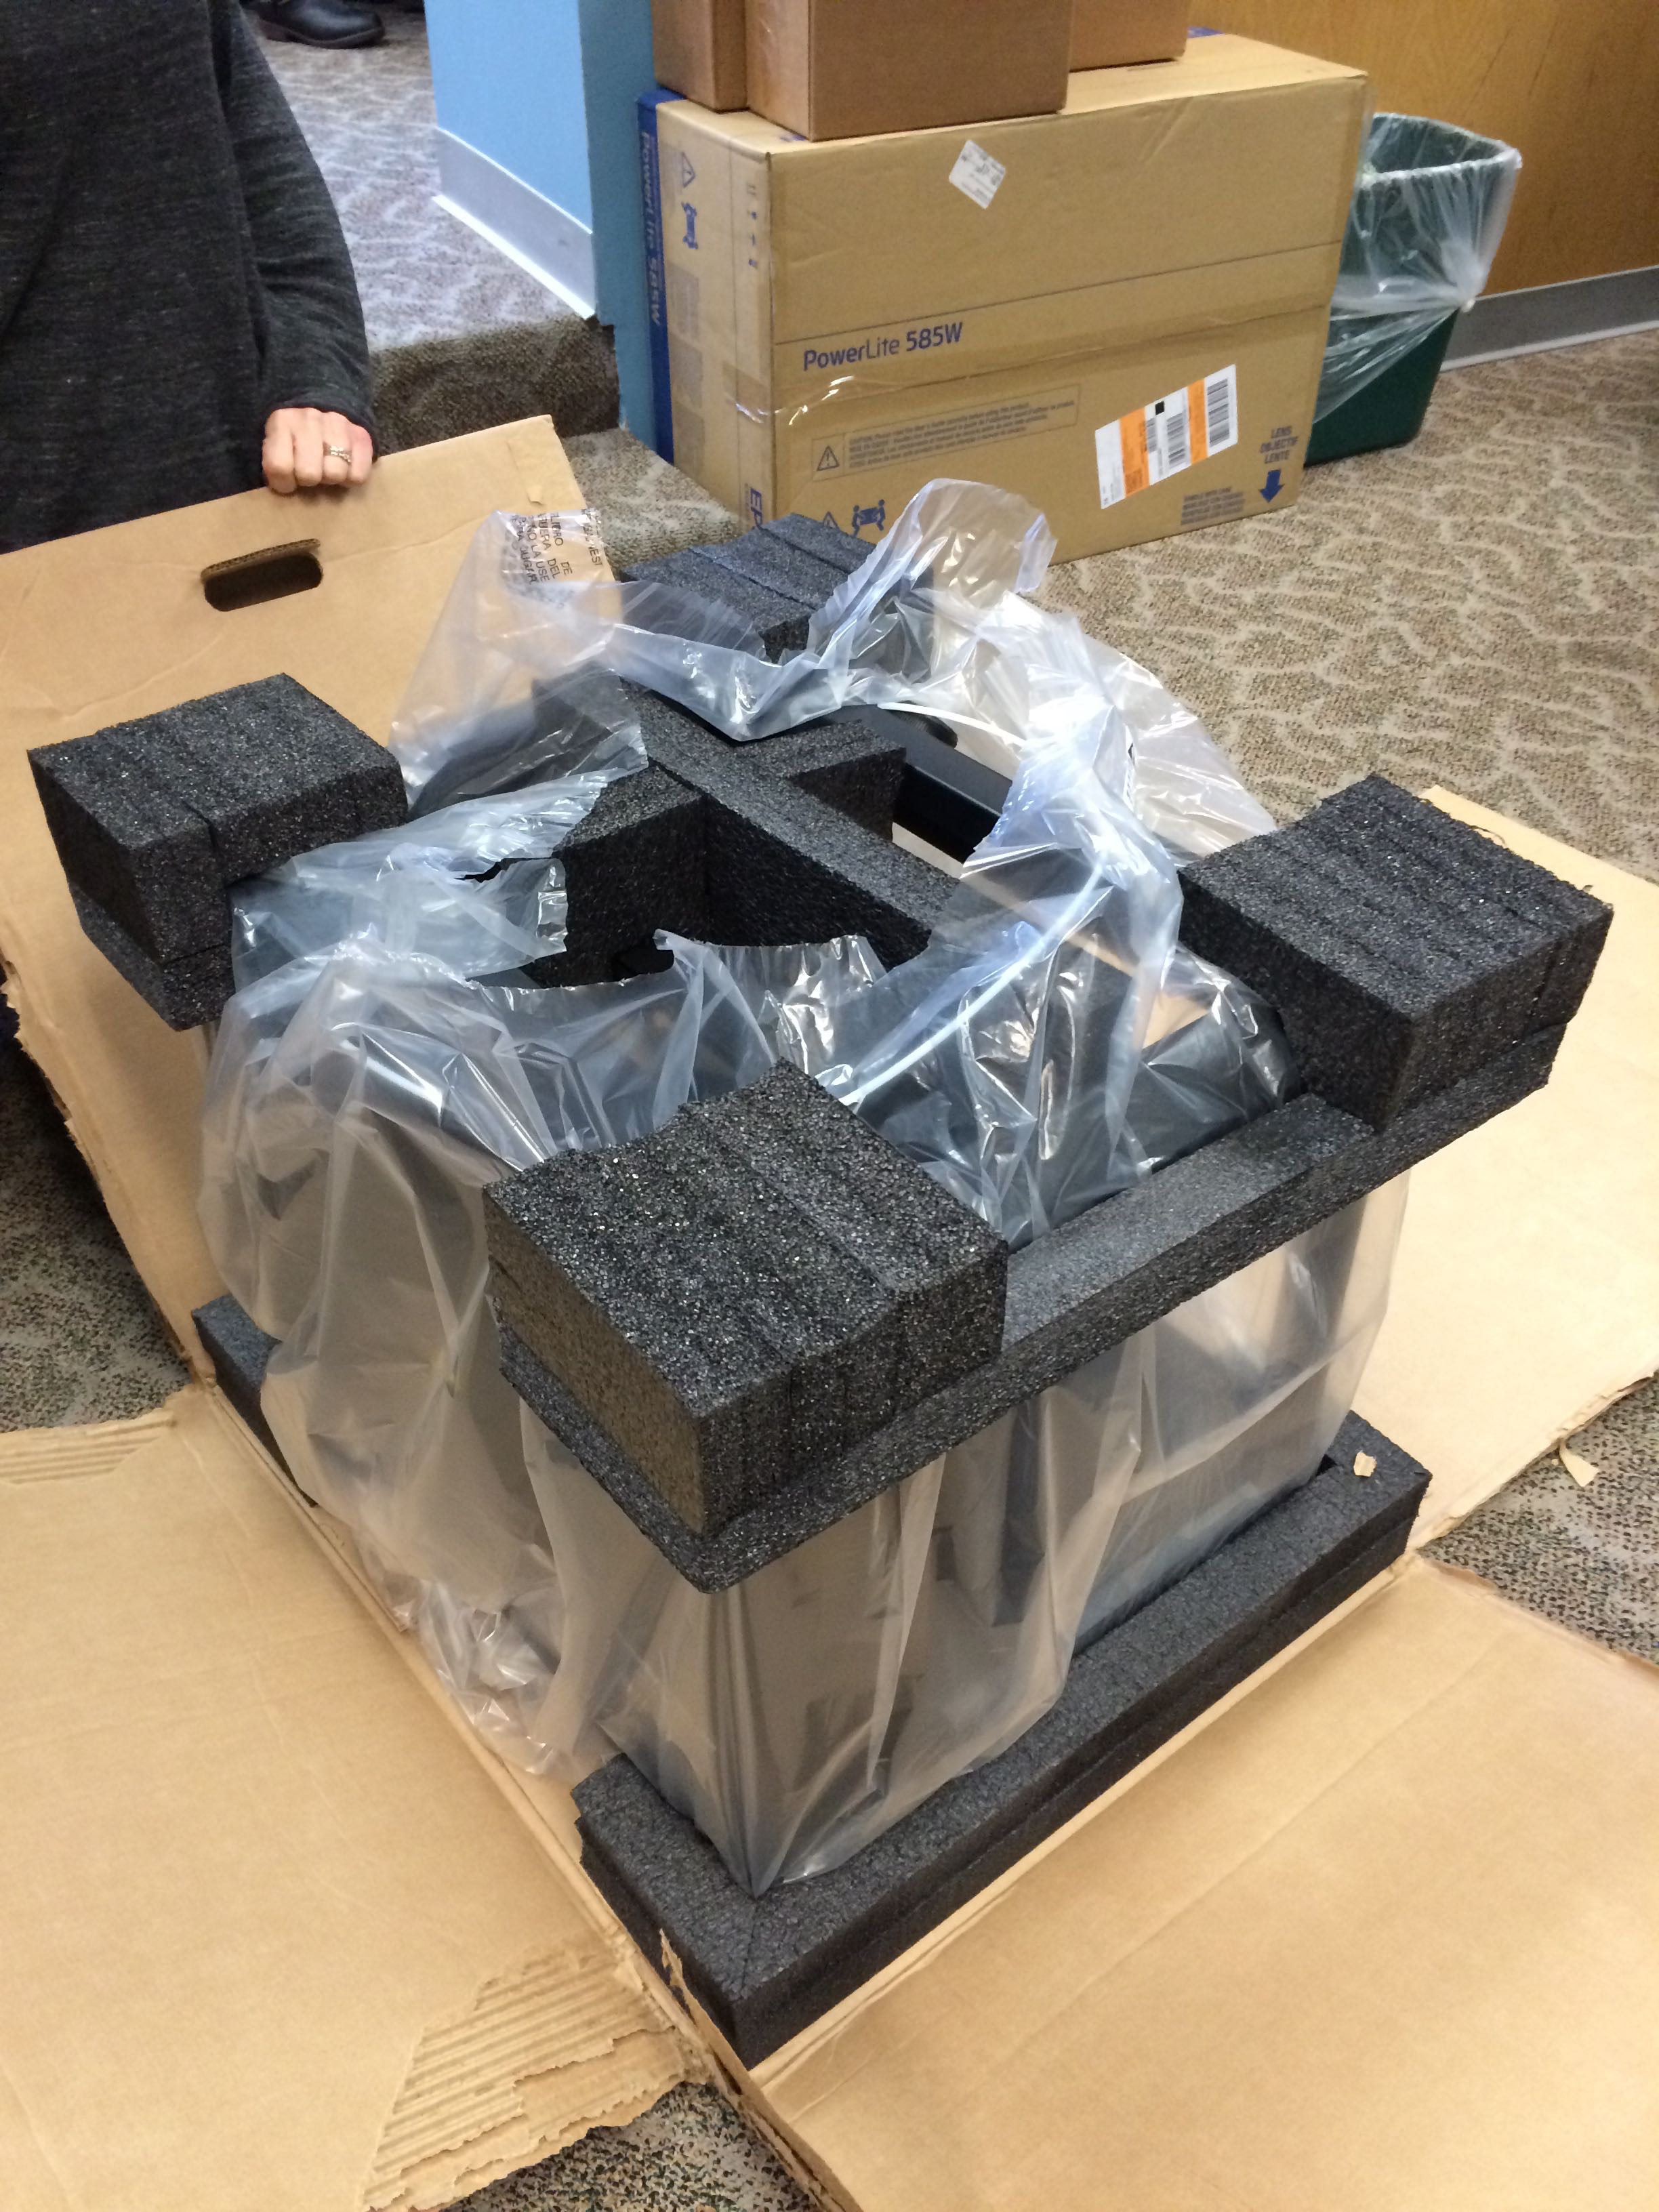
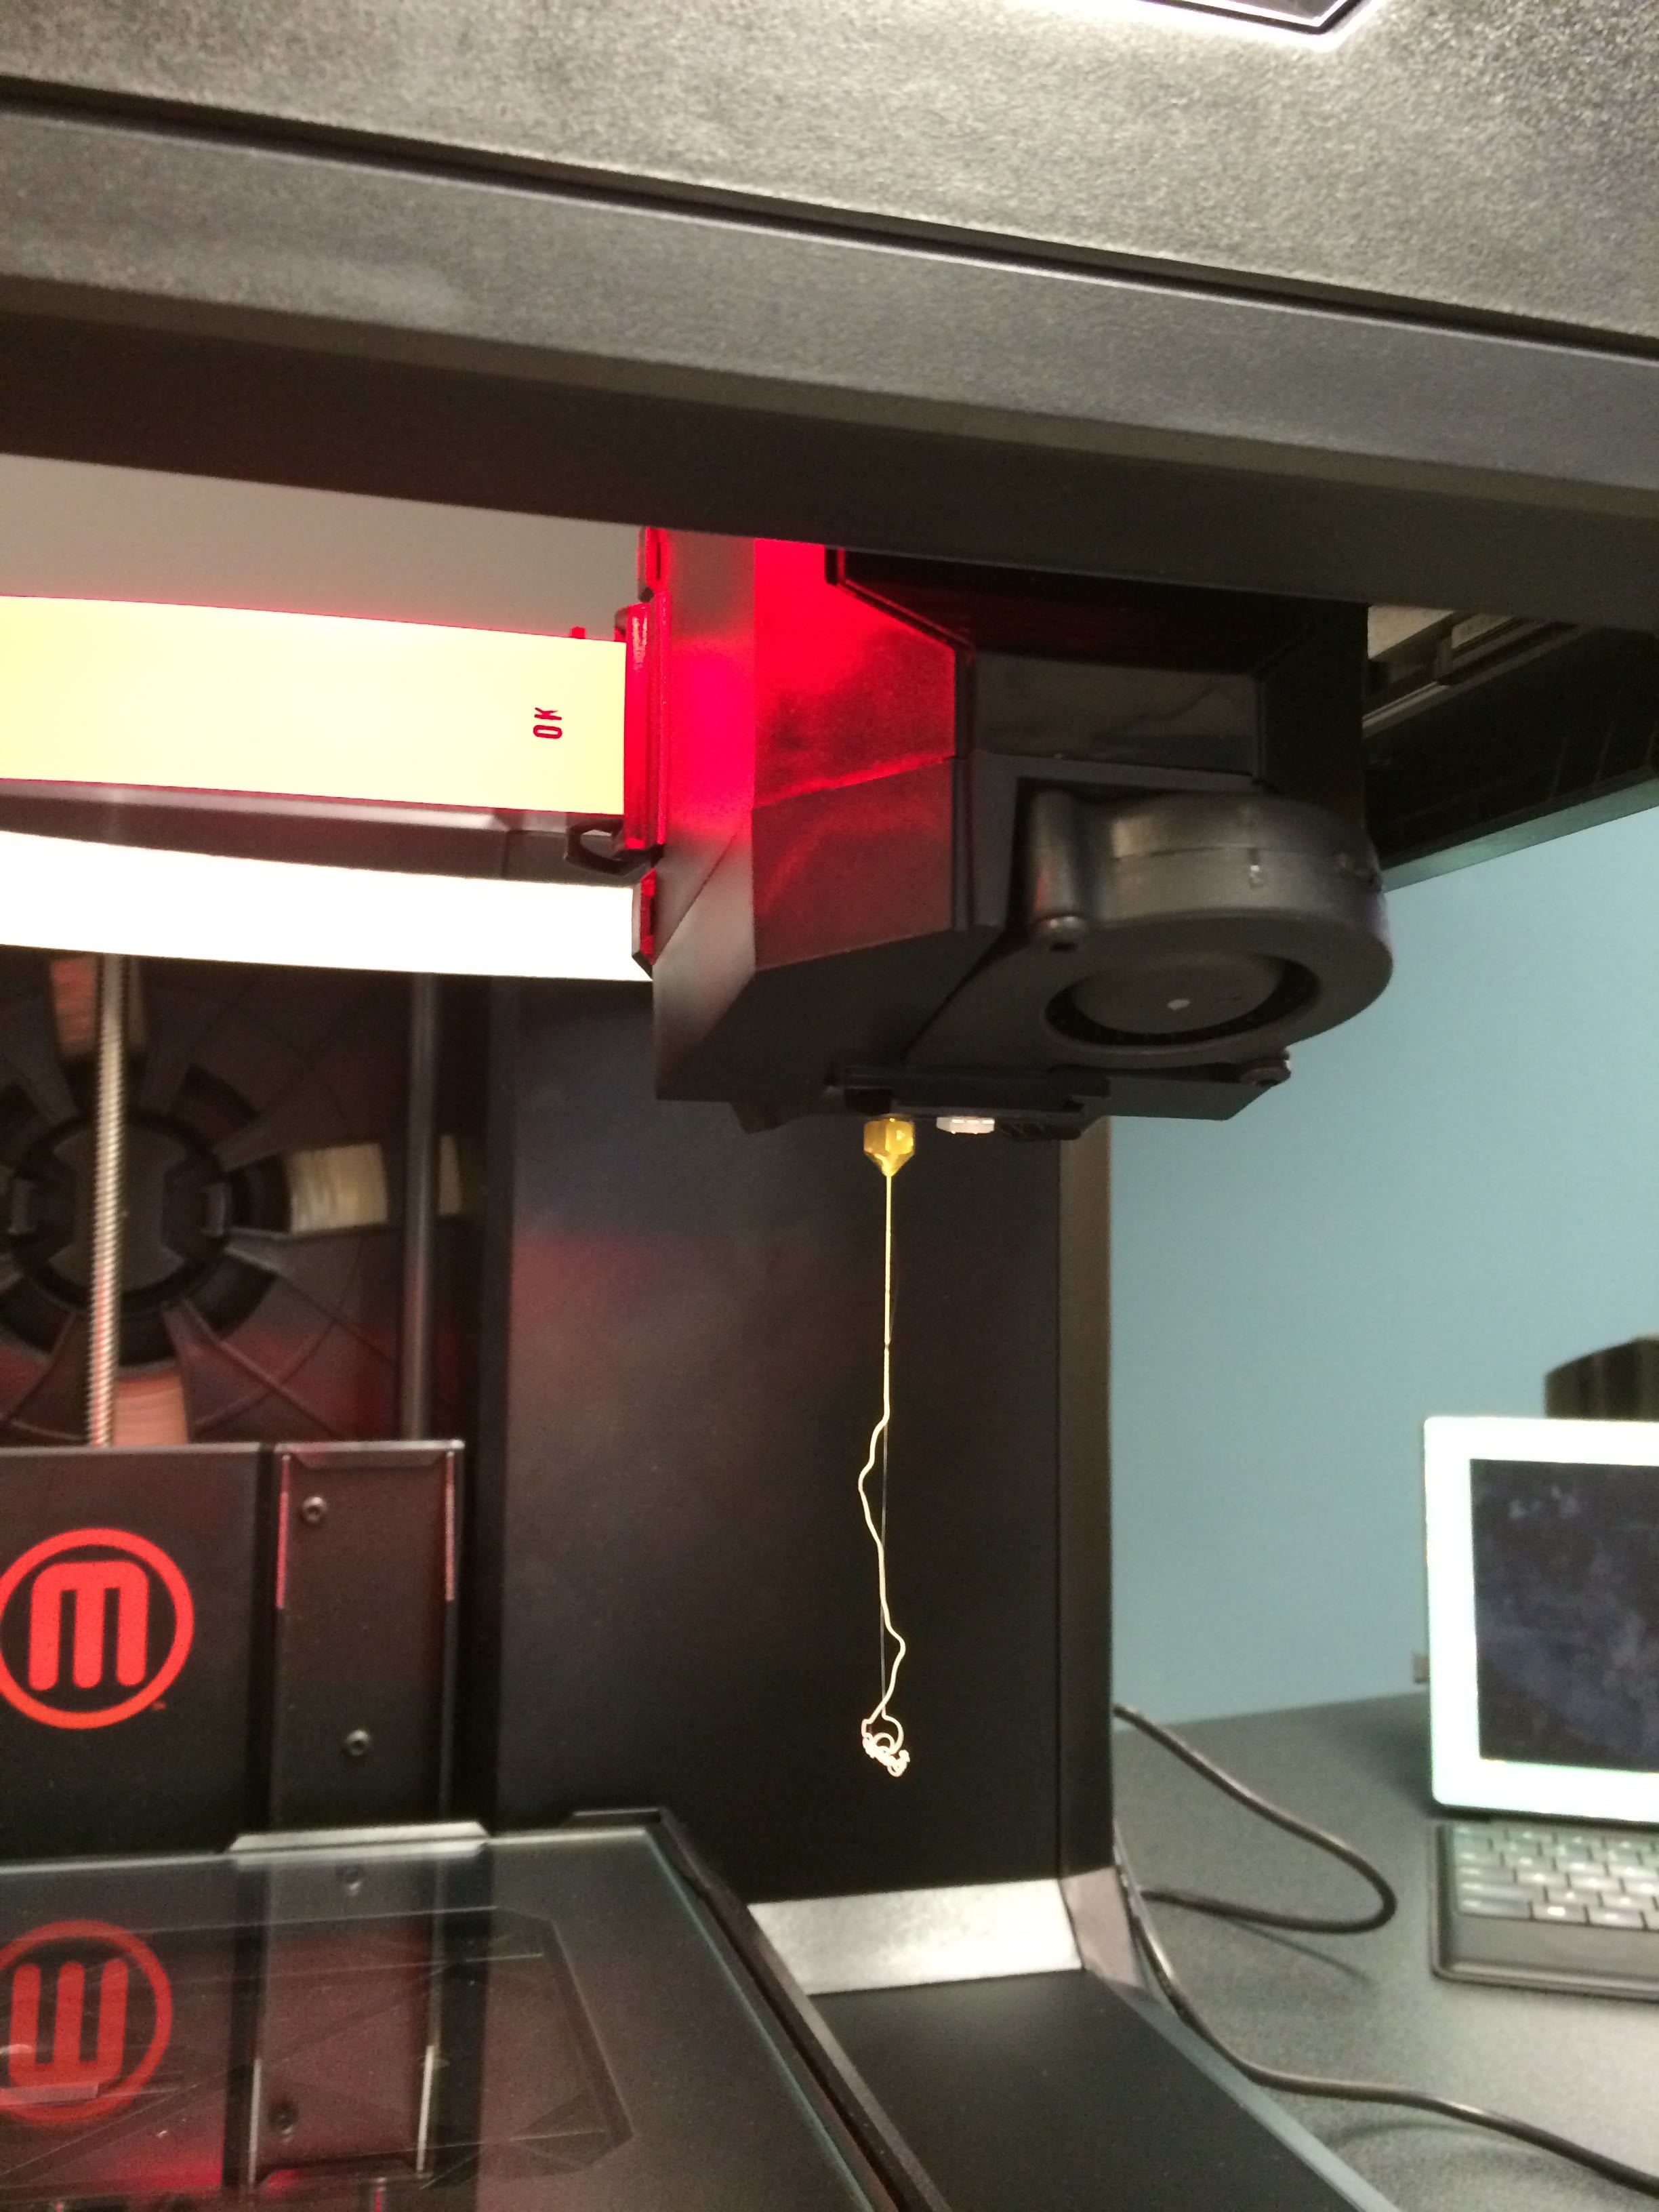
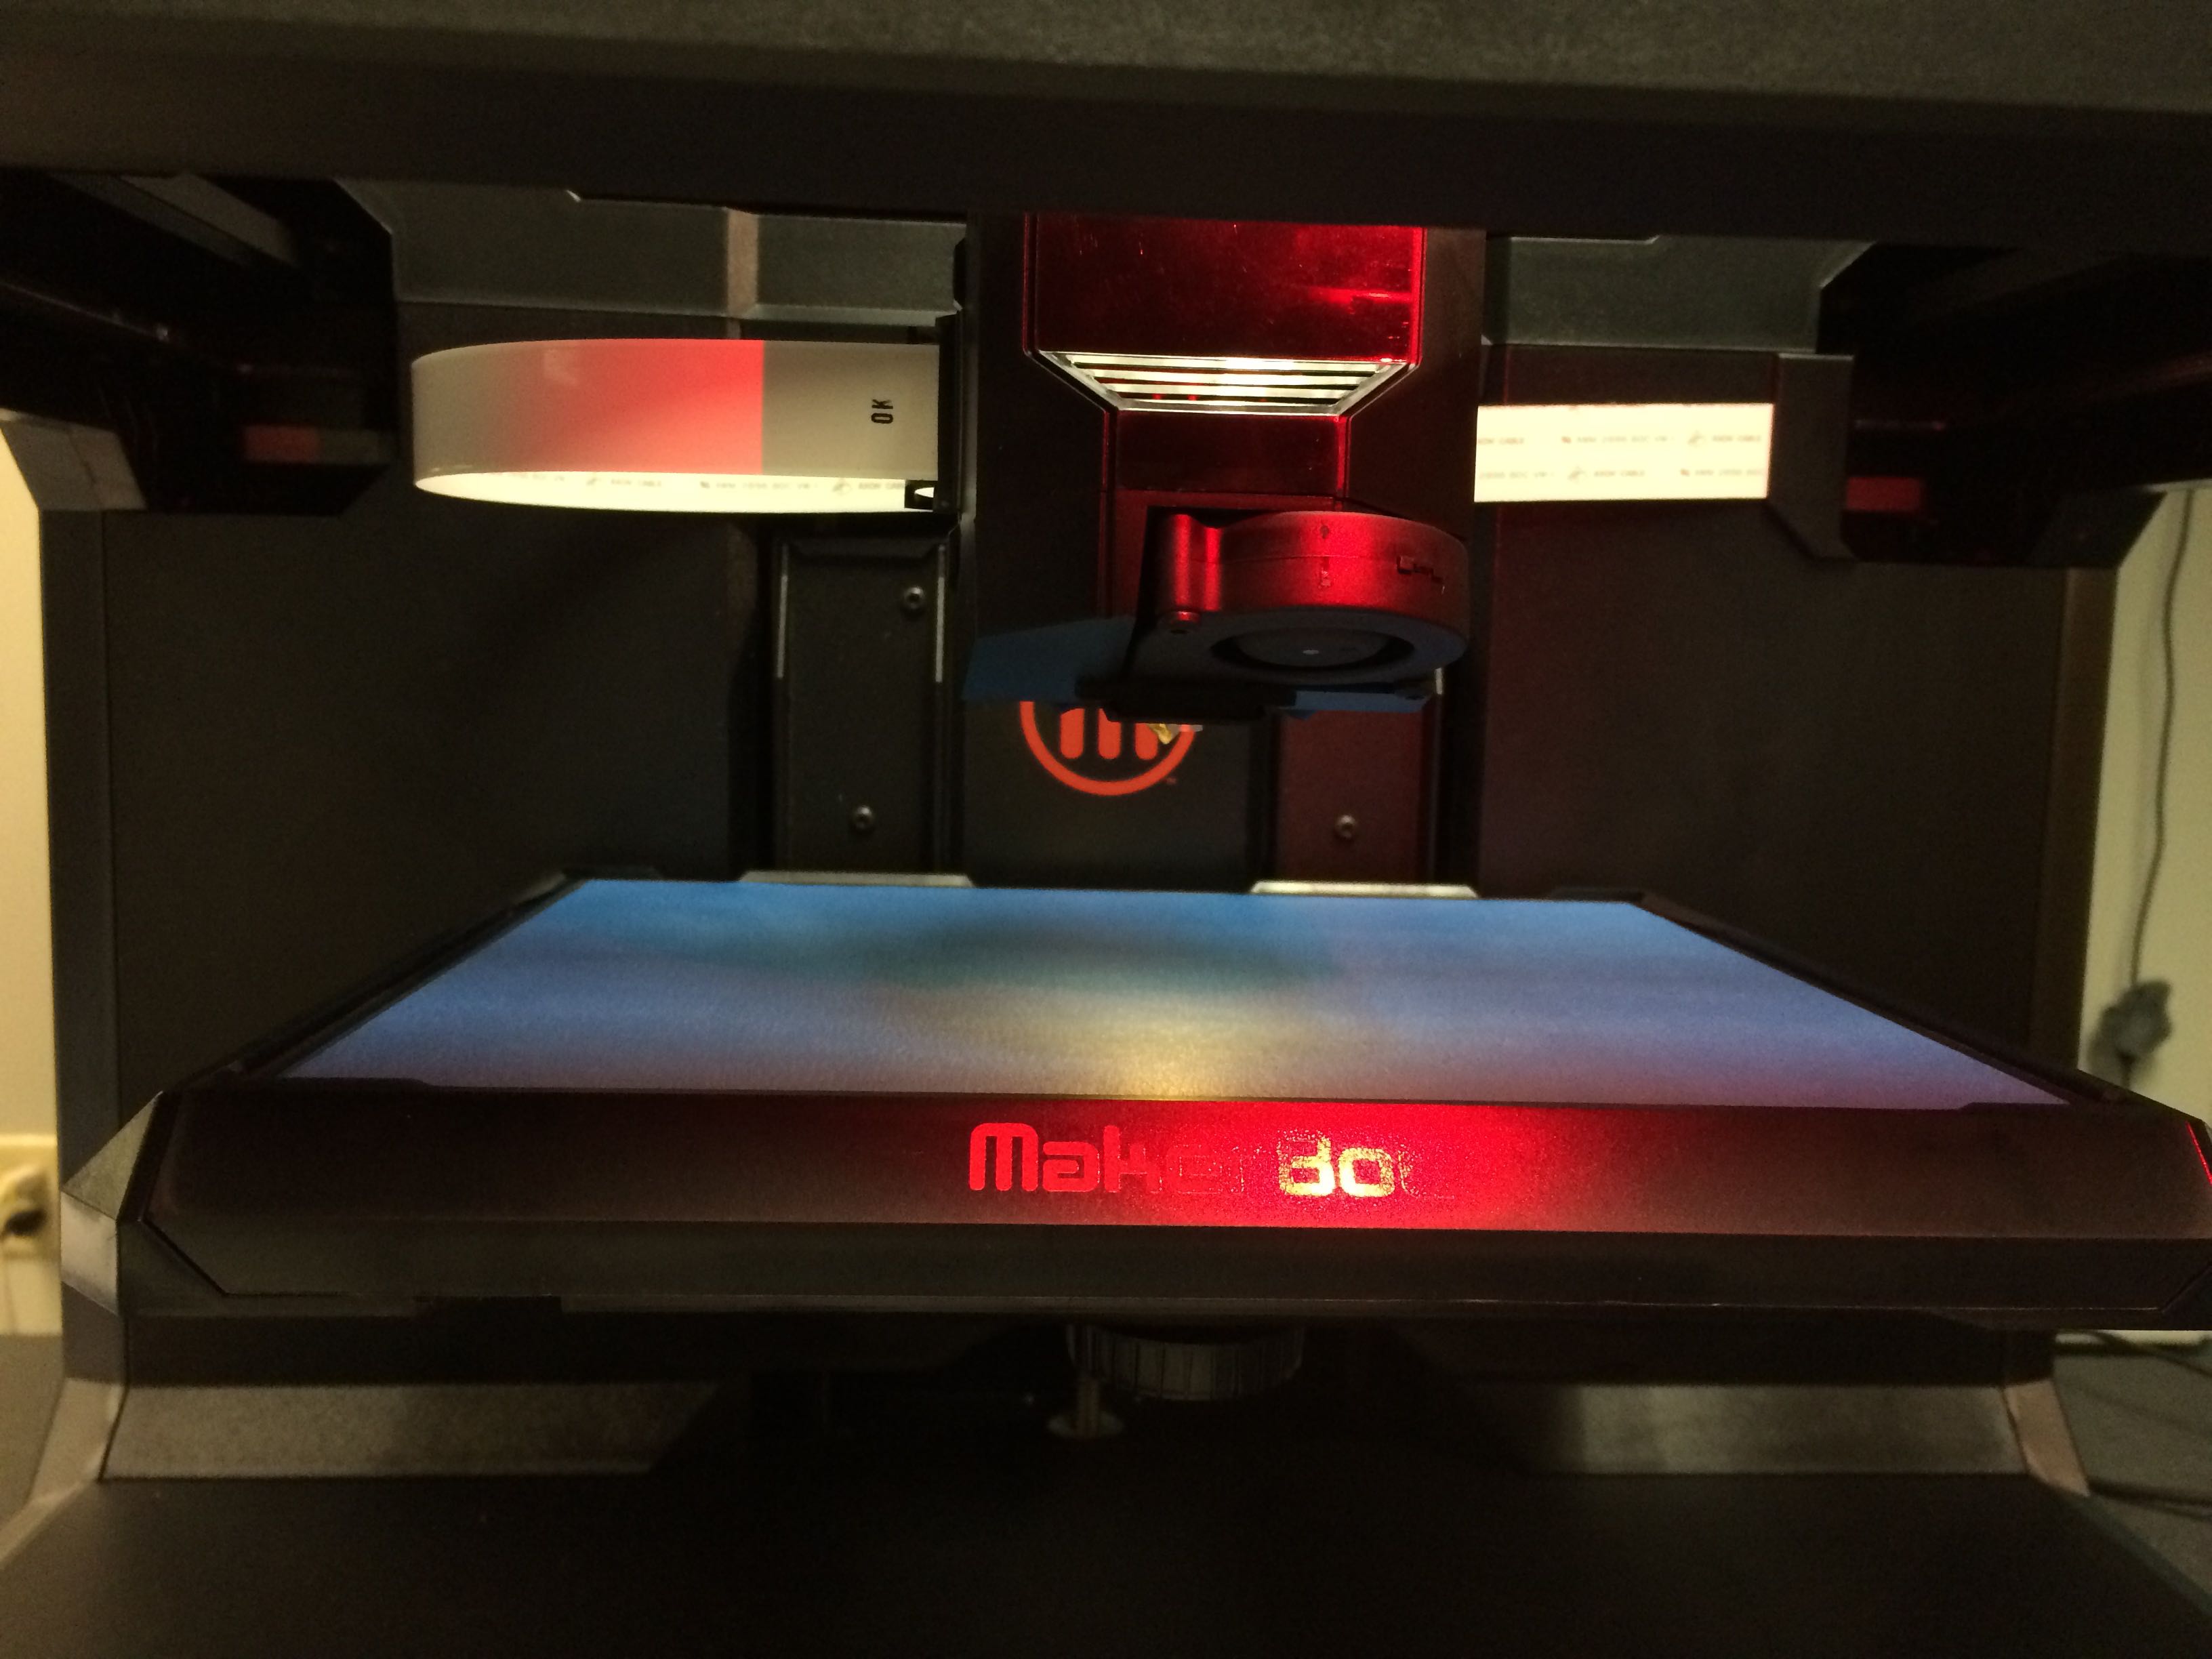
After a bit of unwrapping, we found got to see the main unit in all its glory!
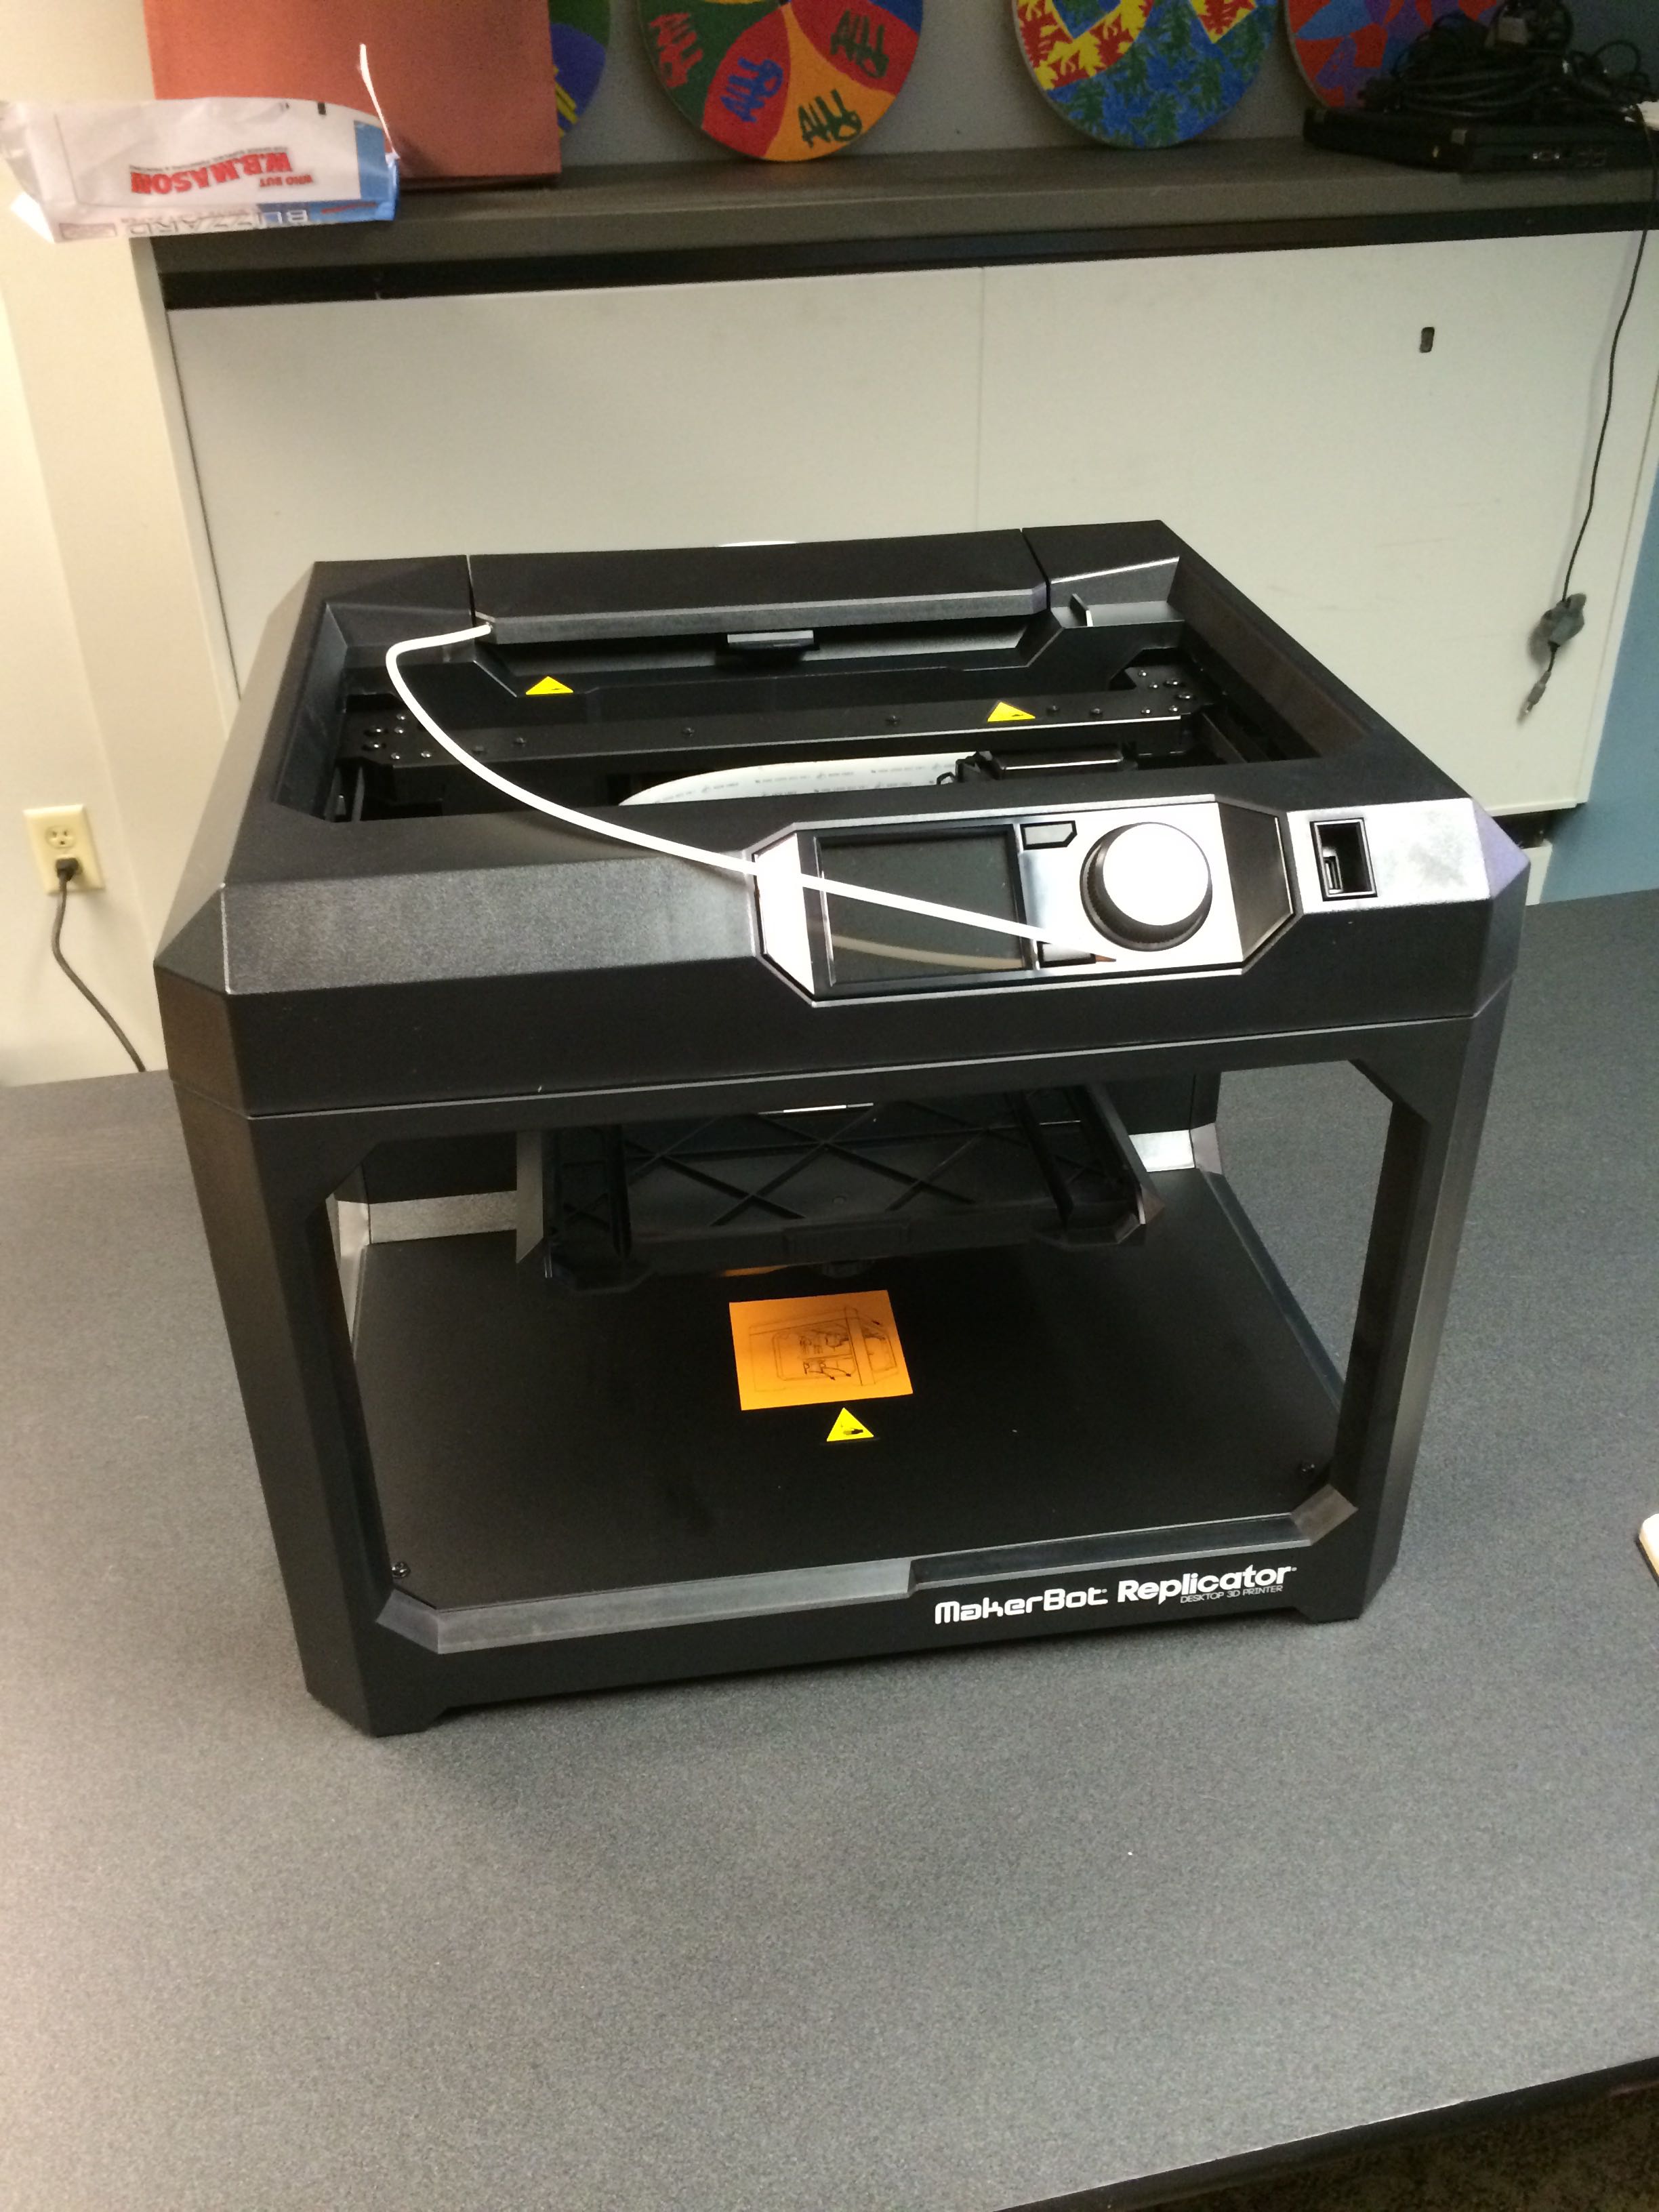
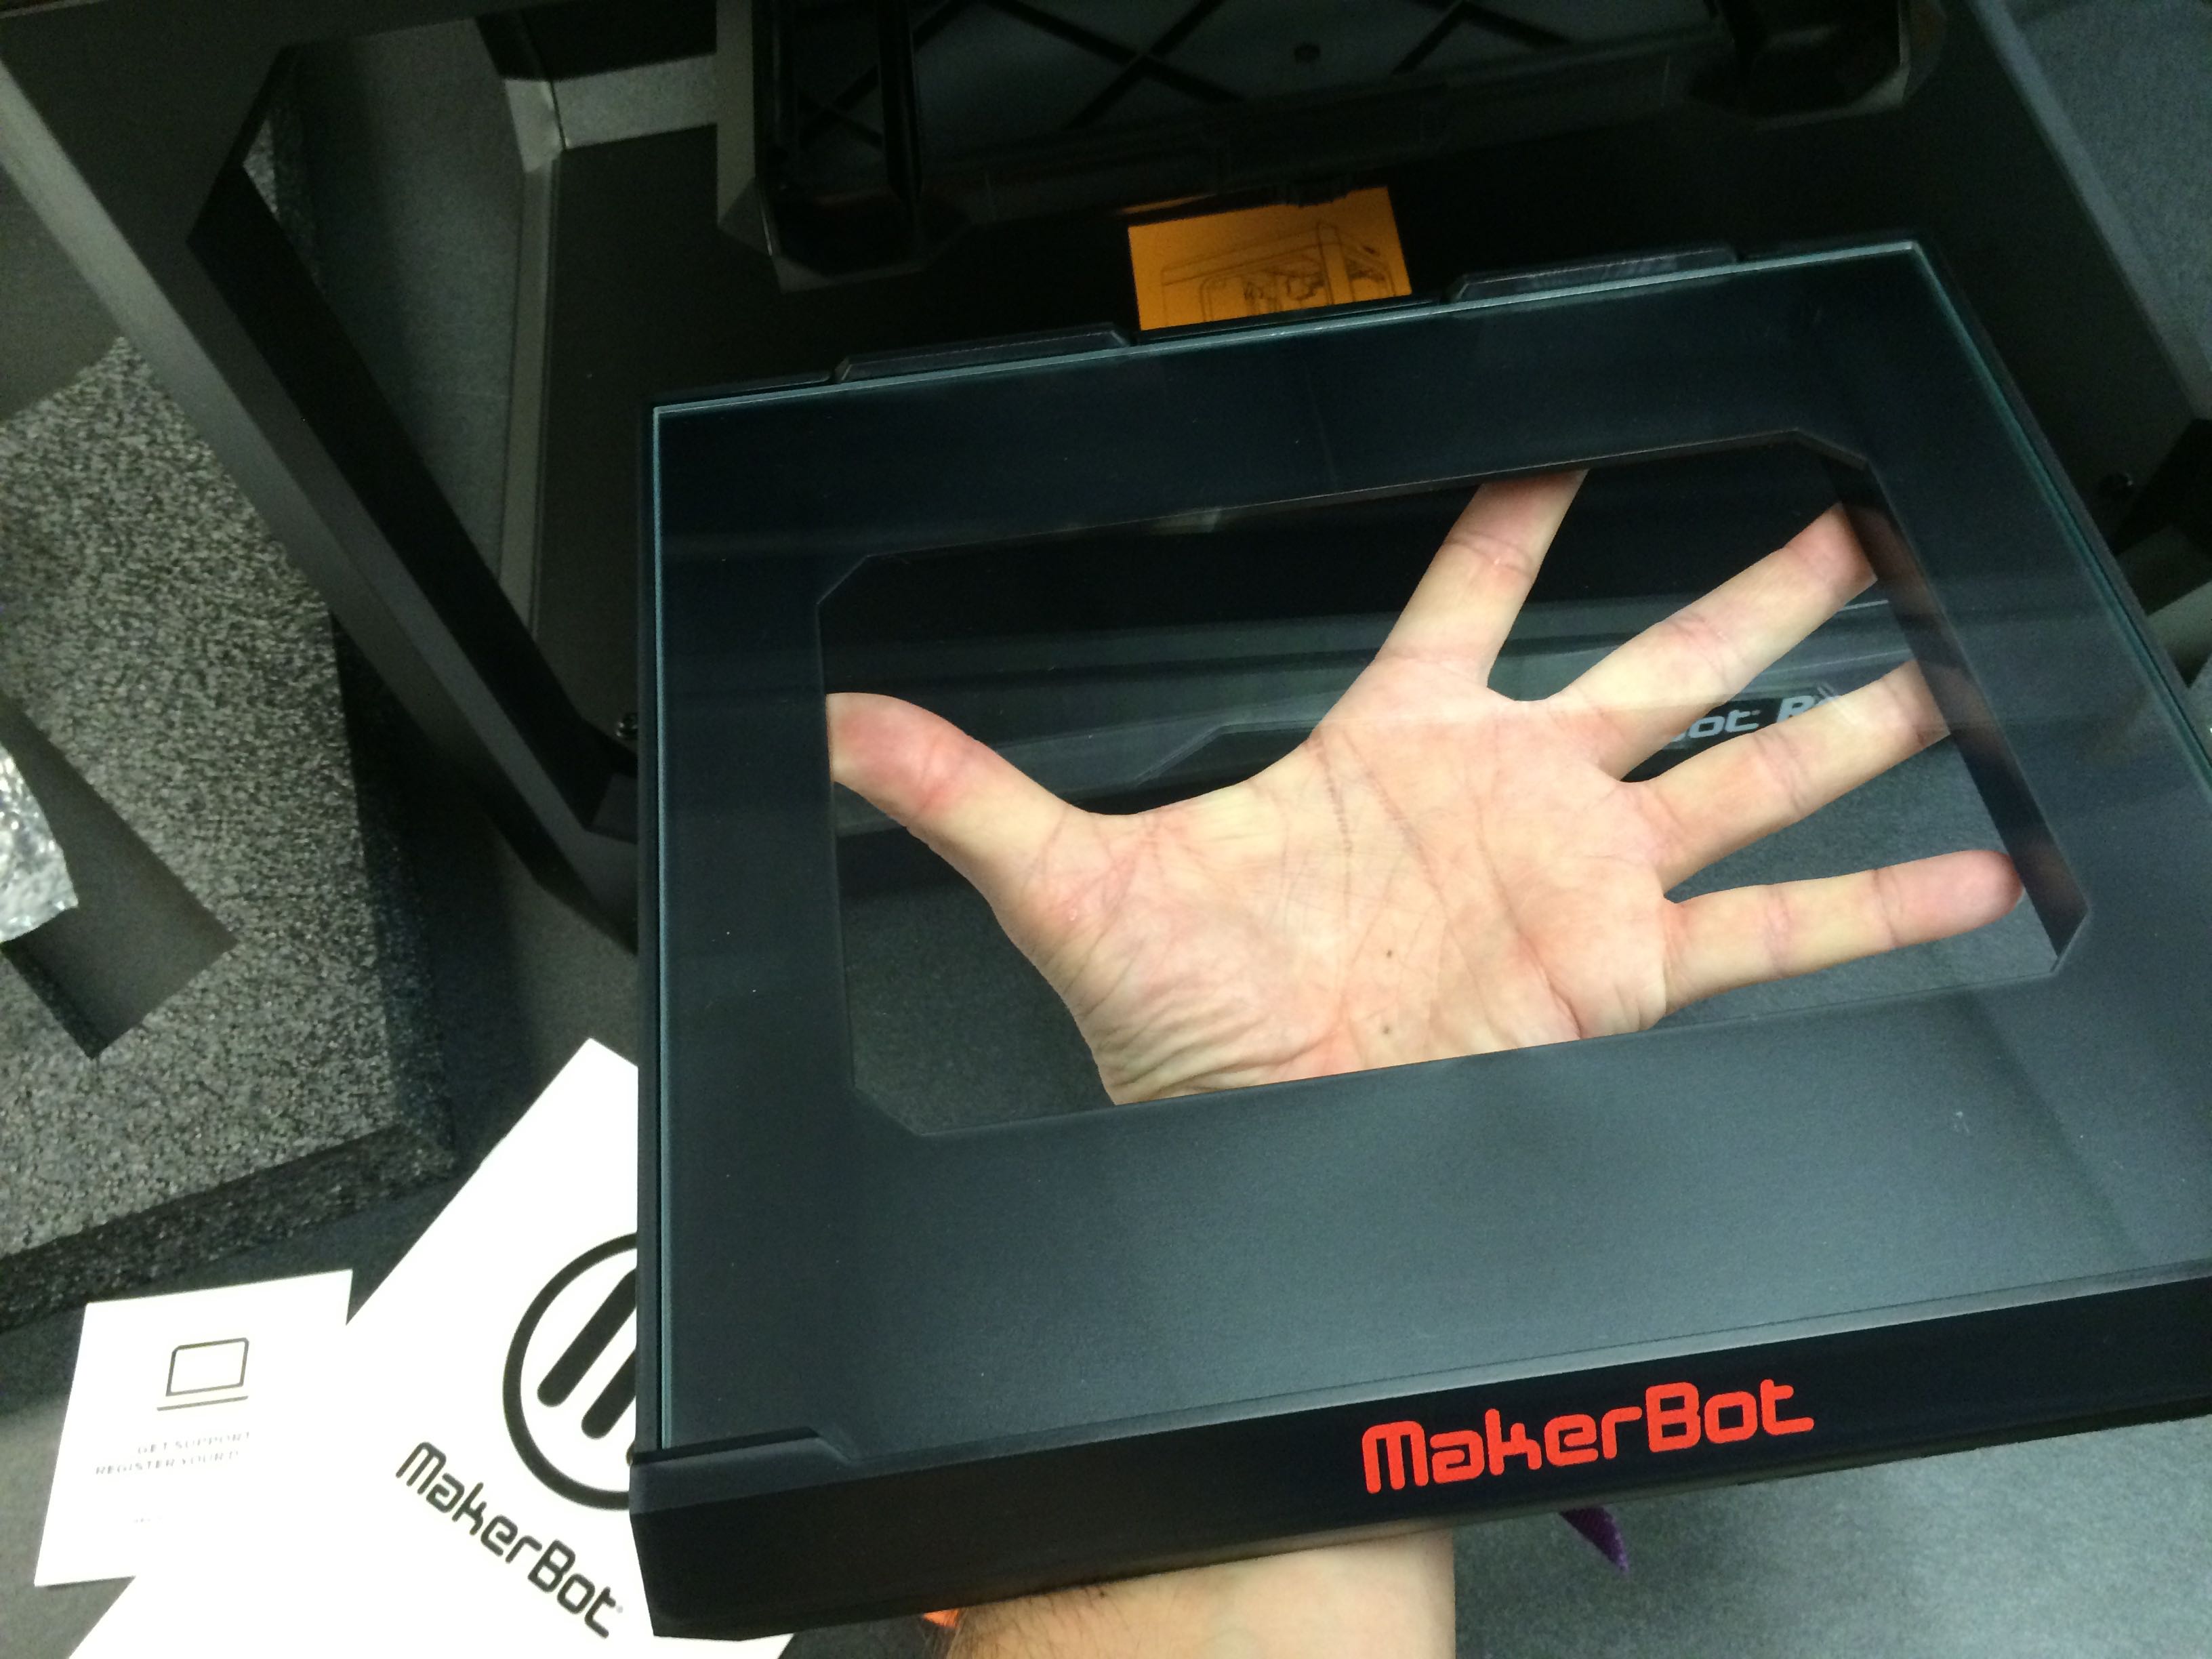
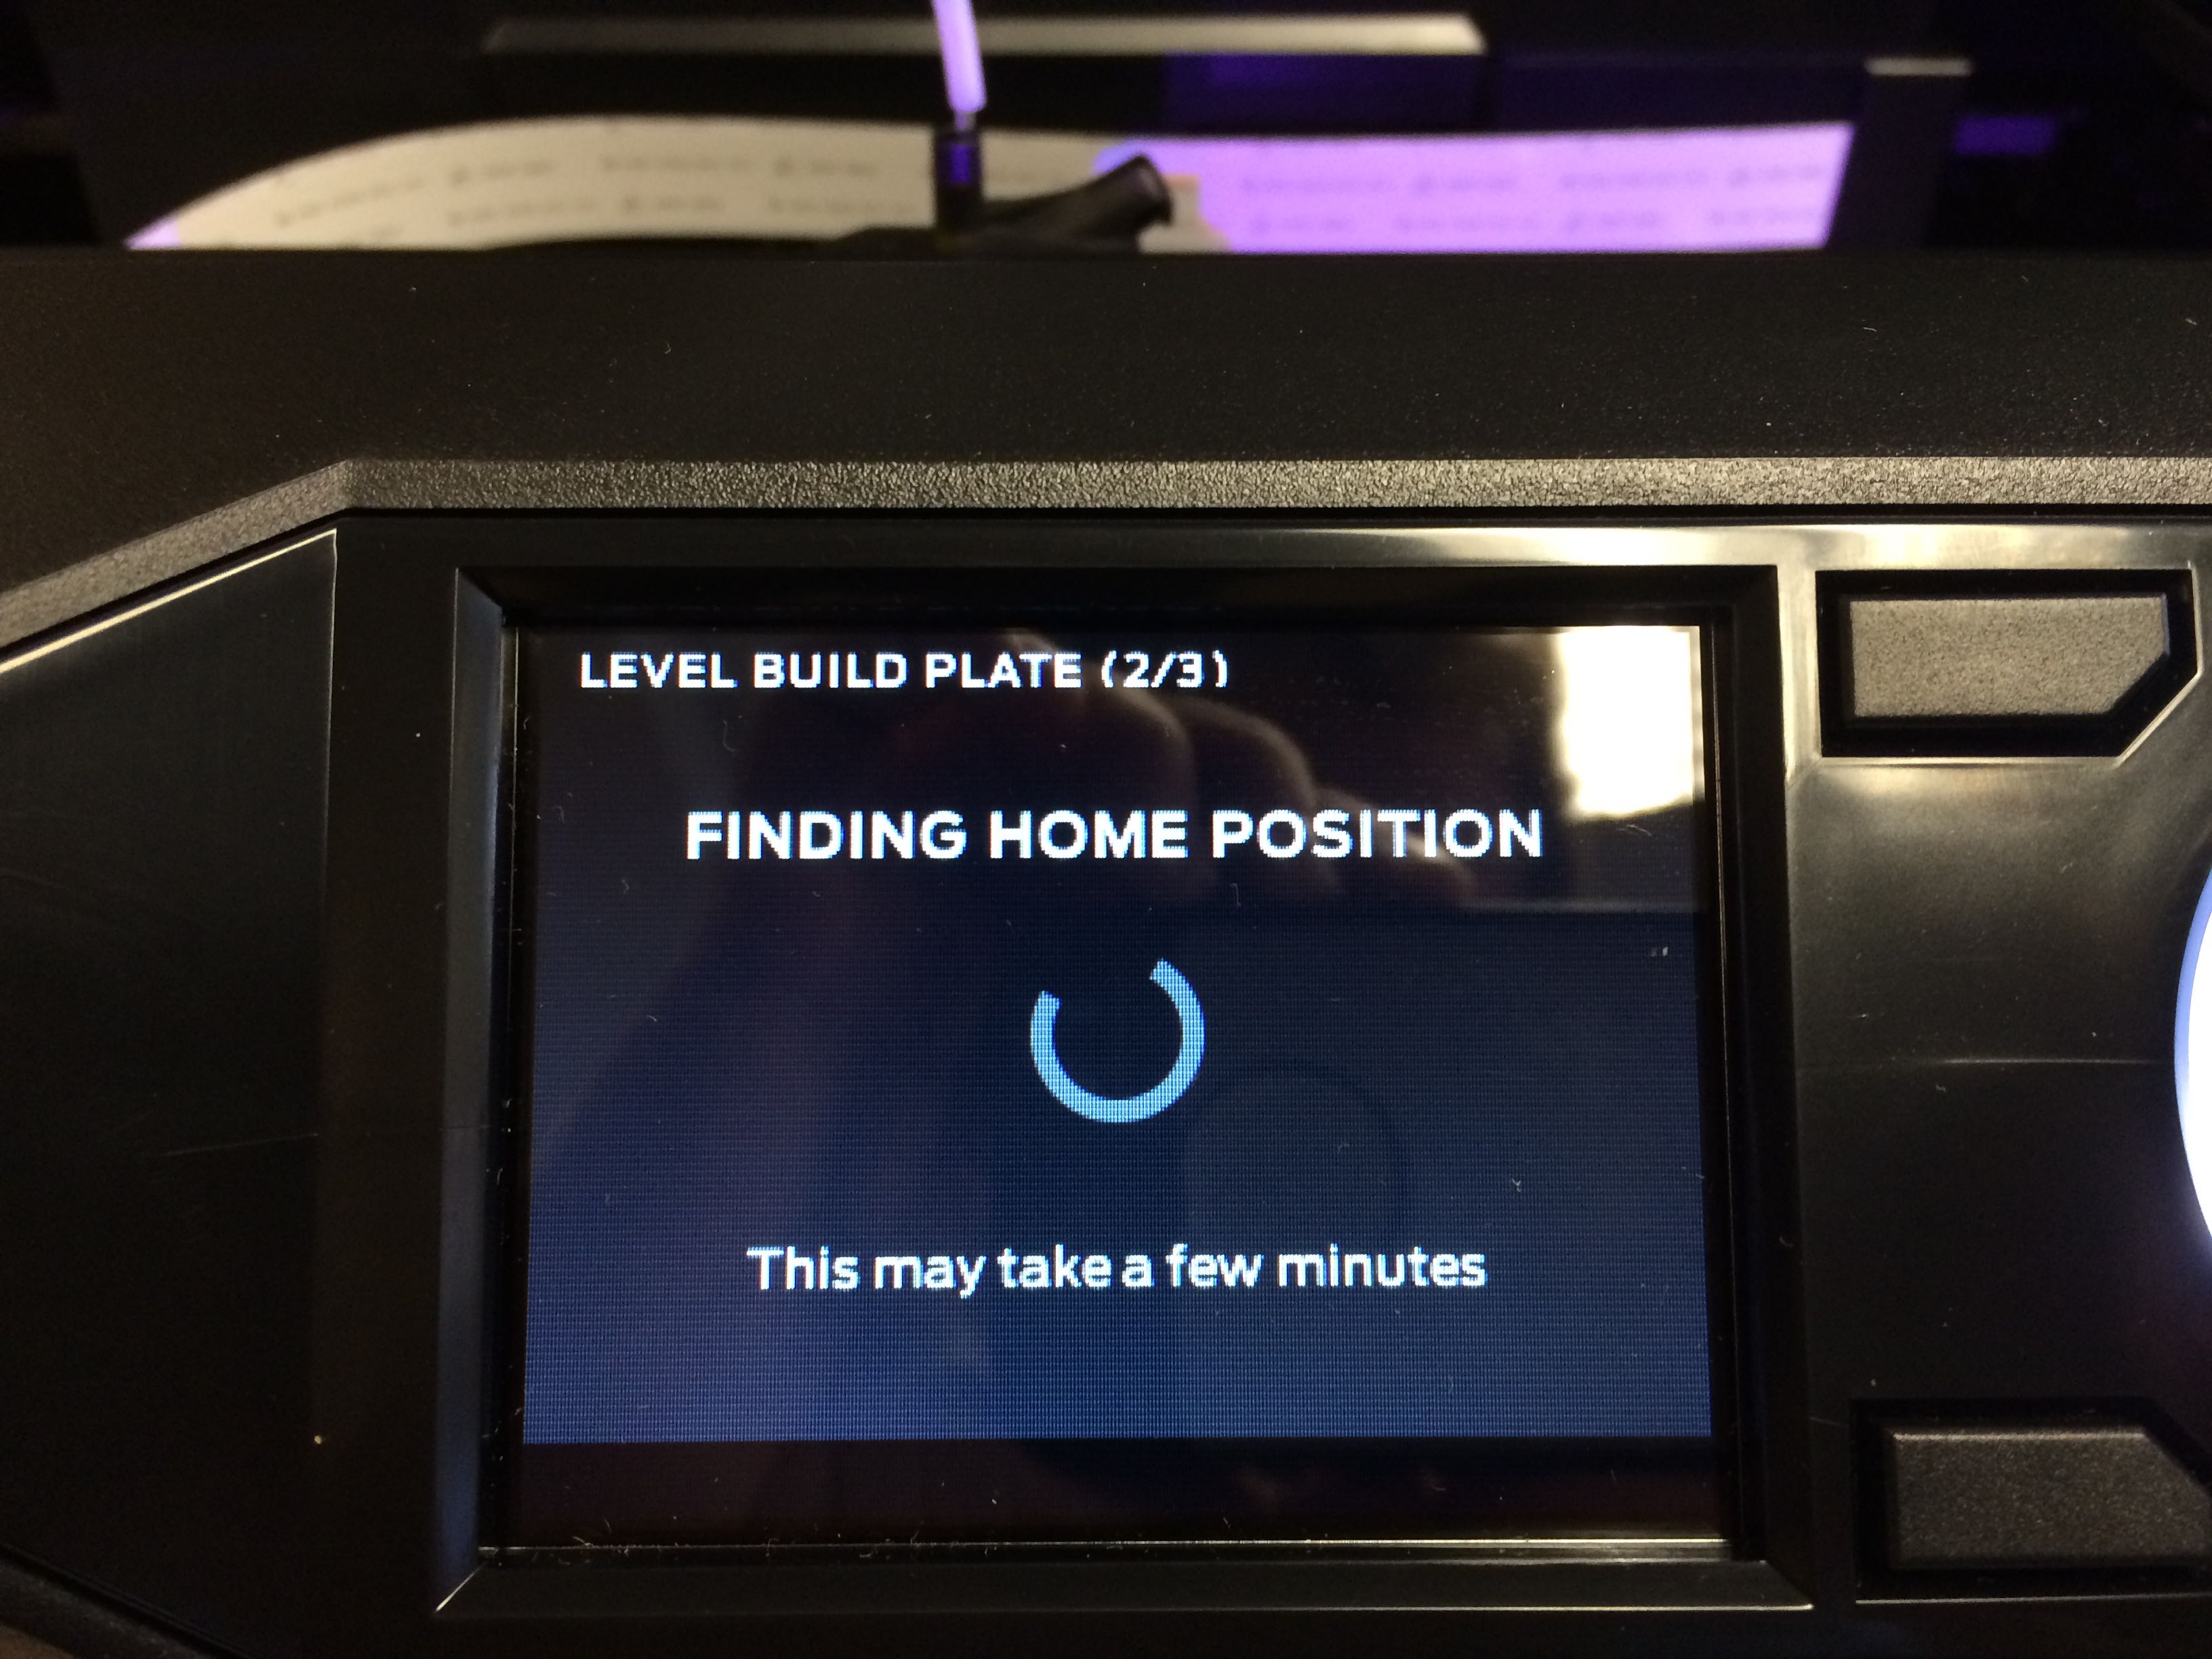
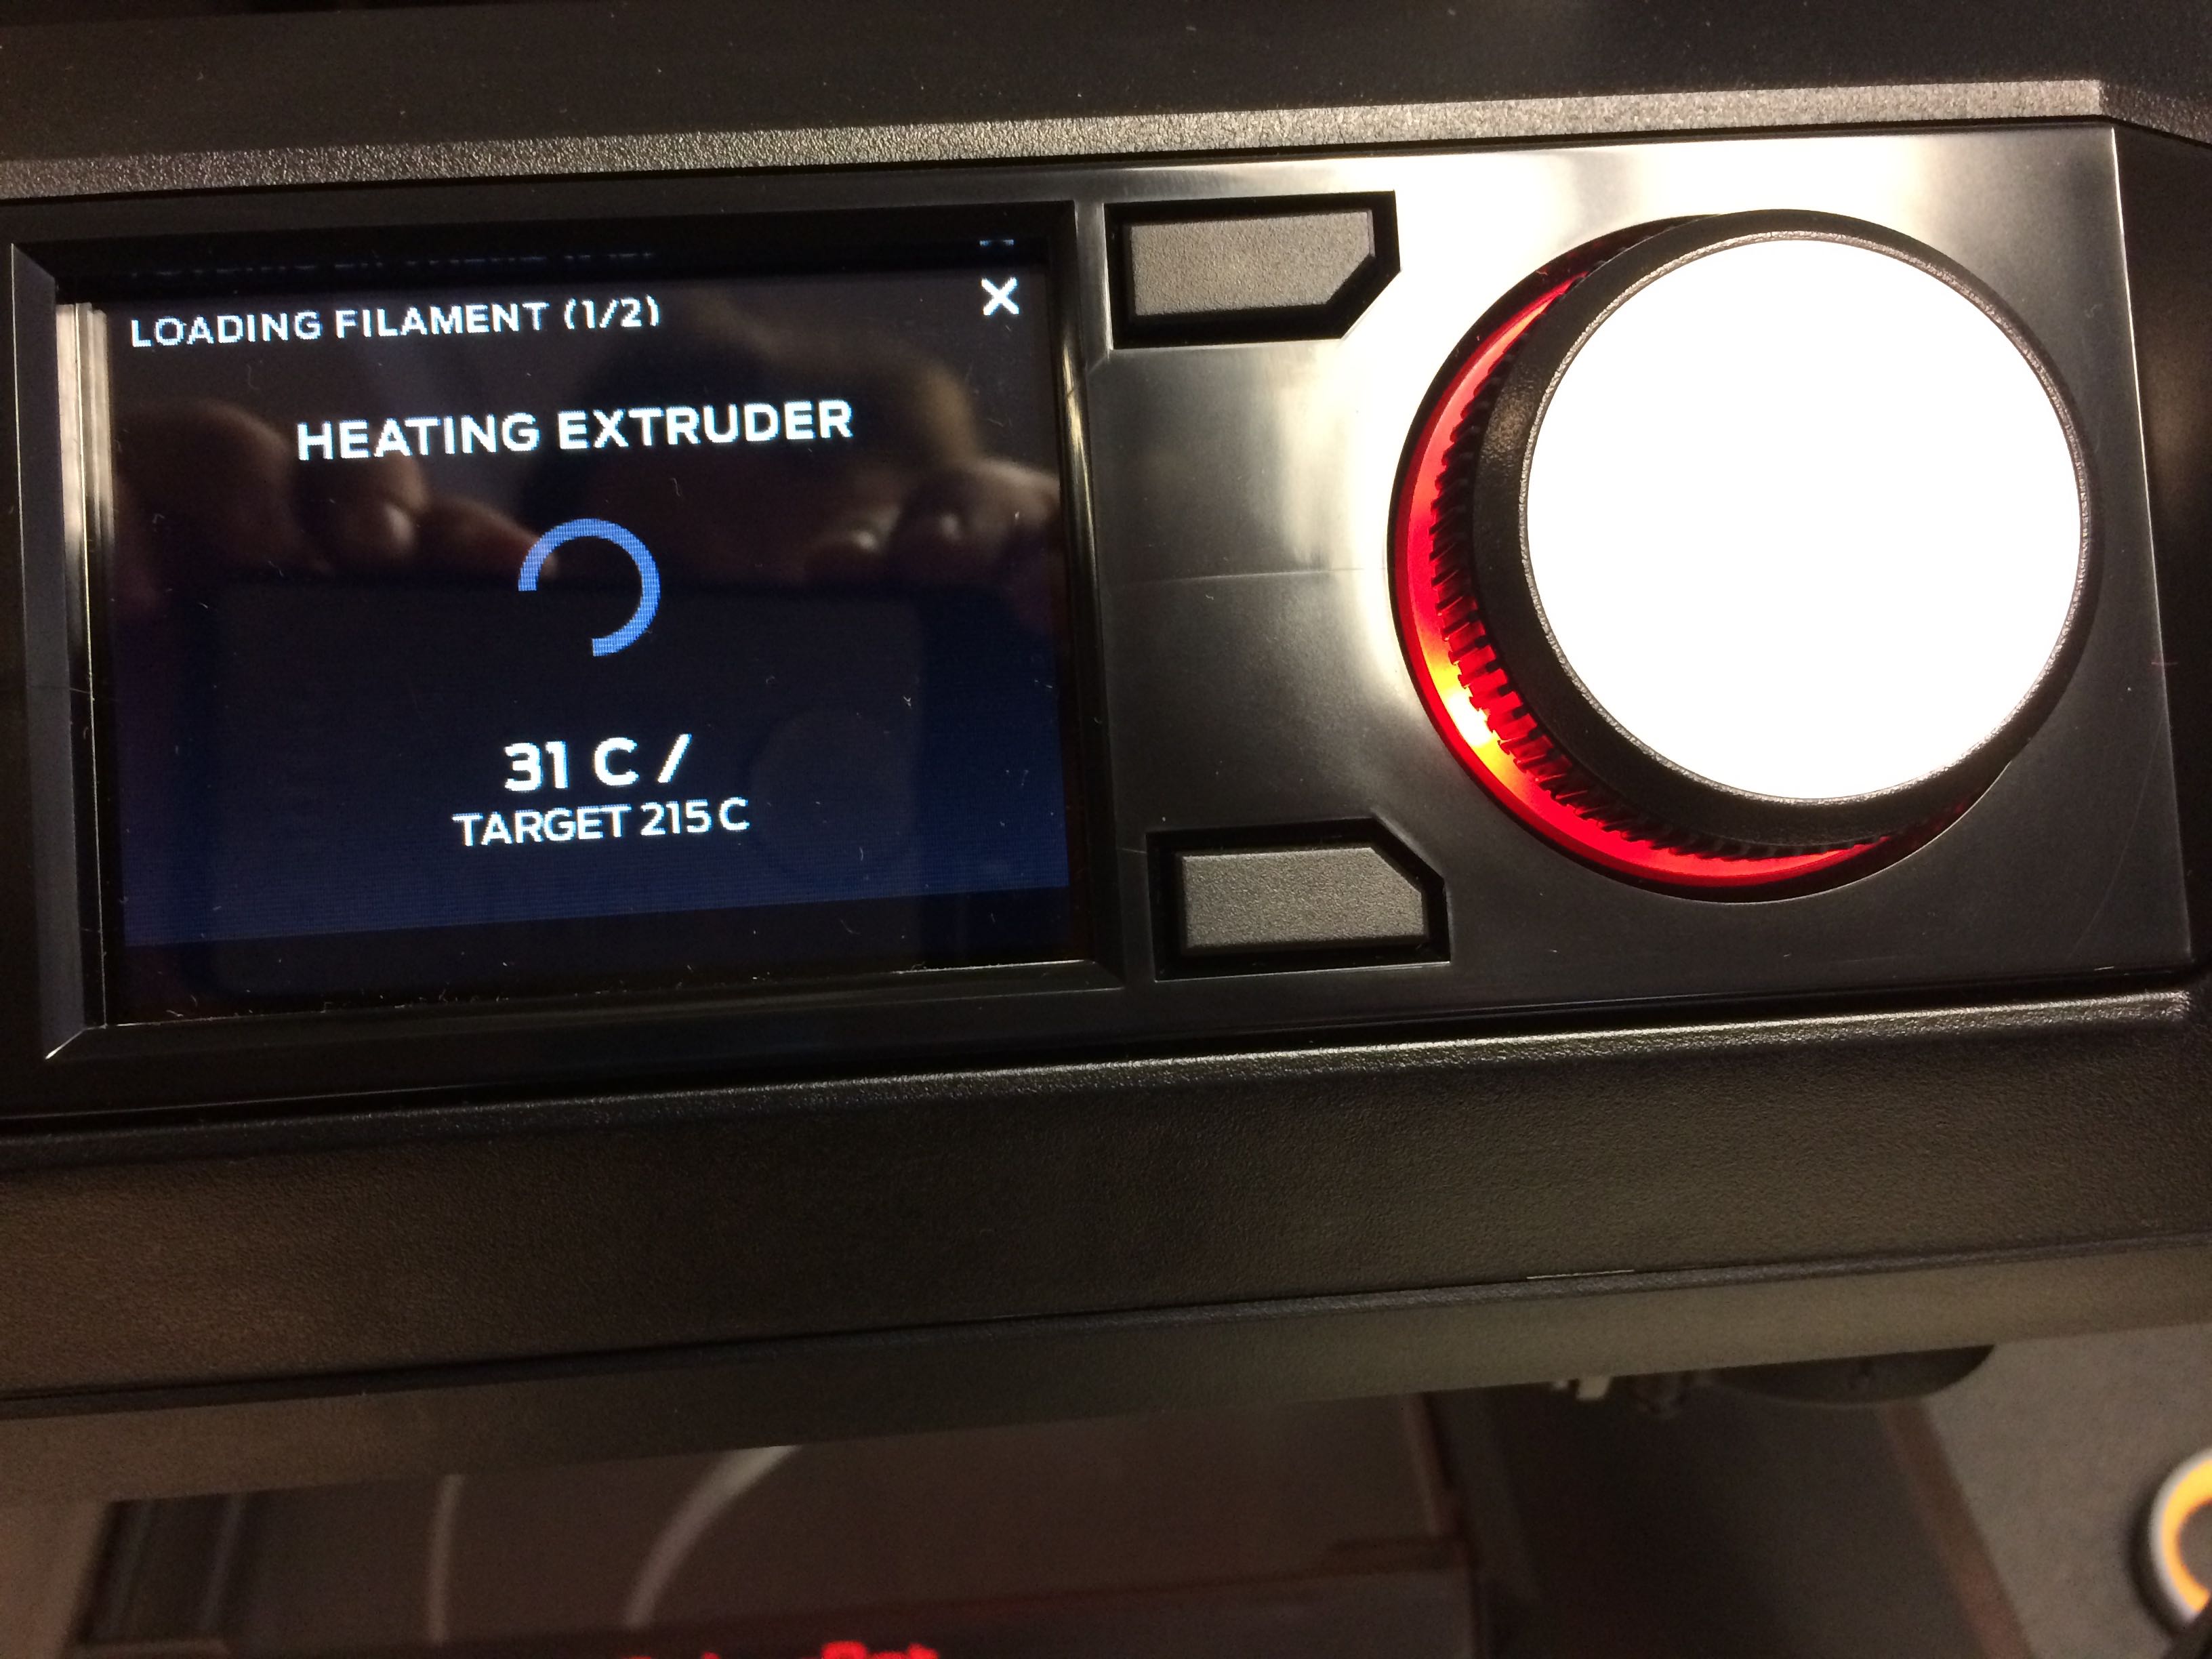
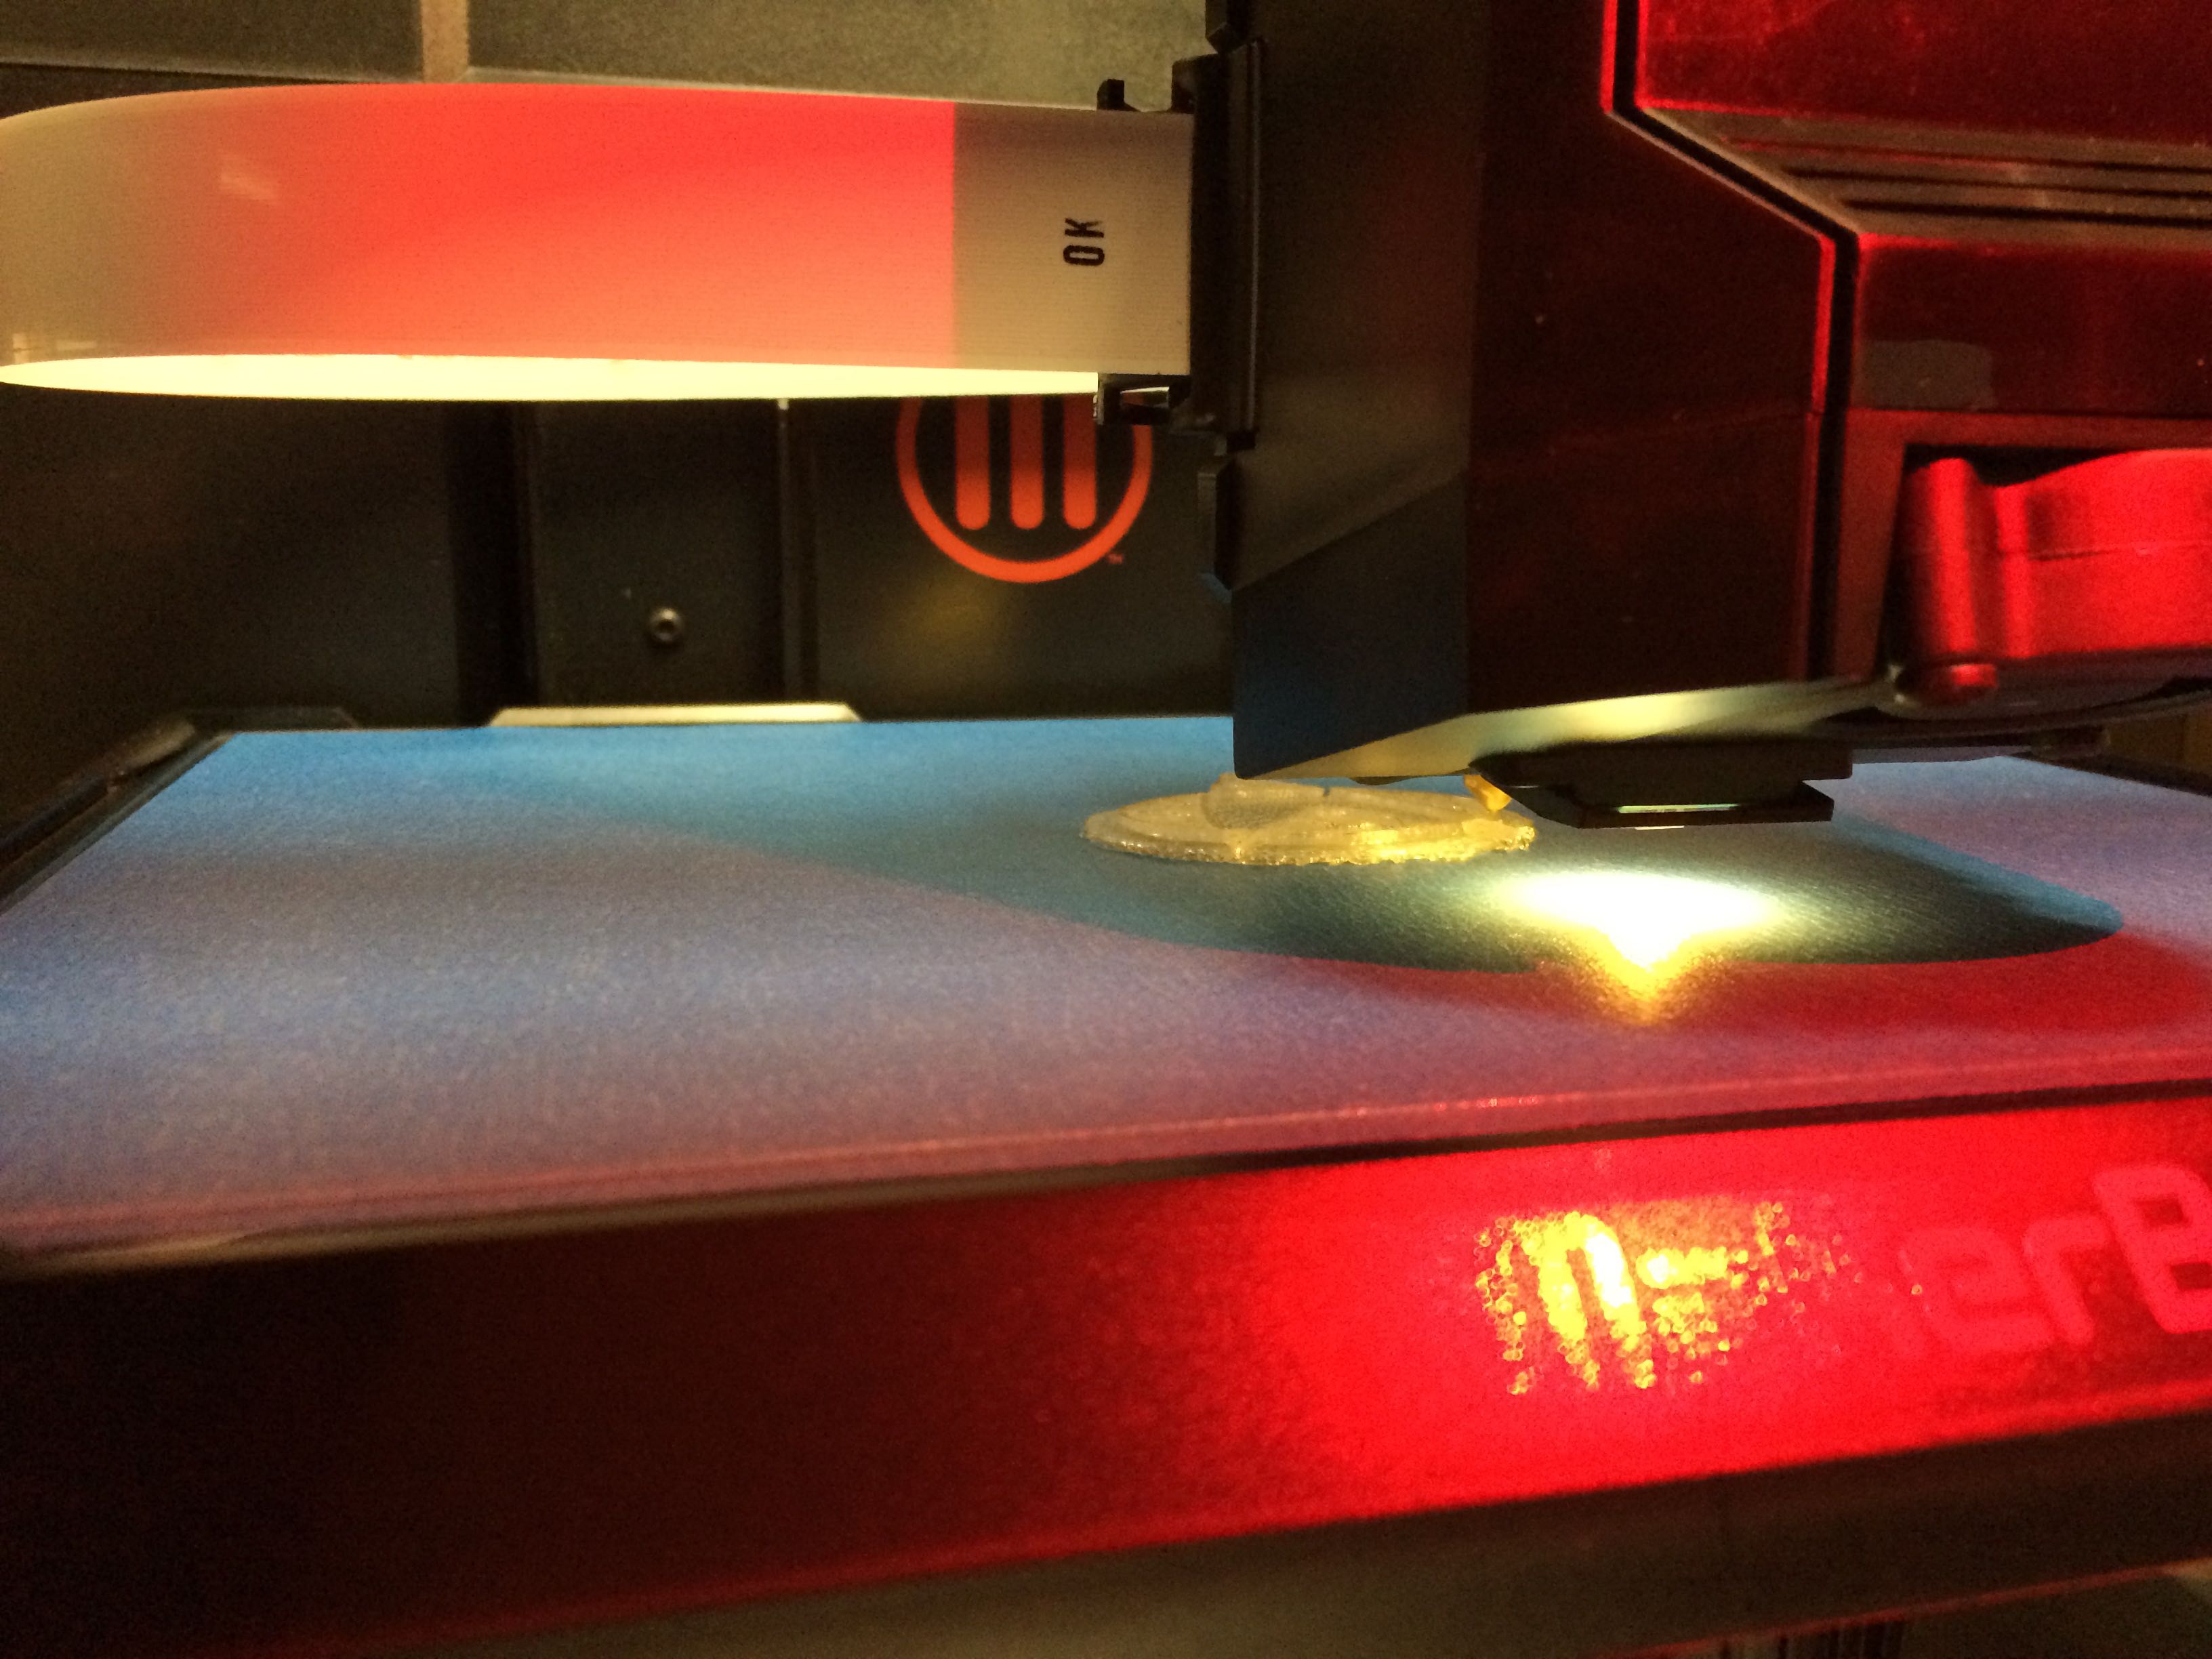
Next up, MattieByrd and I went about installing the plastic filament (what the models are made out of), the extruder (the printed head that applies the melted plastic), and the build plate (the surface where the models are built). We also ran the unit through the auto-leveling protocol which was super cool to see in action.


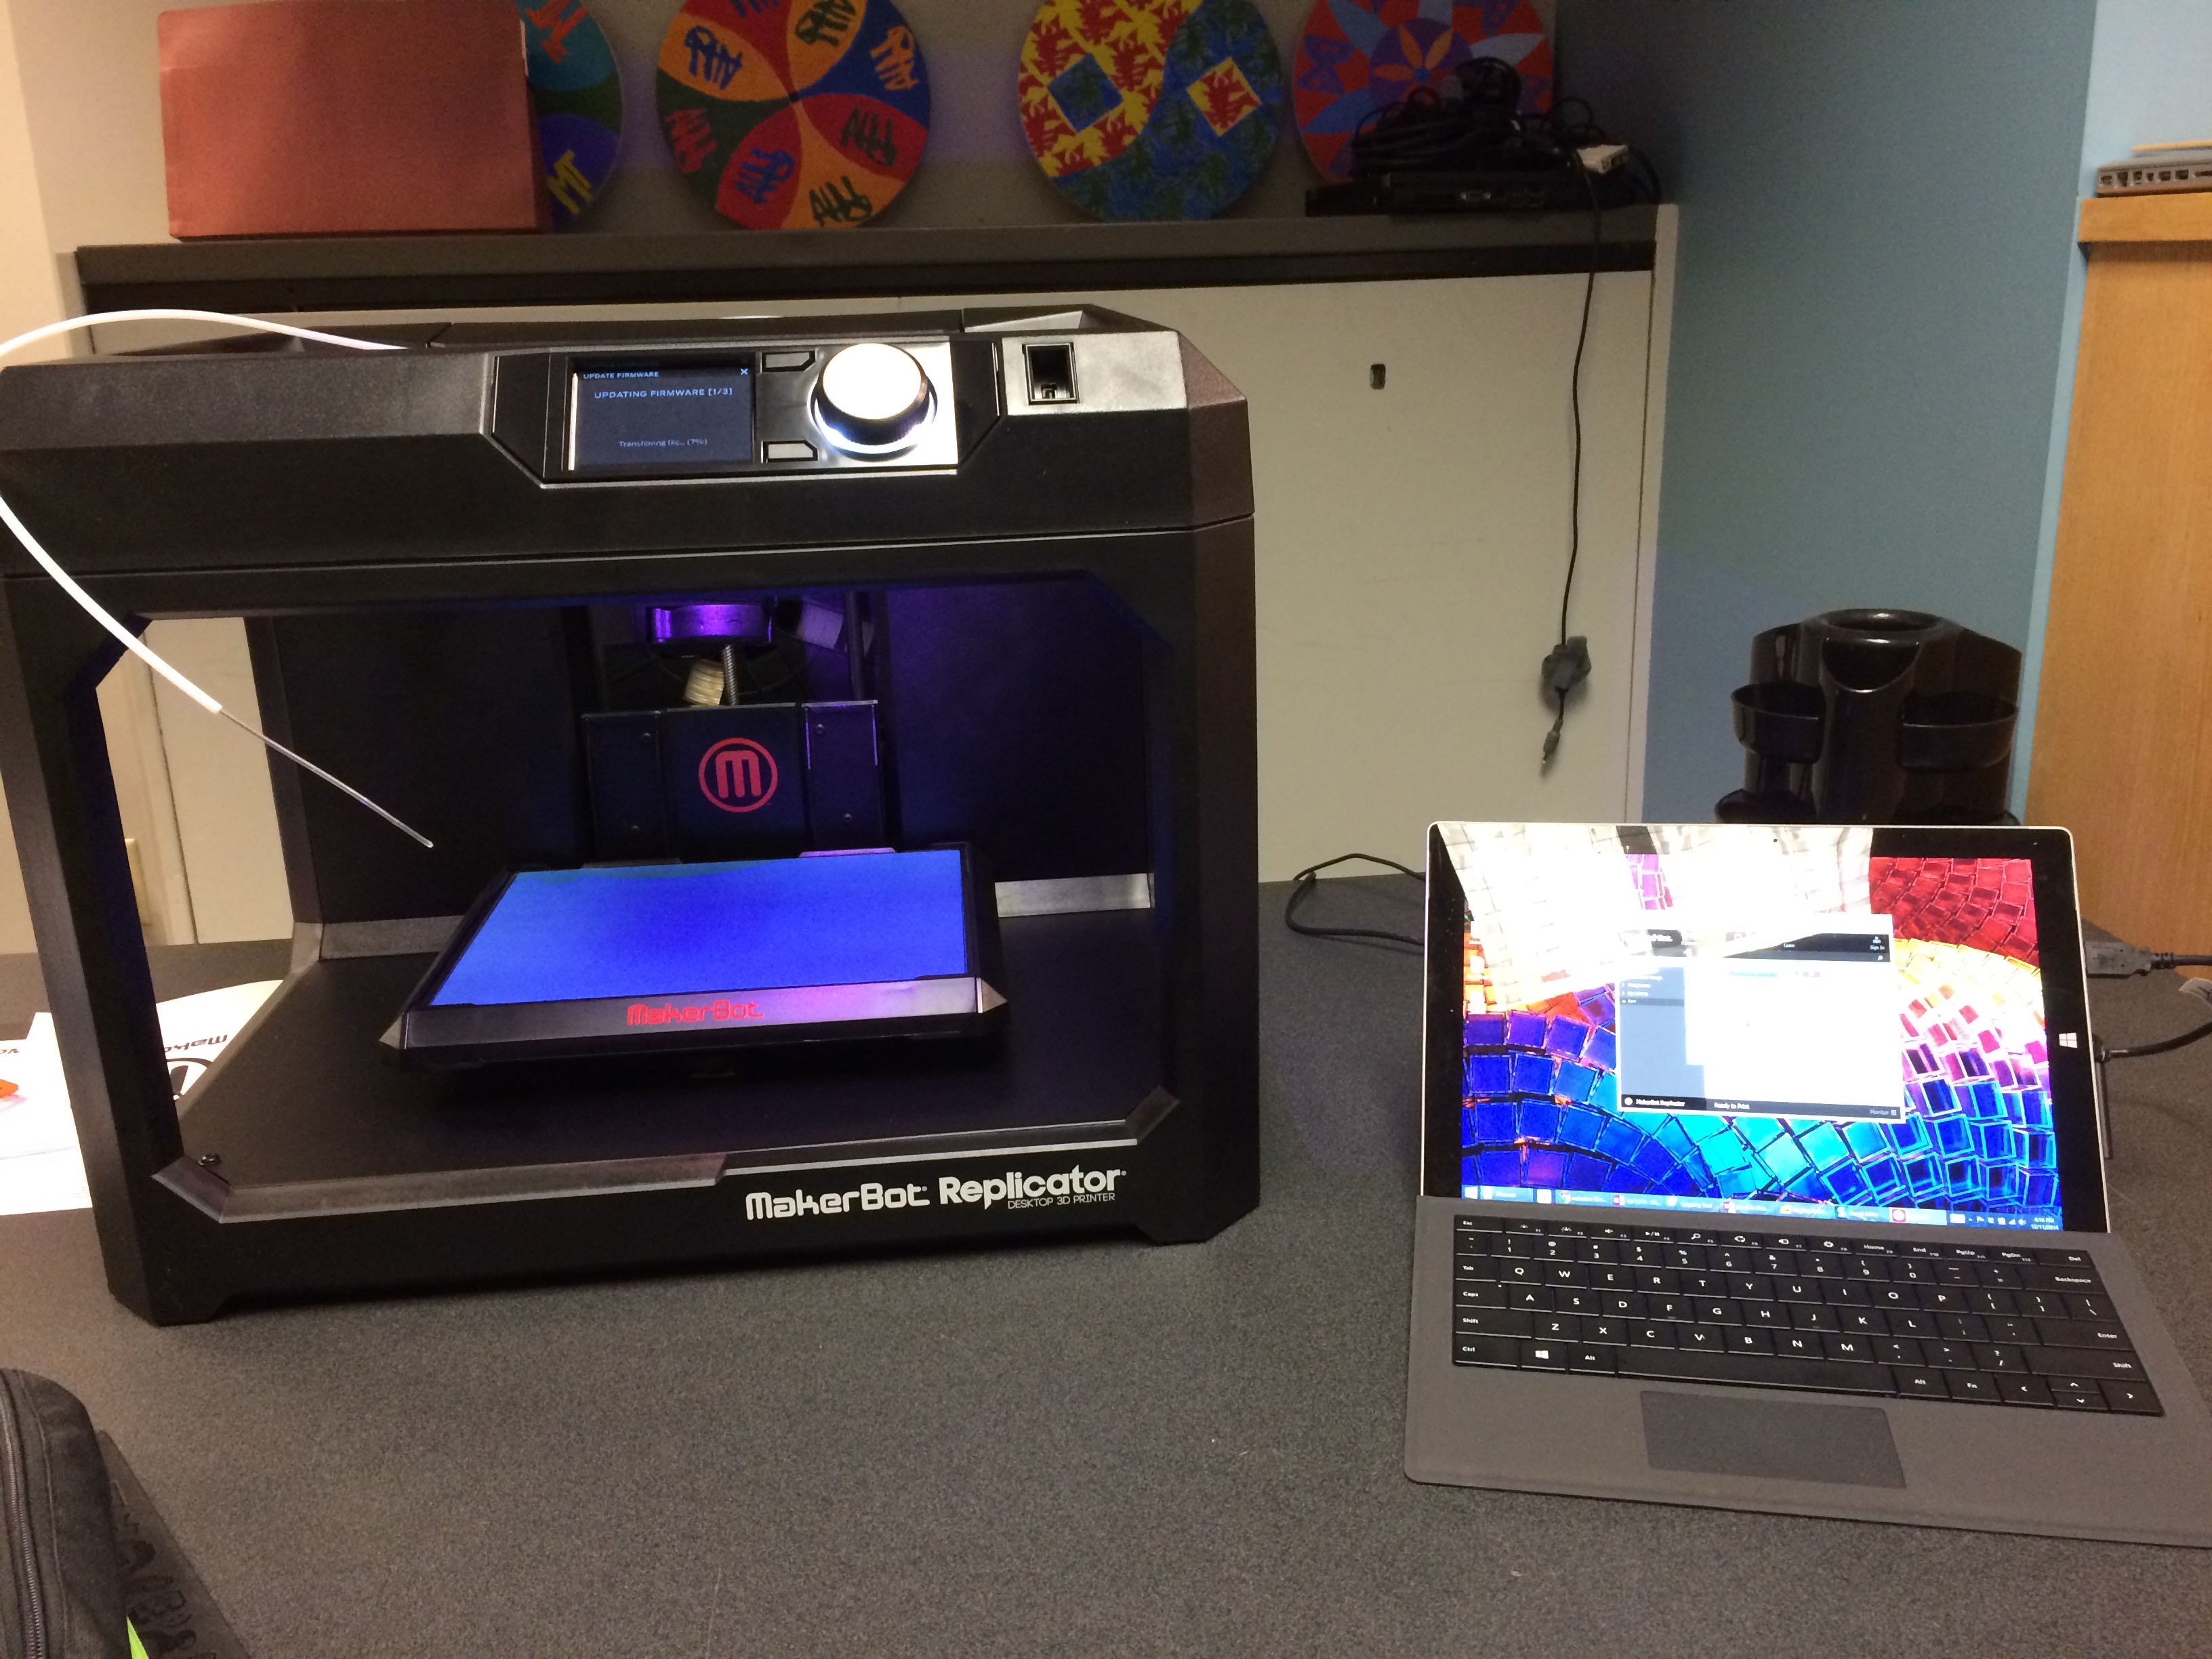
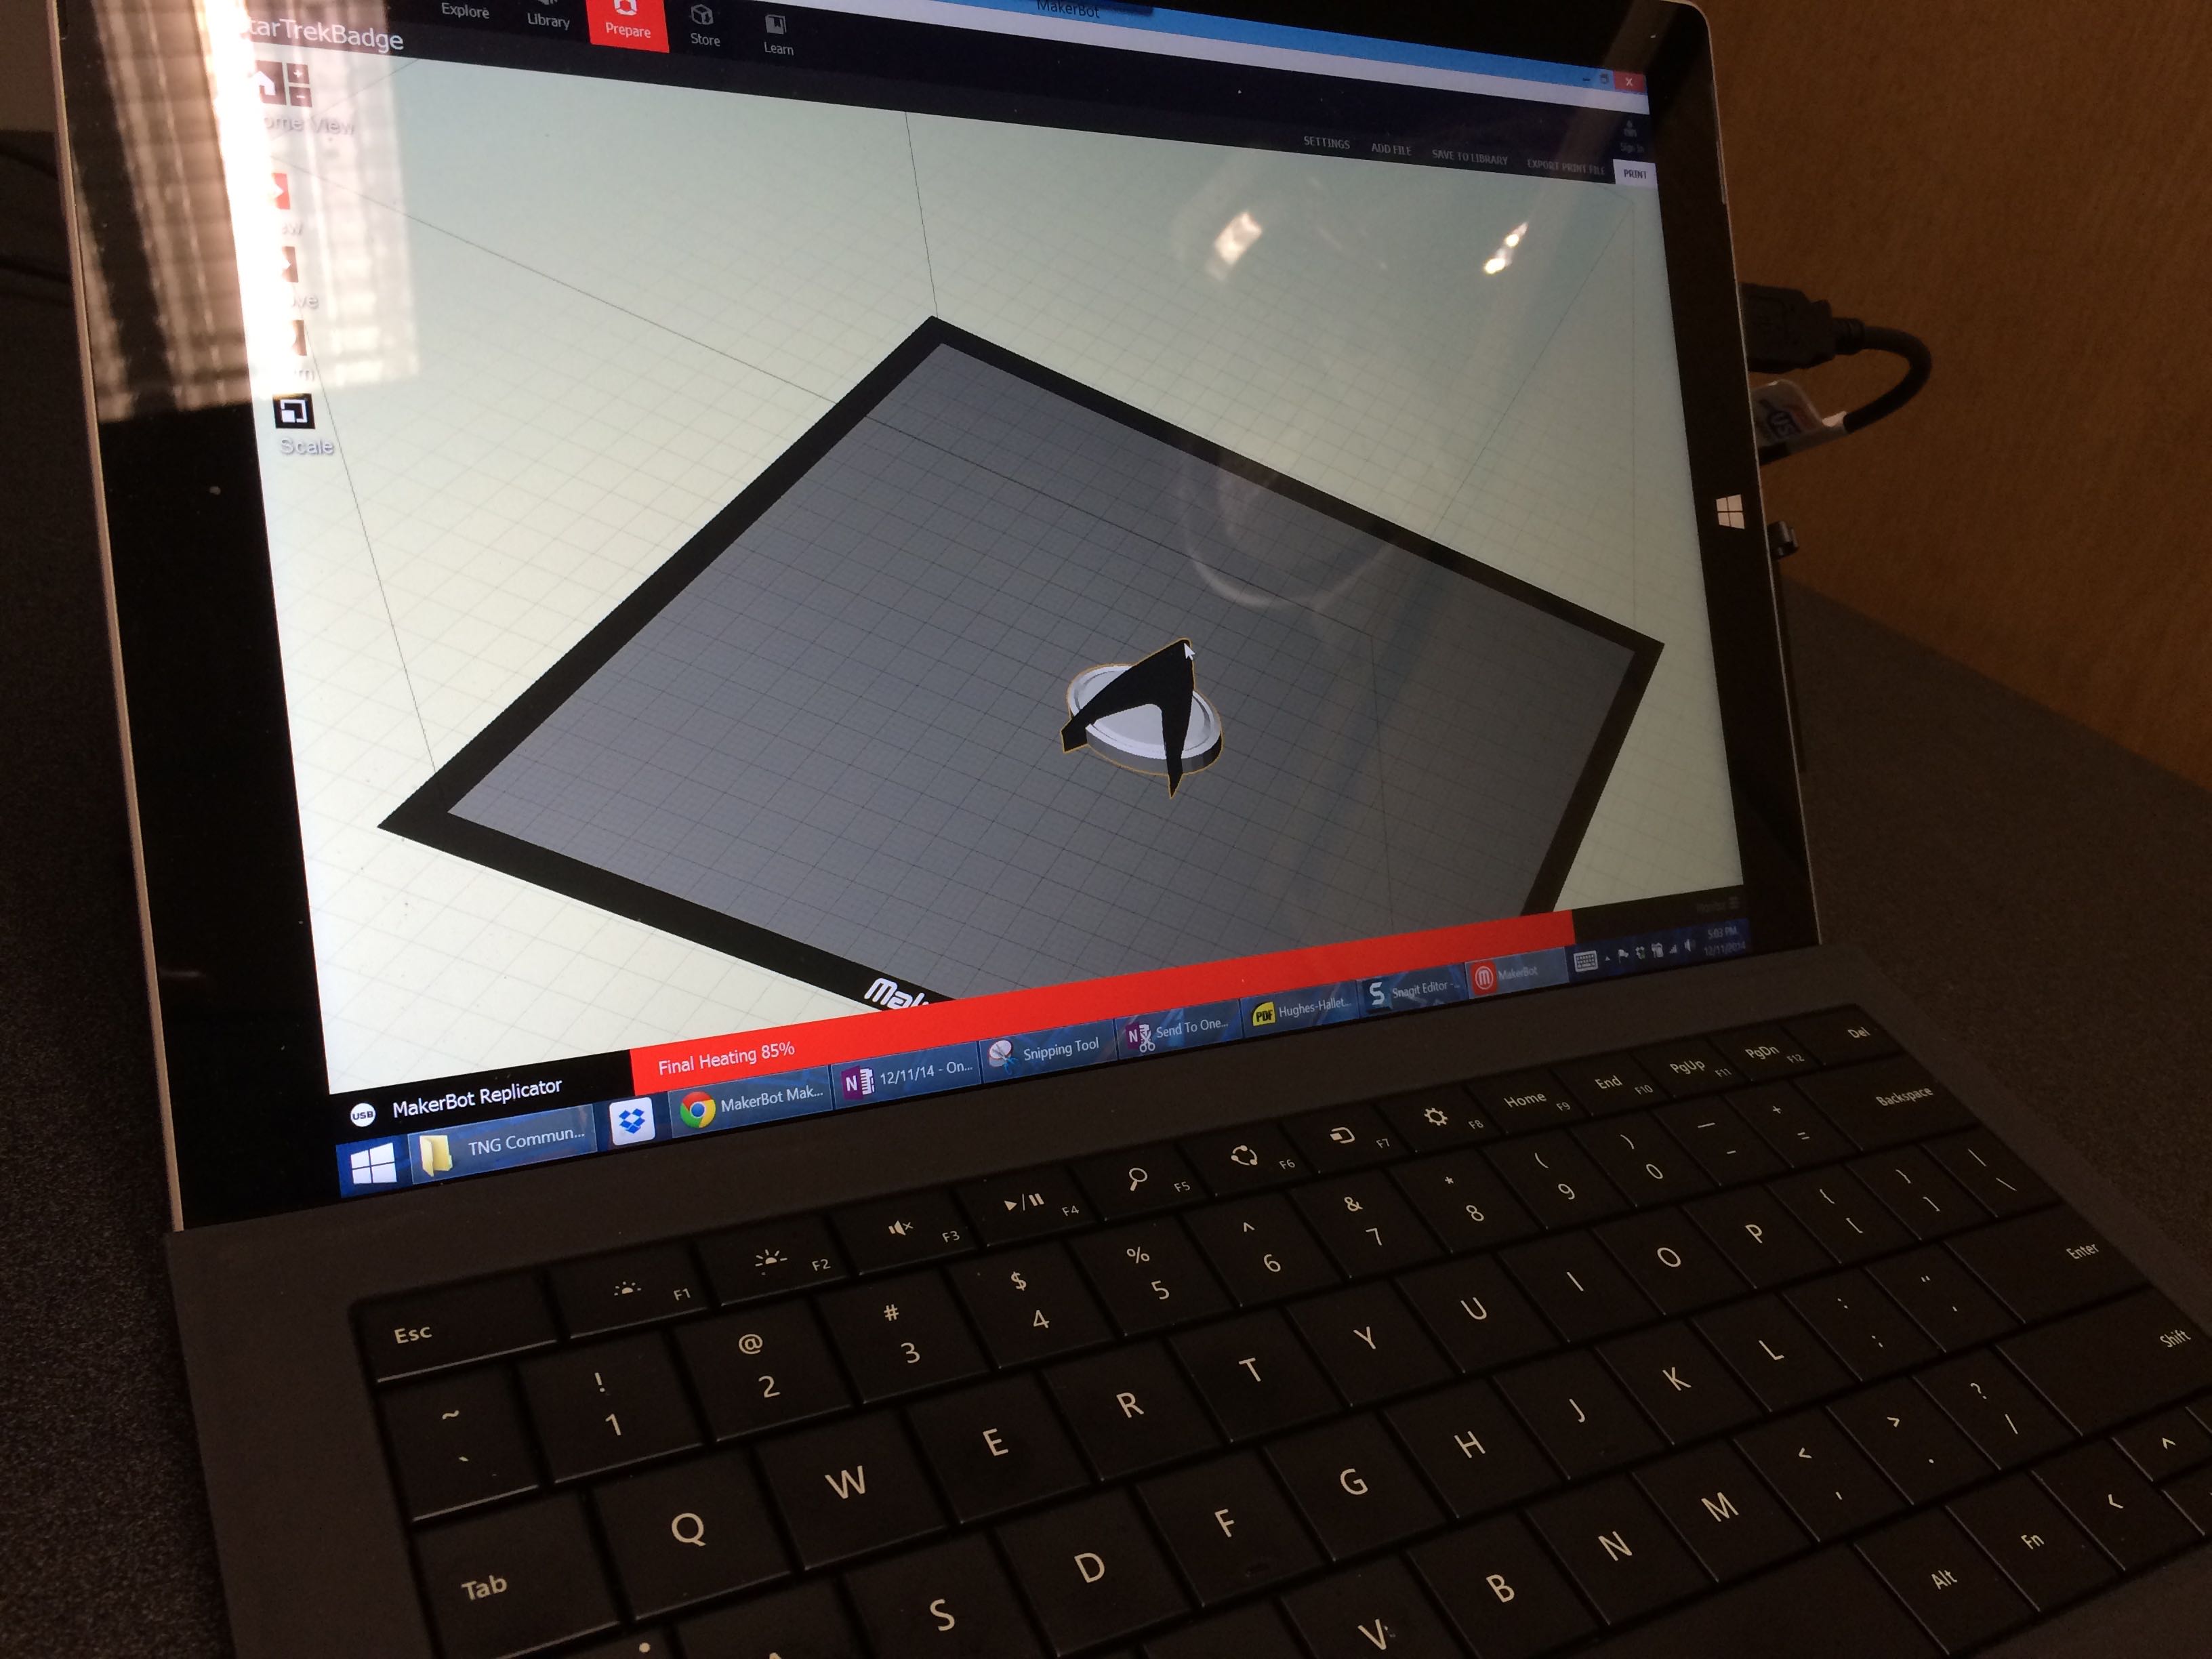
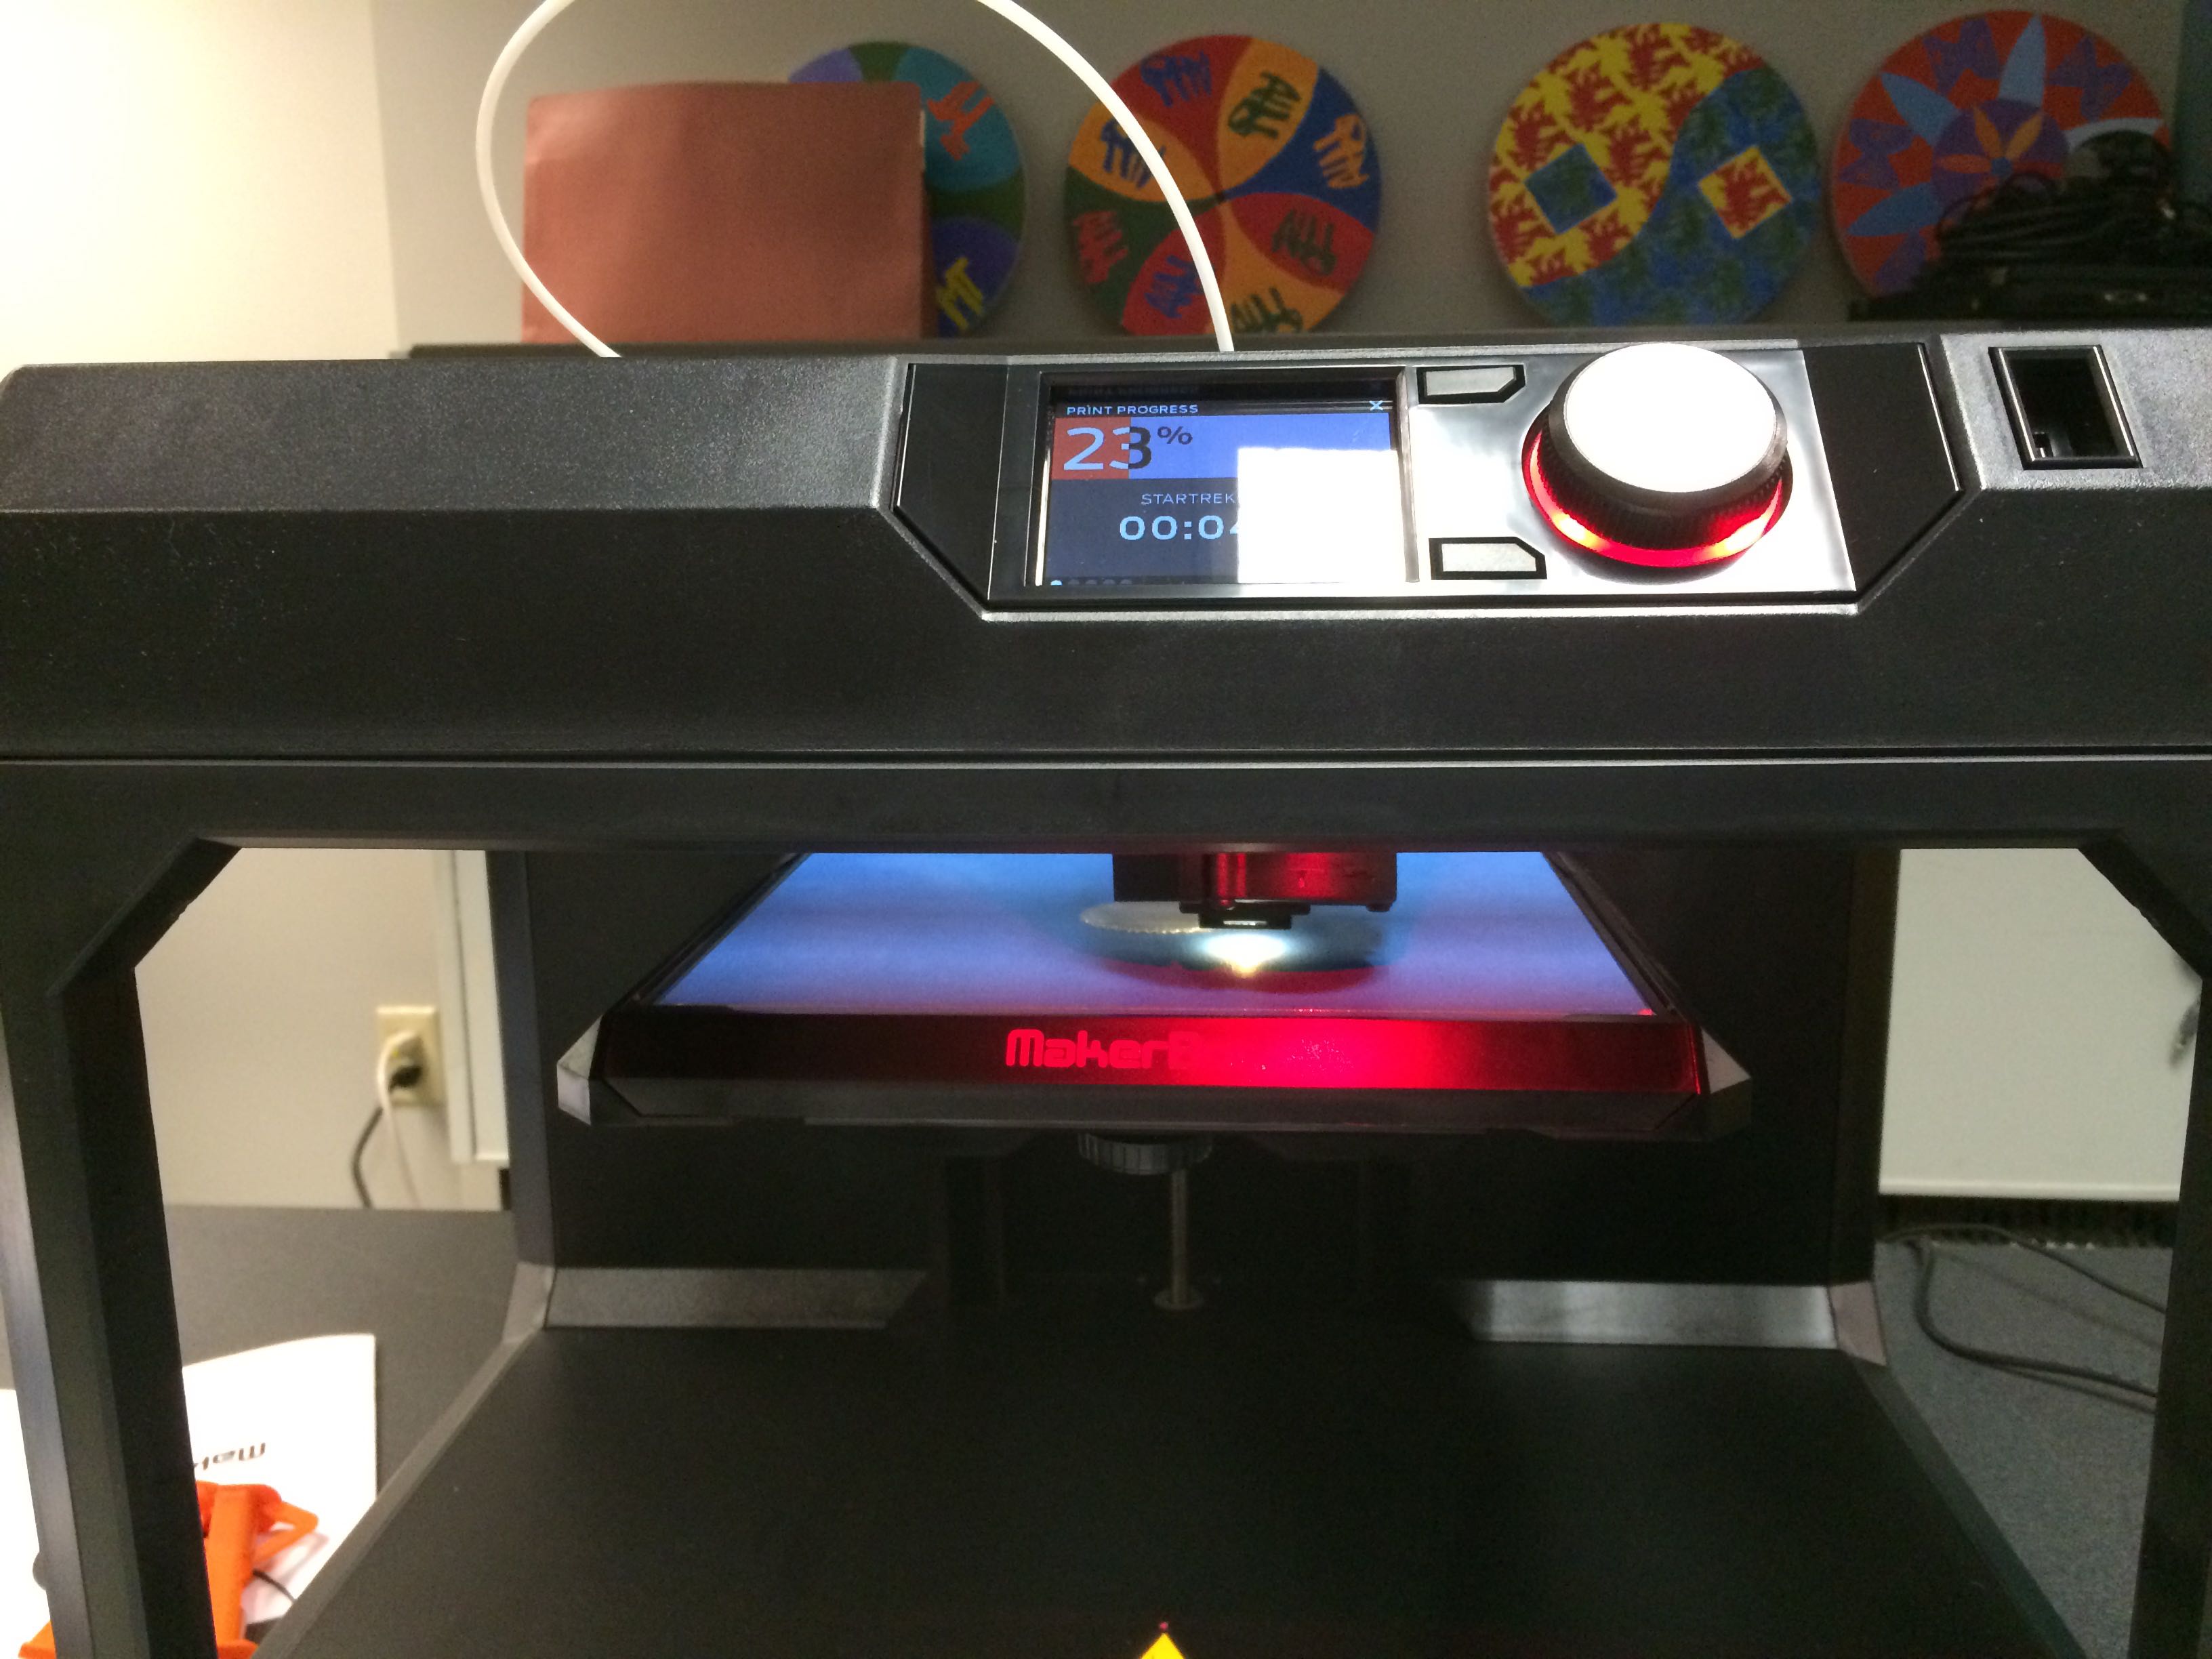
We then connected a Surface via USB and opened up MakerBot desktop, the standard software (there is more) that can be used to control the unit. It’s important to note that the machine can be operated quite well without an attached computer. The LCD display is easy to use and there is a USB input on the front that can be used to load model files without a computer.
Sadly, we had to get back to class and work, so we had to take a break… but then later in the evening I returned to update the firmware and load up the first model to be printed, a Star Trek (TNG) Communicator!


Overall the process was incredibly fun!
Next up I will be teaching the Science and Art departments how to use the machines, and then they will set to work using them in their departments. Given the amazingly broad applications for the tech, I’d imagine many other departments are going to want to get in on the action!
Here are some notes I took during the day:
– Make sure you download and install the MakerBot Desktop software well before you need it. It’s a big (150mb+) download which you can do right here.
– It’s really important to update the unit’s firmware. You can download the latest firmware (1.5) right here.
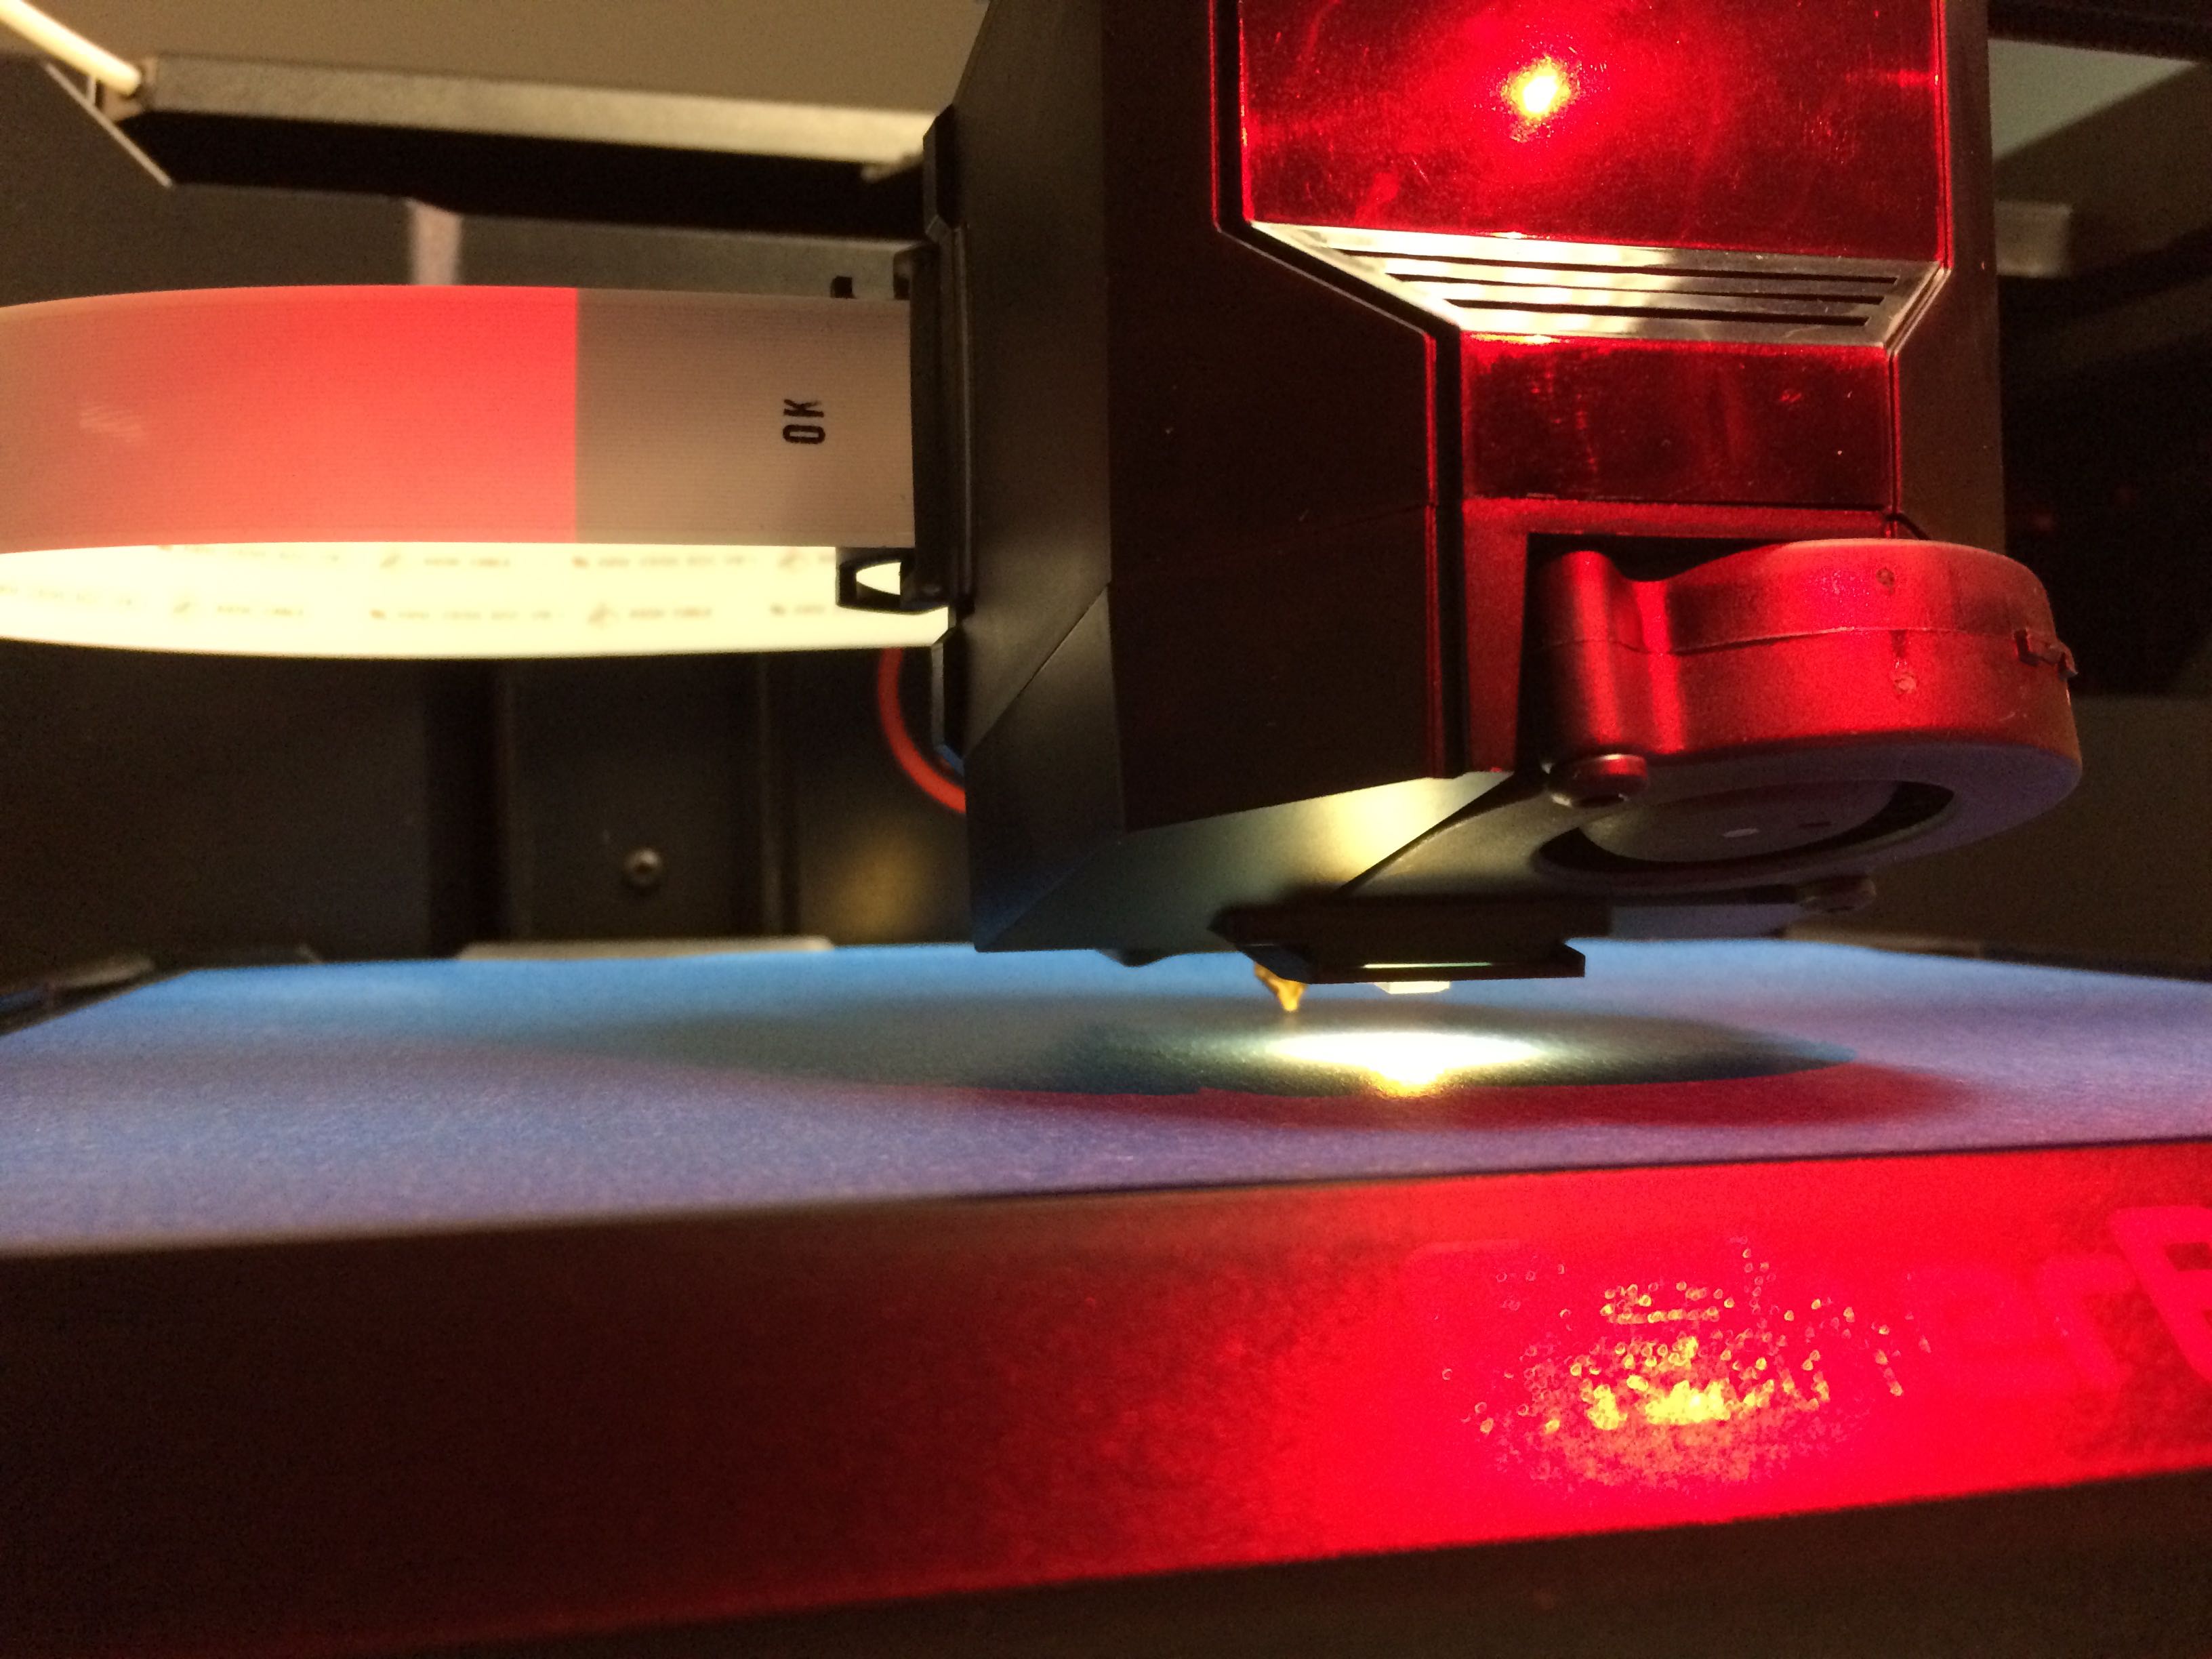
– You can use regular painter’s tape on the build plate
– The final models are pretty light! The communicator came in at 6 grams.
– Make sure to push any air bubbles out of the blue tape
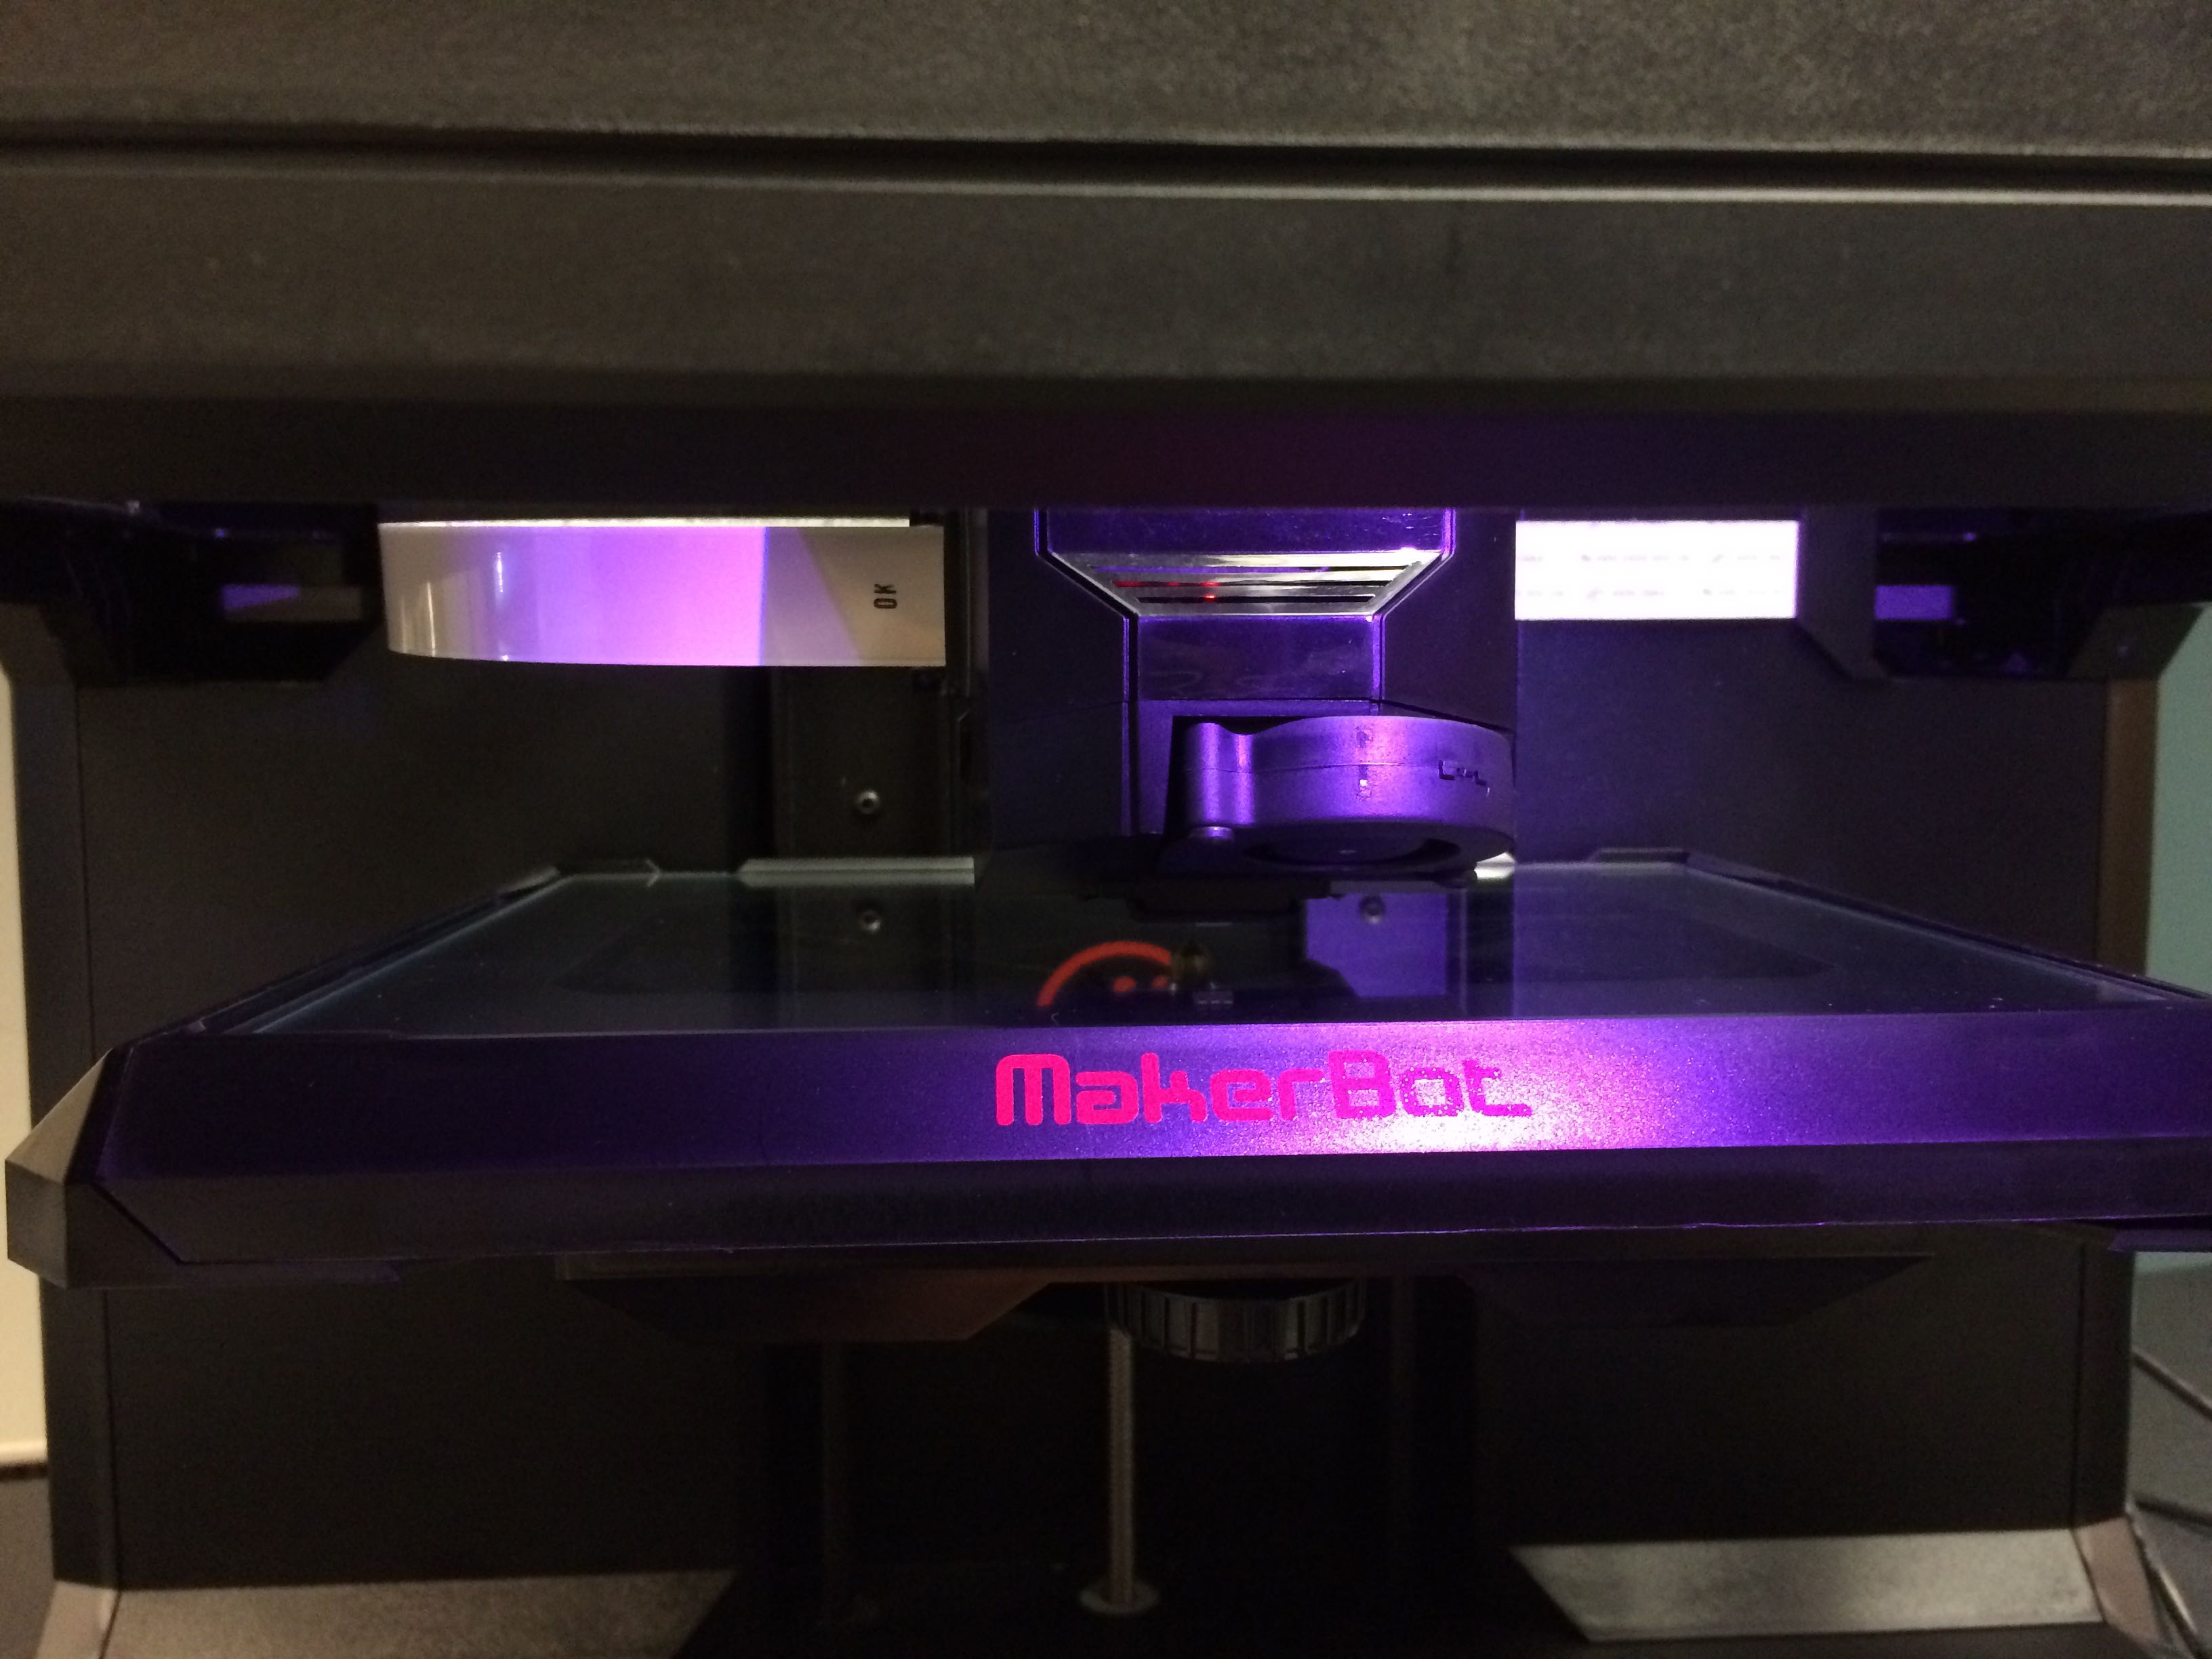
– There is a built in leveling utility (for the build plate) which is pretty mesmerizing to watch
– Turn the machine off in the menu system, not using the switch on the back
– It takes 2-3 mins to turn off
– Make sure to slide in the build plate correctly so it’s snapped in
– Make sure to update the firmware whenever a new version comes out
– It takes about 15 minutes to update firmware
– The machine makes some really fun R2D2-type sounds when in operation
– Printing can take a while. The communicator took about 25 minutes.
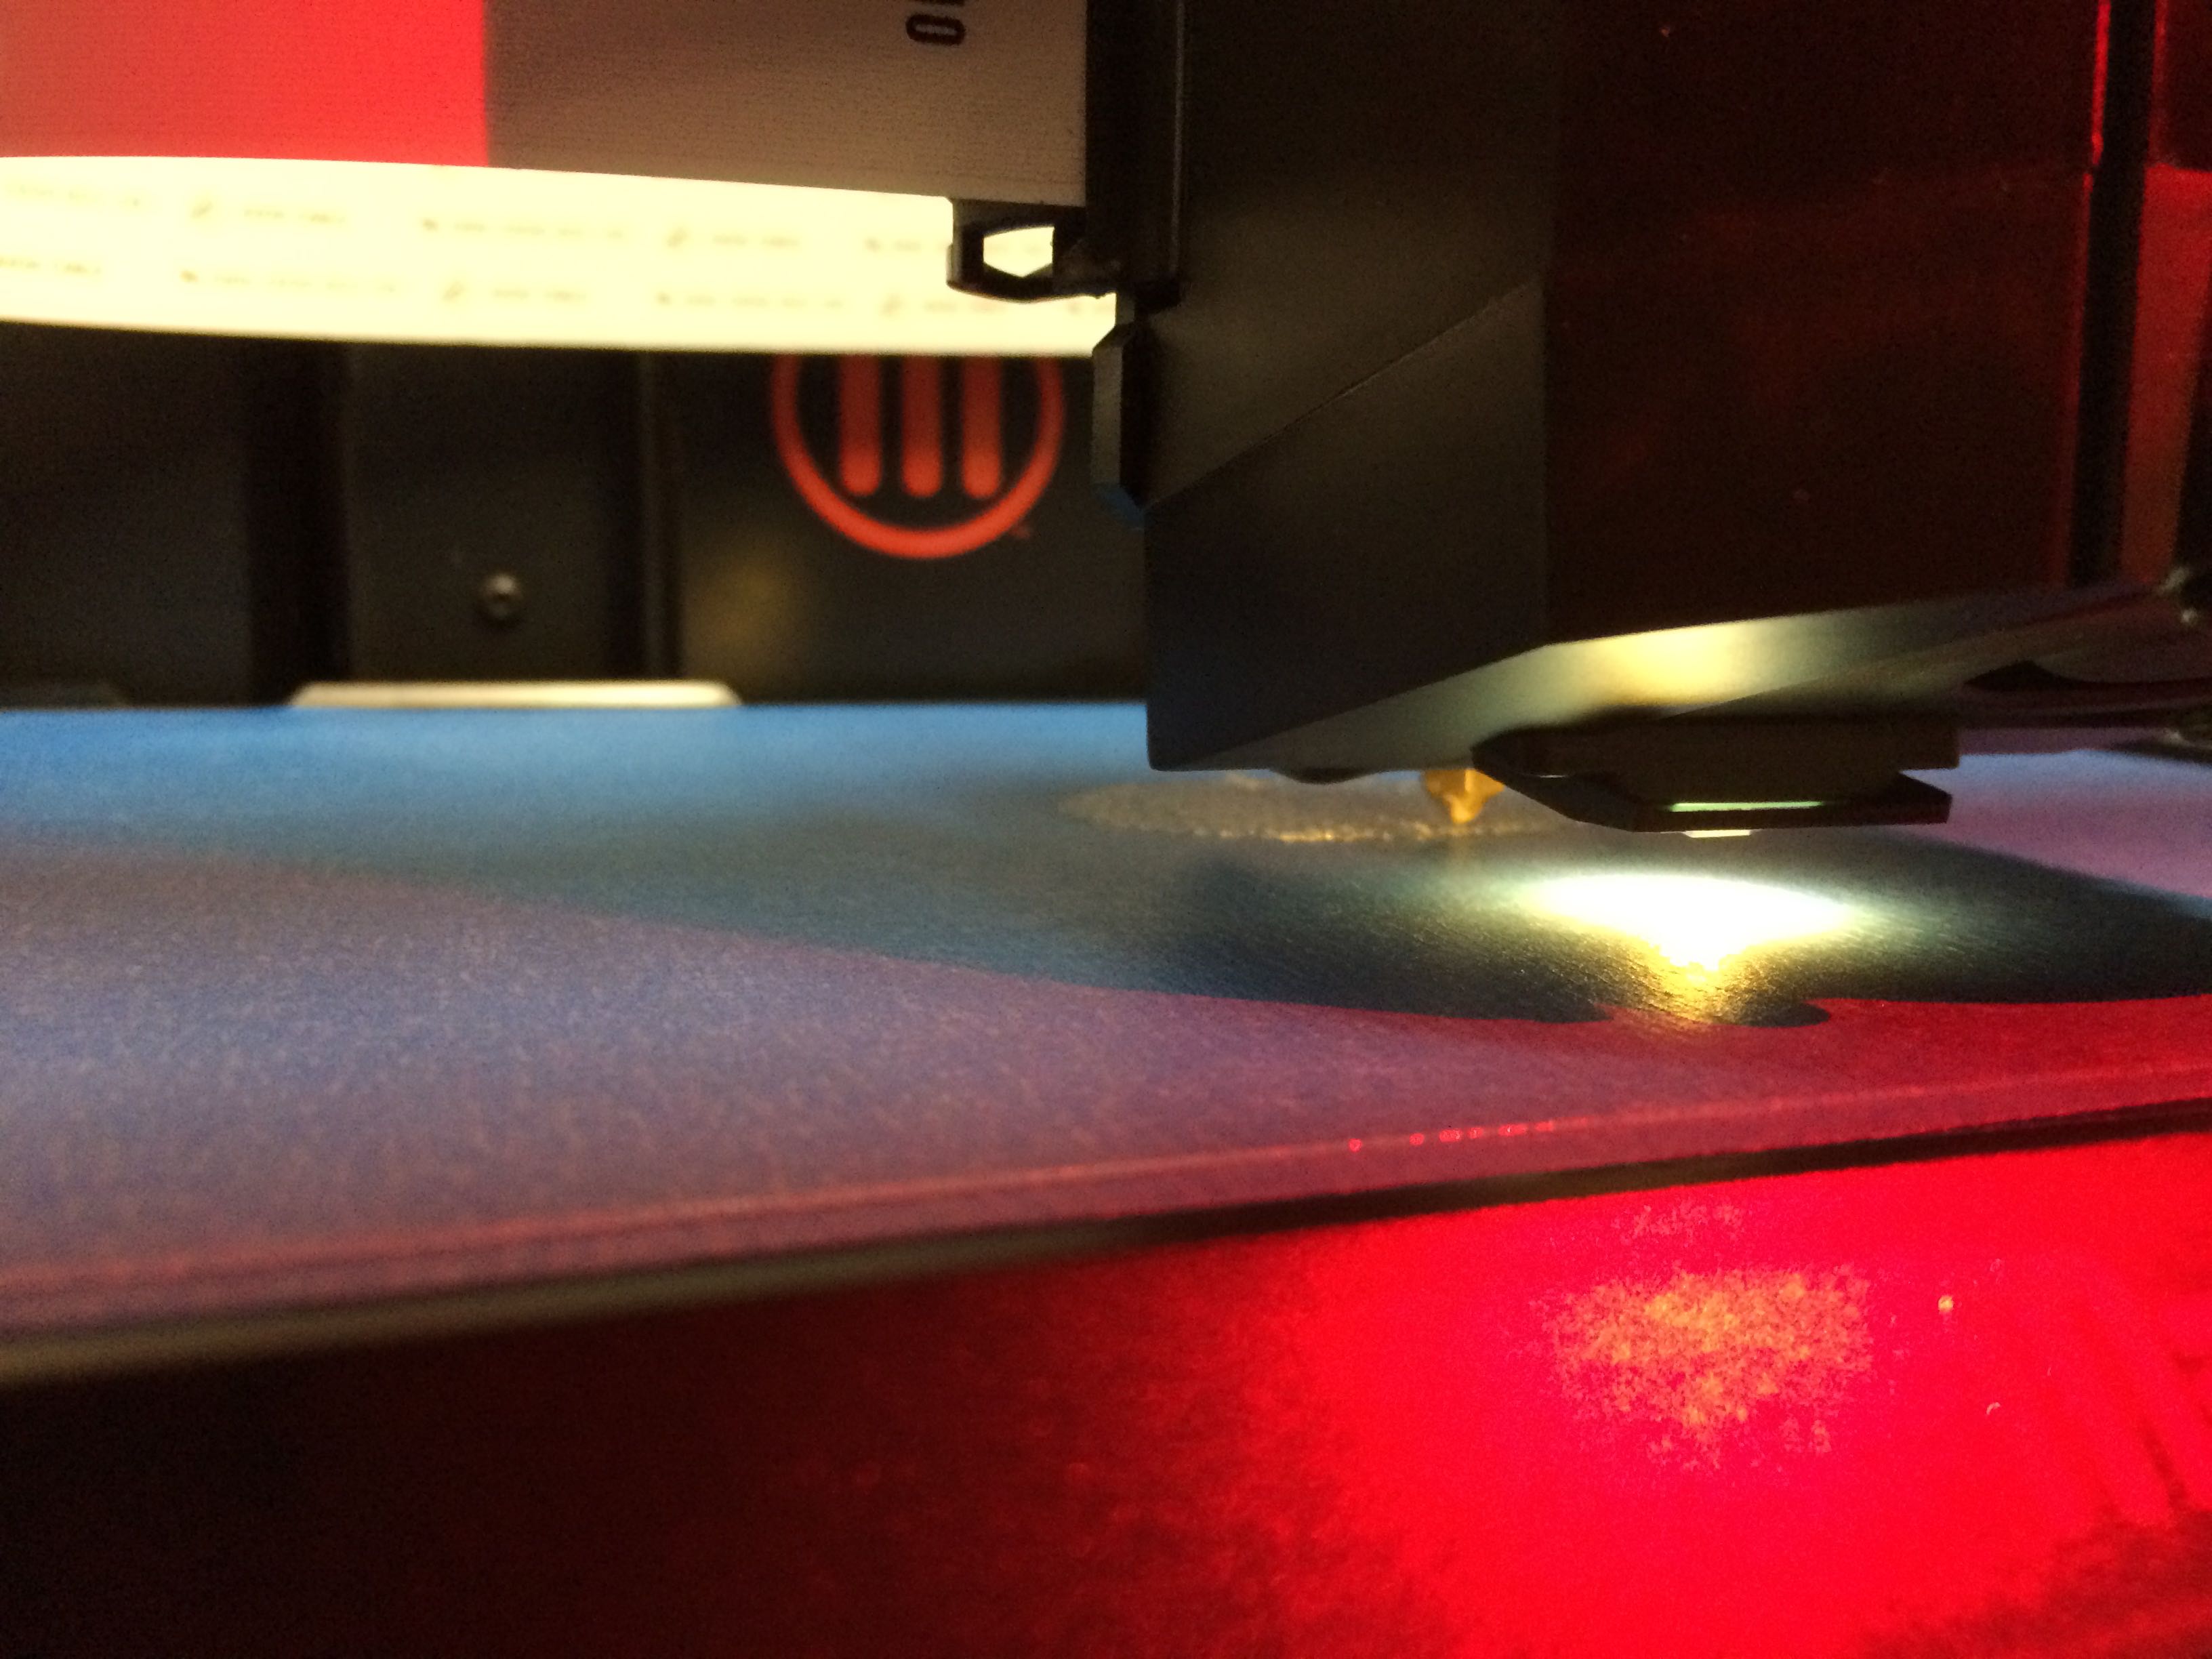
– Be careful around the extruder — it gets really hot! (duh)
– Unplug your computer’s USB cable when you’re not using the machine
– The z-axis rod that lifts the build plate can get tight. It’s okay to turn it using your hands when it’s not in motion to get it loosened up.
– There is a built in camera inside the upper right corner of the unit which is tied into the MakerBot Desktop software. It makes it easy to take photos of the process in action!
– You can connect the unit to a WiFi network (or via cable) and connect to the machine over the network! You can even see the live view of the built in camera over WiFi!
– Models can include hollow space. Gaps can be bridged during printing. It’s really neat to see! (There is a hollow space inside the middle of the communicator.)
– You can use different colors of plastic
I absolutely cannot wait to see how these machines get used!
![]() In an effort to more thoroughly understand the Williston edtech landscape, it would be very helpful if each Williston teacher filled out this short survey for each room that they teach in.
In an effort to more thoroughly understand the Williston edtech landscape, it would be very helpful if each Williston teacher filled out this short survey for each room that they teach in.
The more information you can provide the better!
Thank you for taking the time to provide information crucial to charting the course of the evolution of edtech at Williston.
In this episode I talk about clearing your browser history, an online photo editor, 1Password, and how to change your default browser to Chrome.
How to clear your browser history: Windows IE 10, Metro IE, Many other browsers
1Password
Online photo editor: pixlr.com/editor
Past episodes of YDKWYDK are online right here.
A new support document just went online:
Instructions for Entering Term Grades and Comments in Veracross